Kali Purple SOC: Part 2 – Installing Kali Purple VM


Setup the VM in Proxmox
Follow the screenshot guide below to get the Kali Purple VM up and running inside Proxmox.
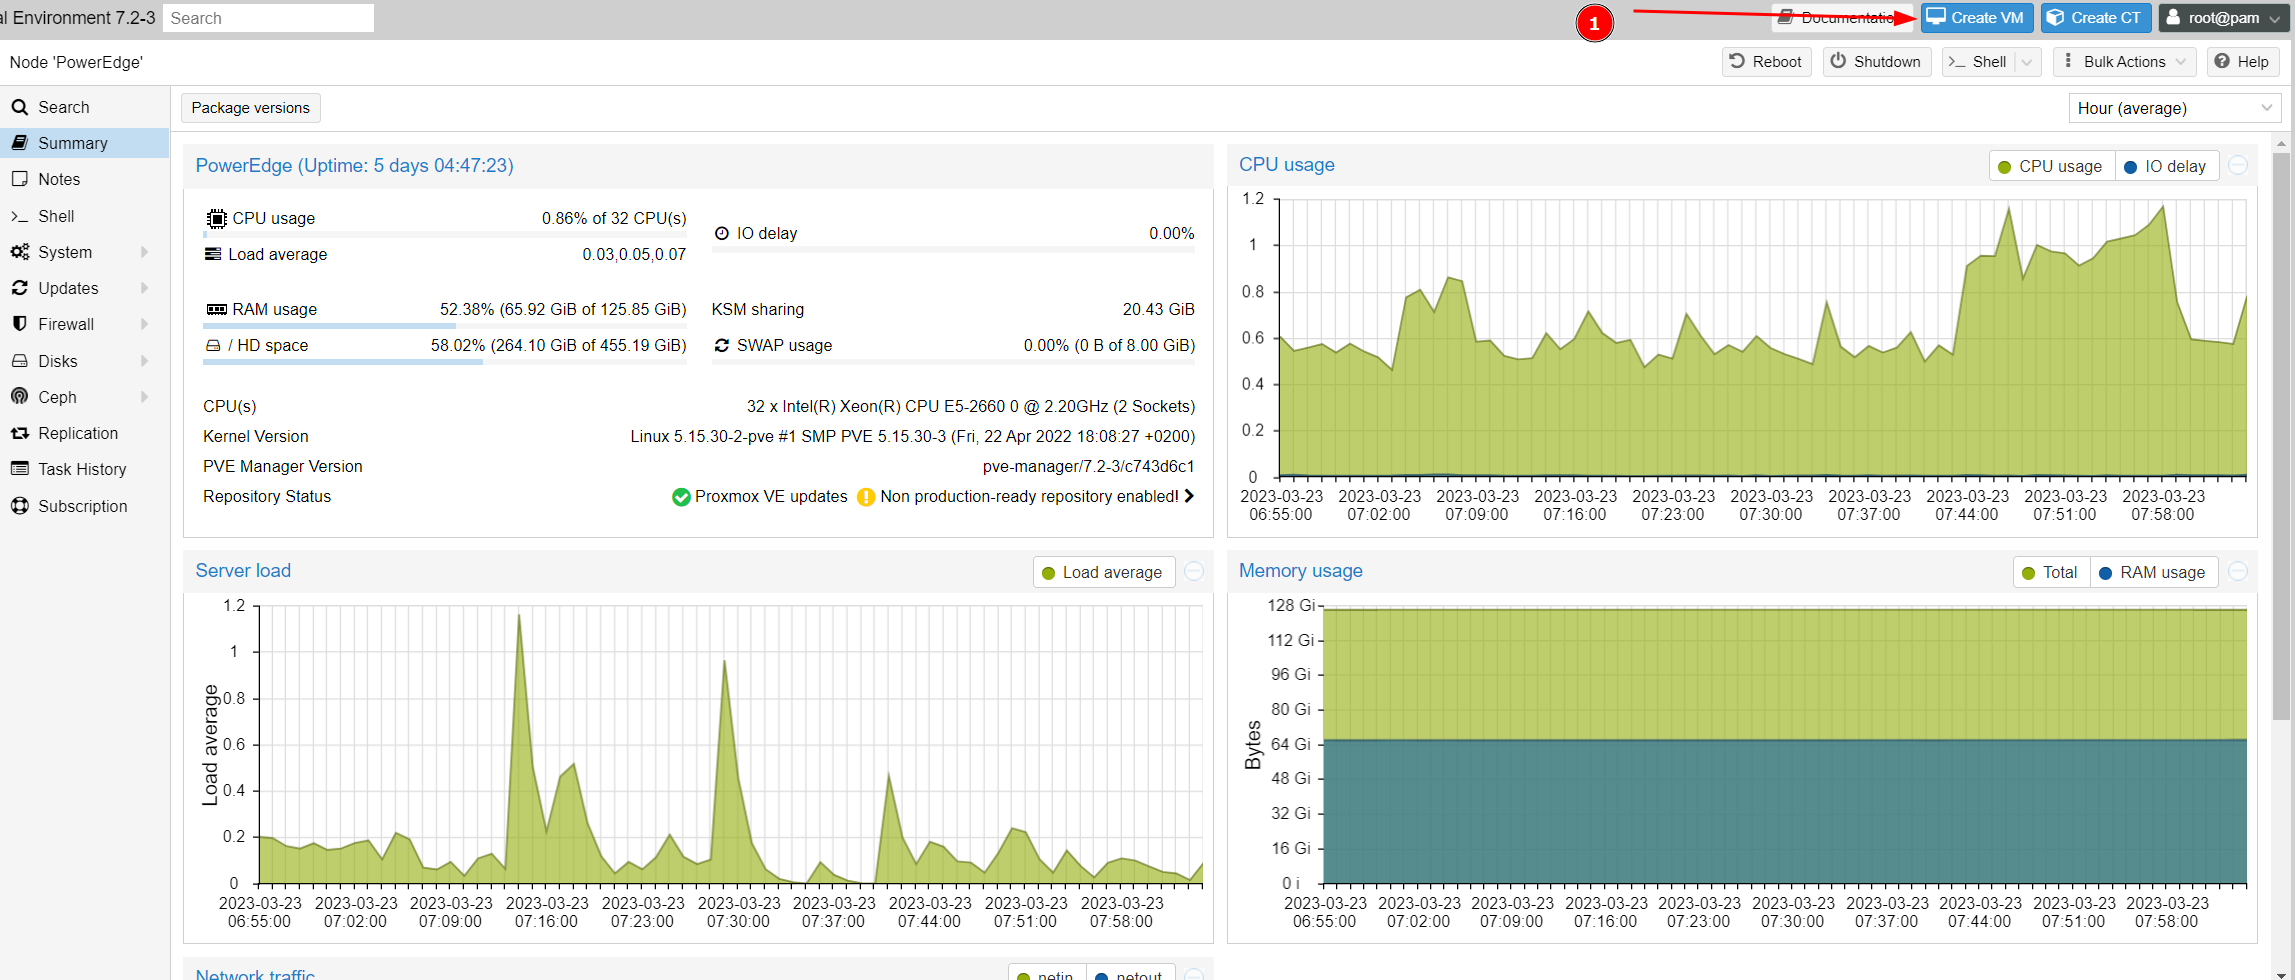
Click Create VM
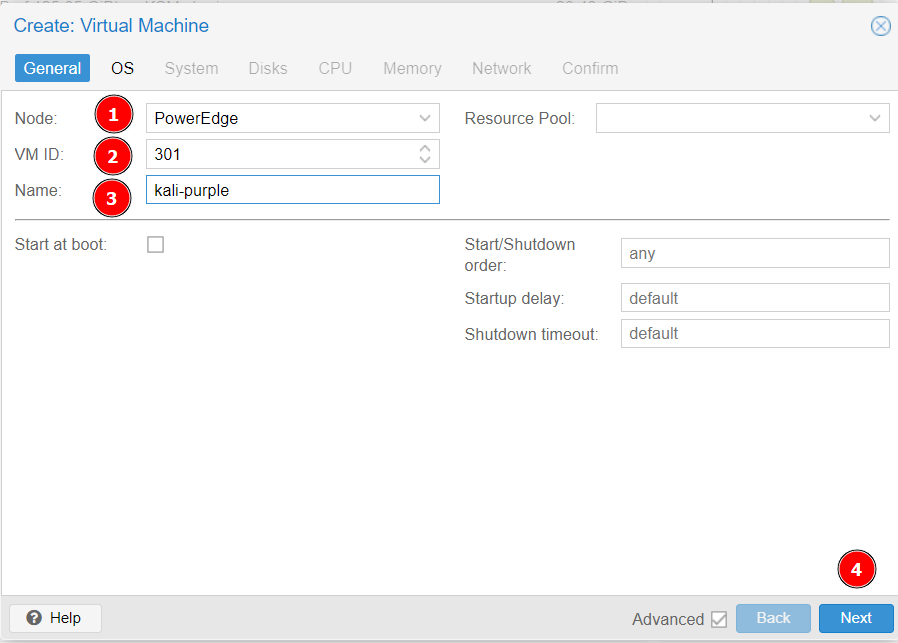
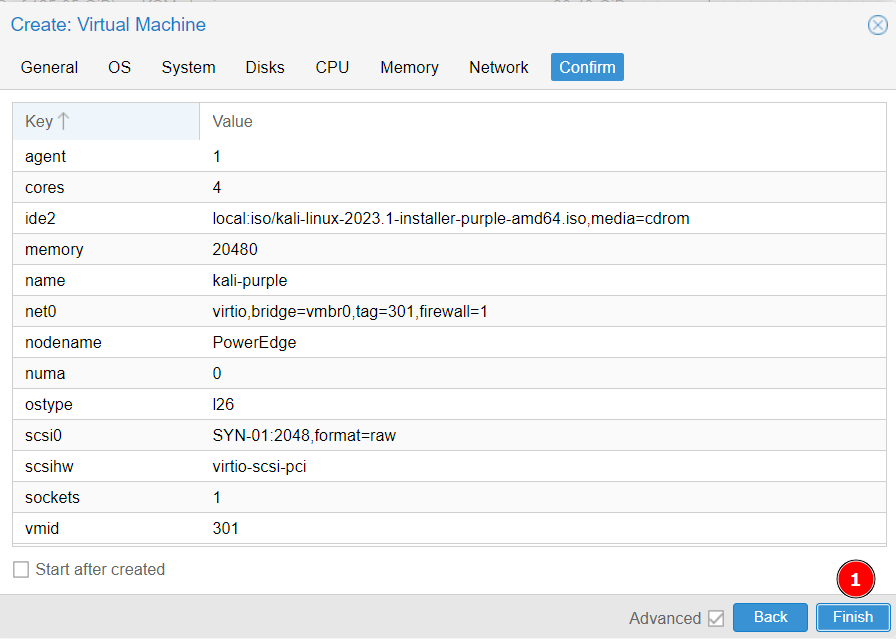
Configure as seen below
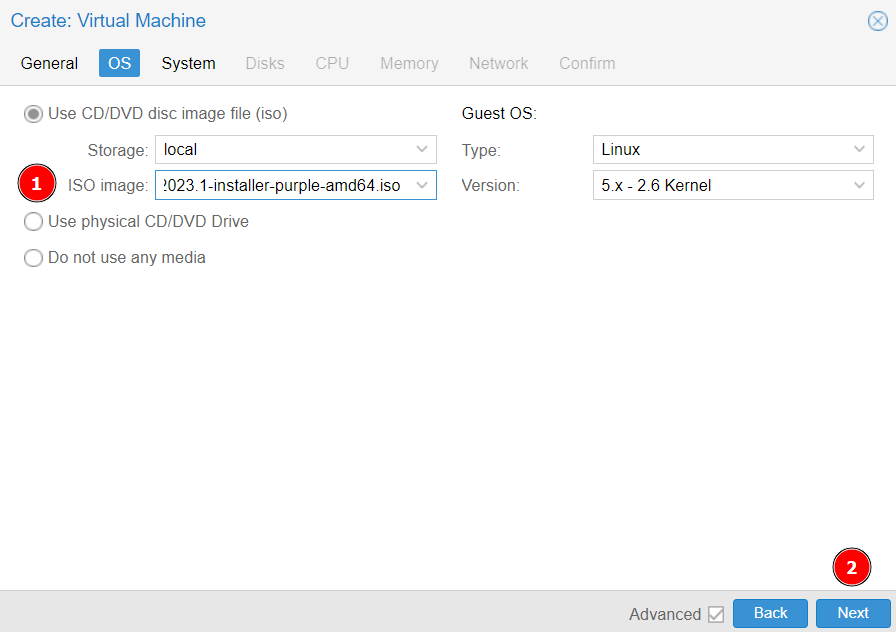
Choose the location of your Kali purple .iso
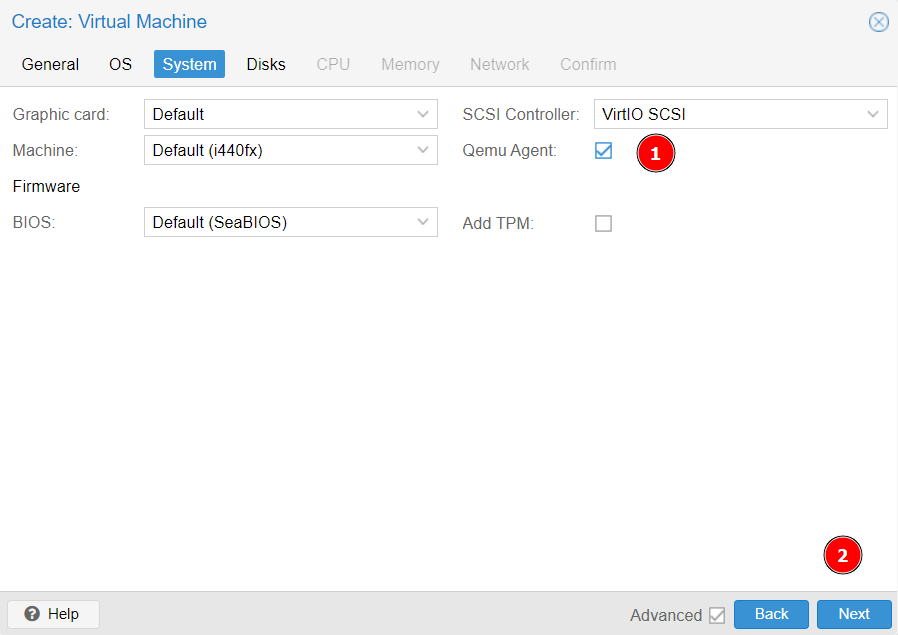
Enable Qemu agent
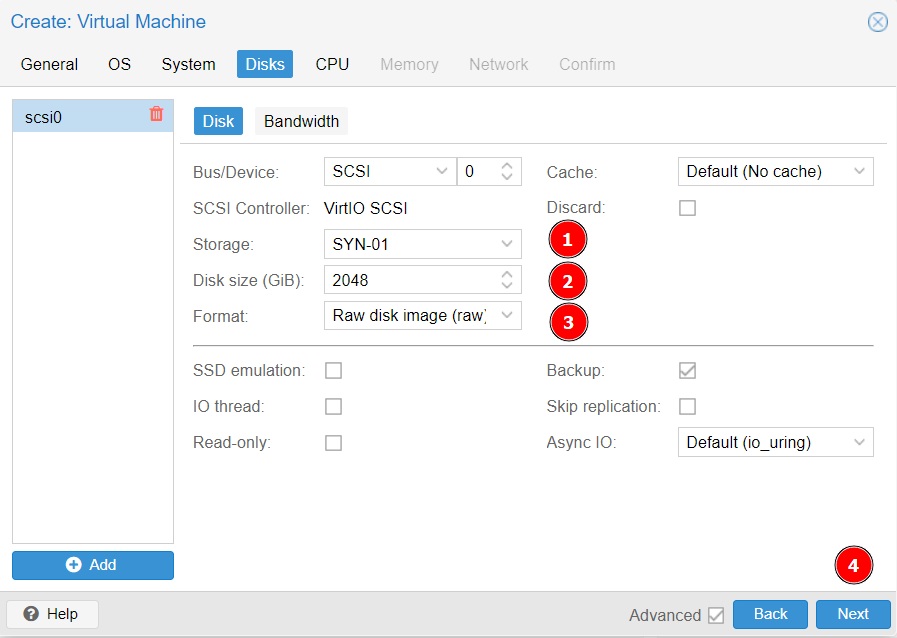
Choose storage location for the VM. (It can be smaller than 2TB, however I would not recommend going smaller than 512GB)
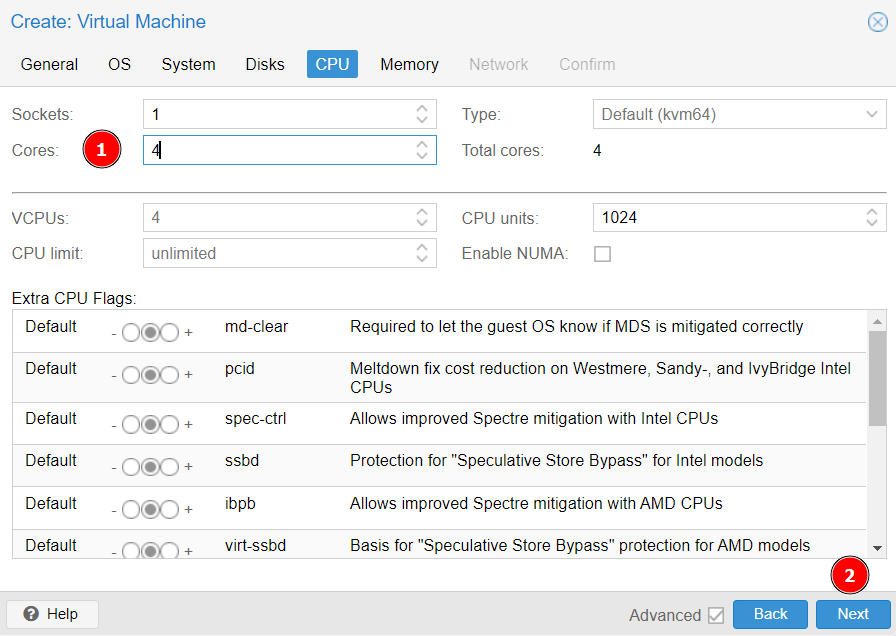
Assign 4 Cores
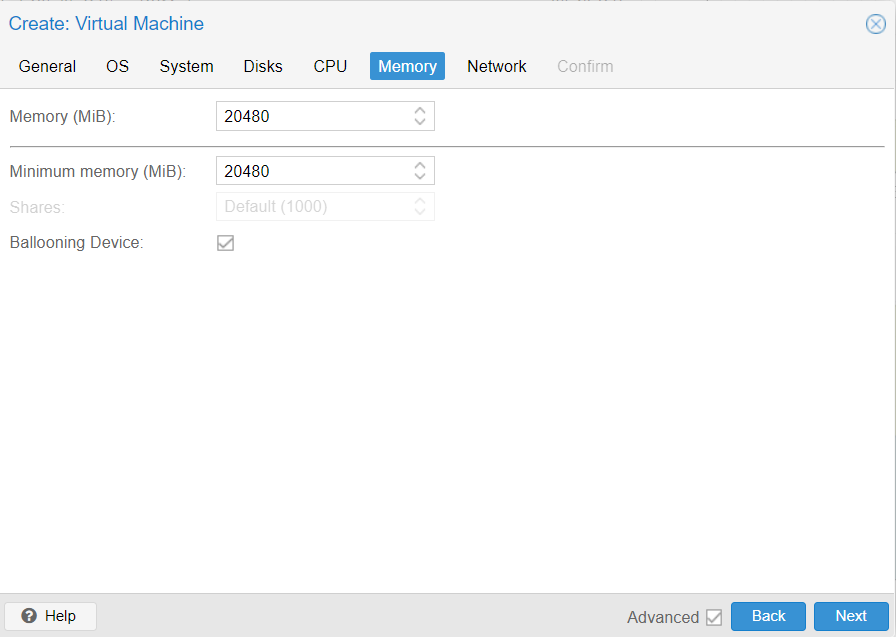
Assign ~20GB of RAM
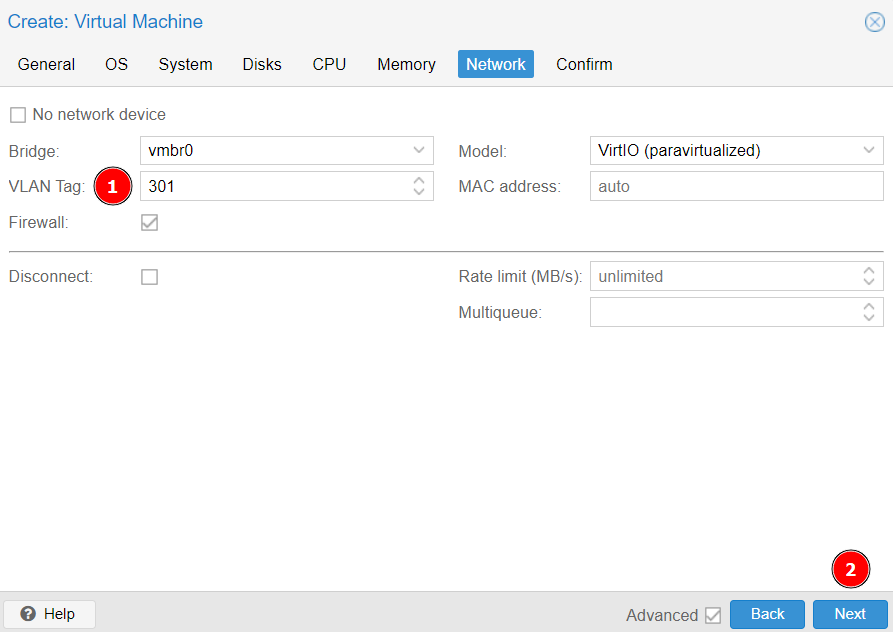
Assign VLAN tag 301
Finish.
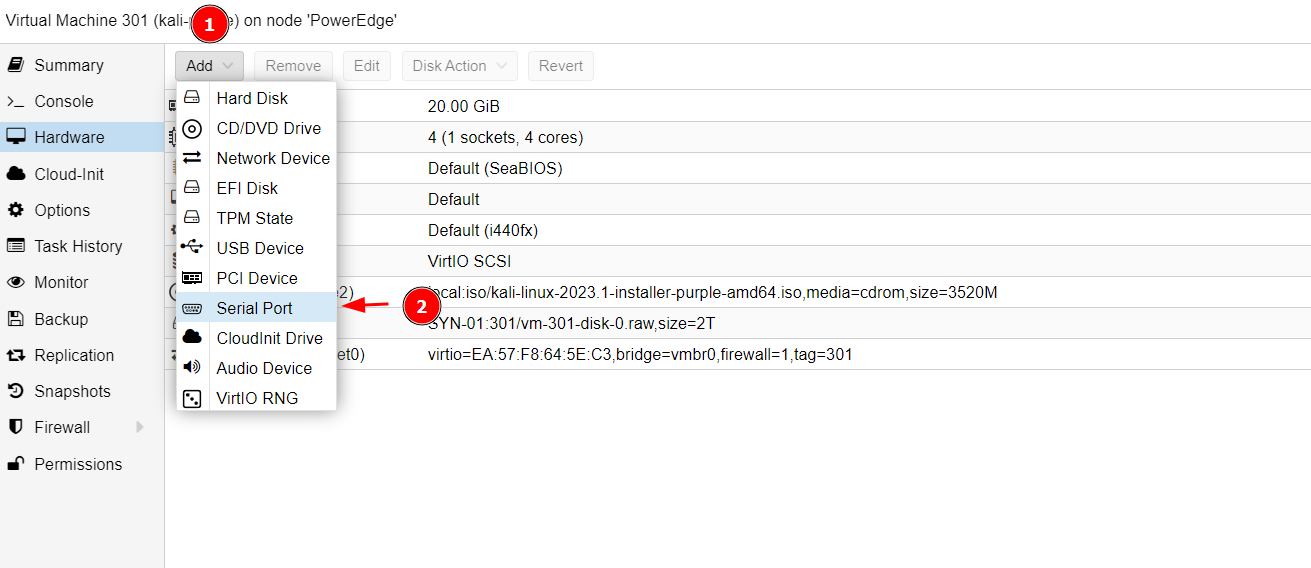
Add Serial Port
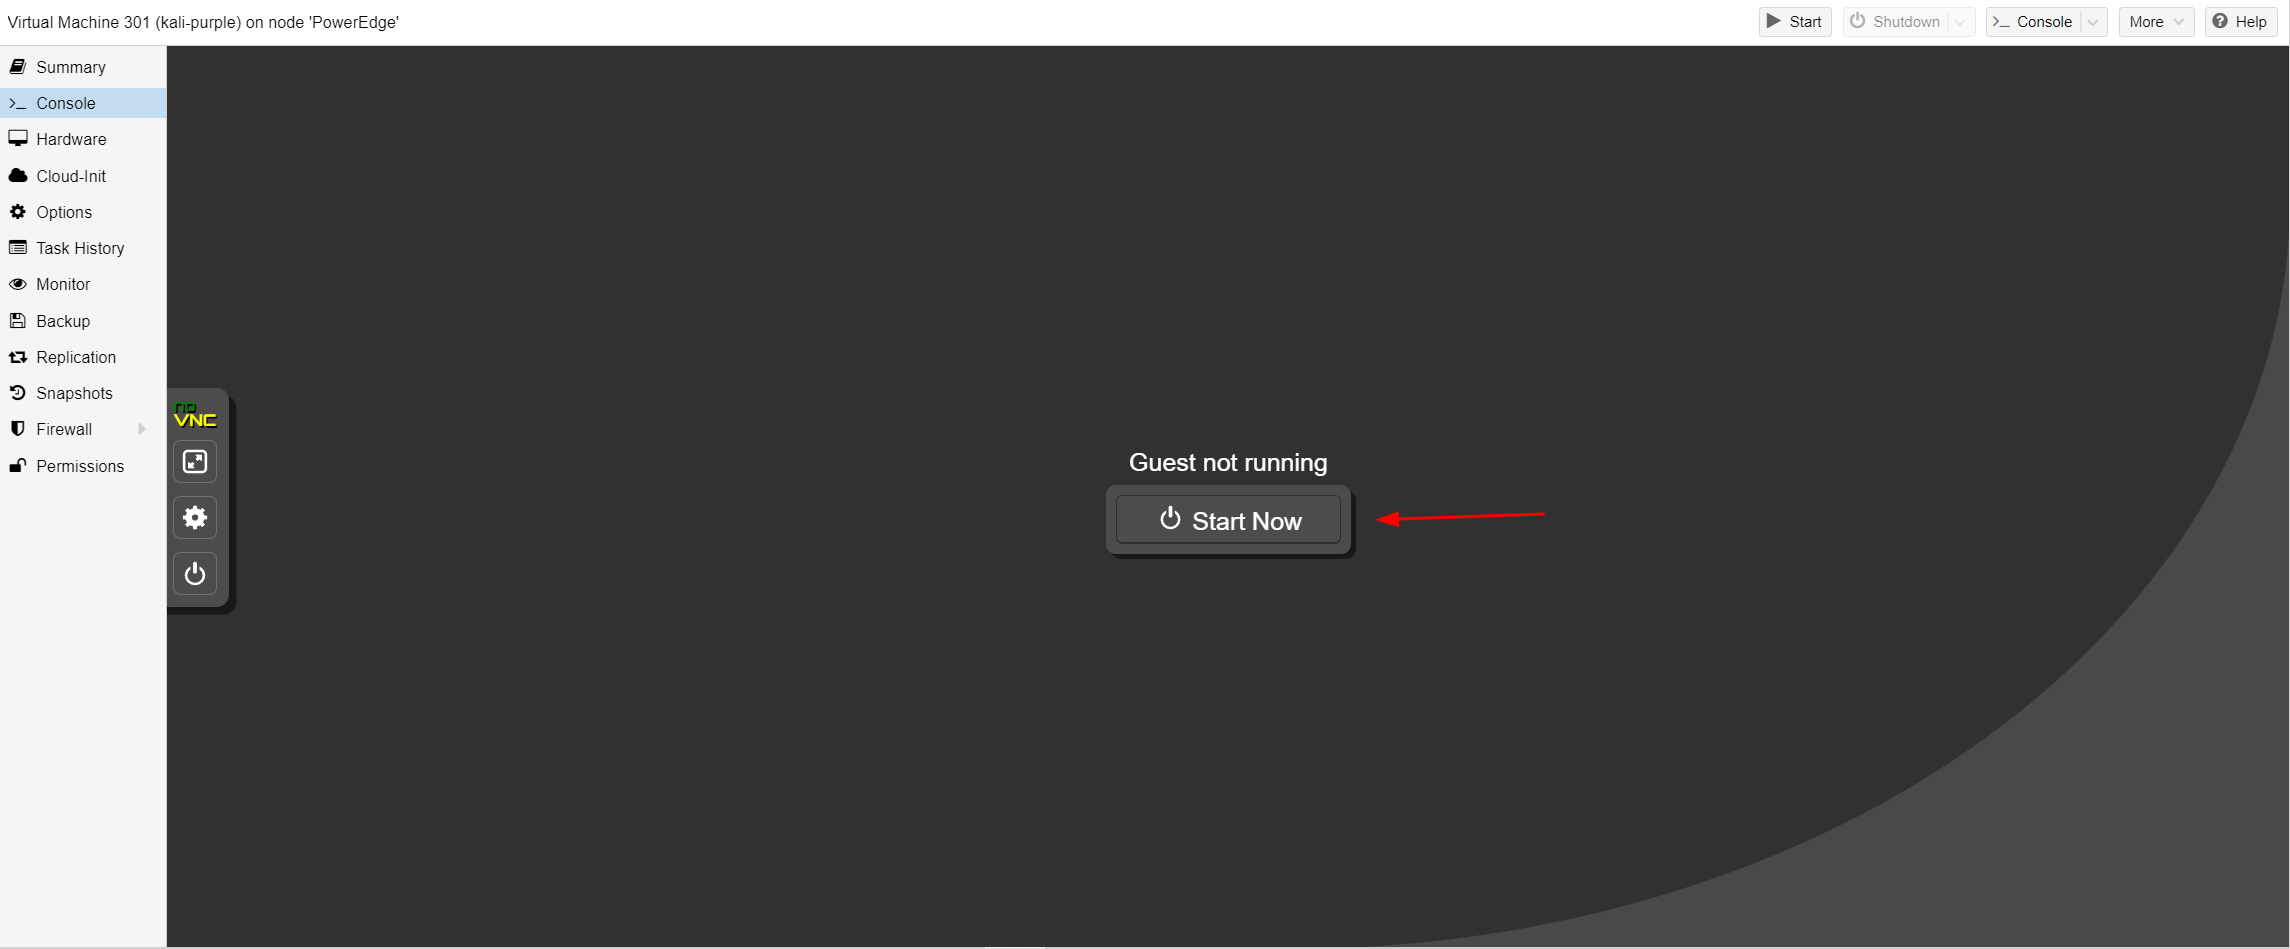
Start the VM
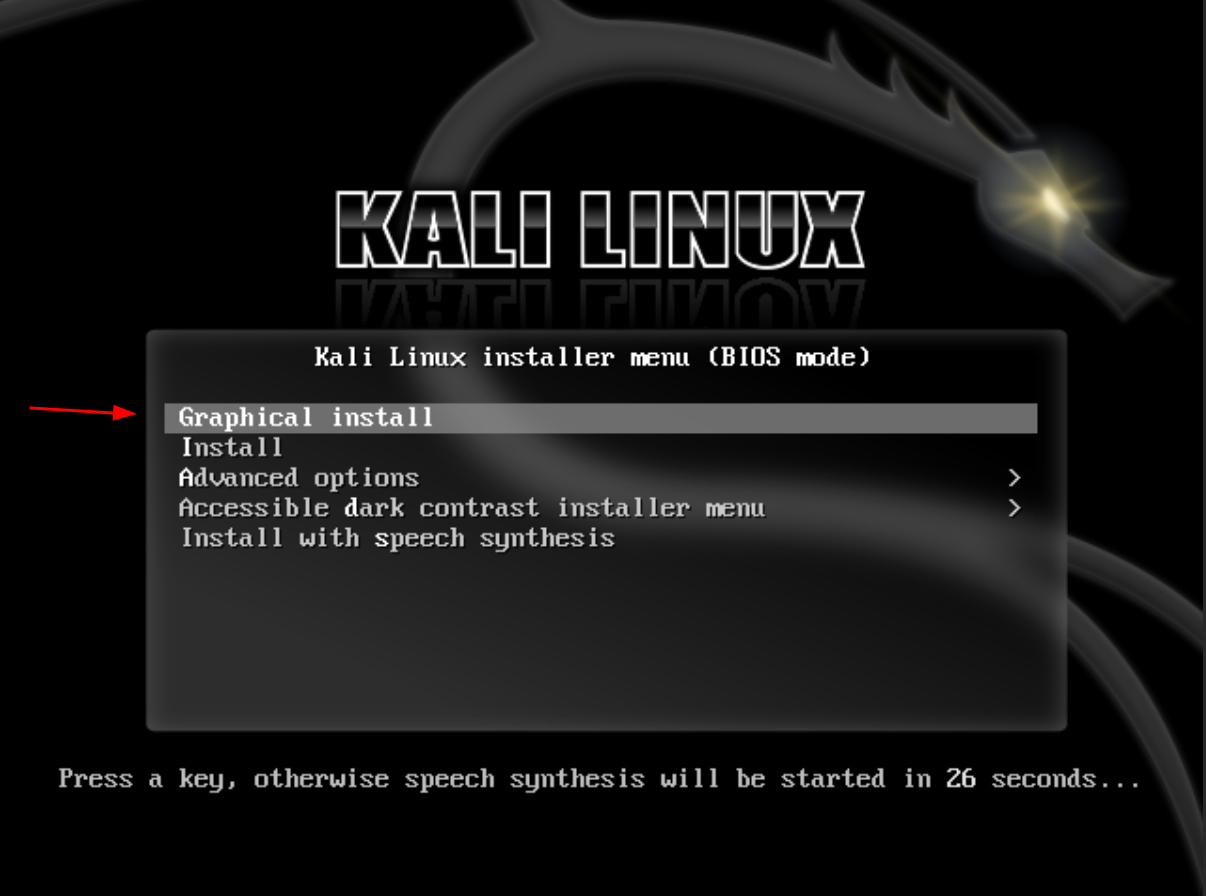
Install Kali
Choose Graphical Install
Select language > Select location > Select keyboard layout
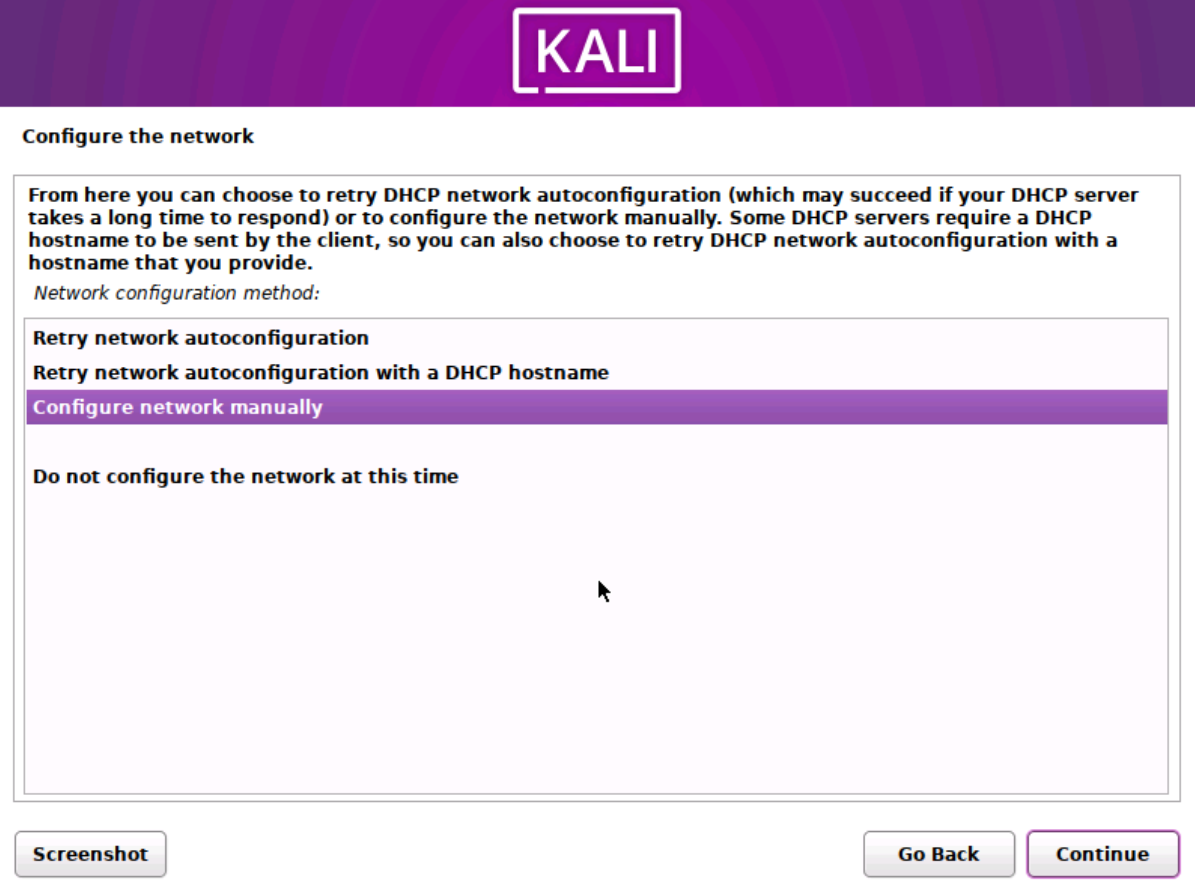
Configure network manually
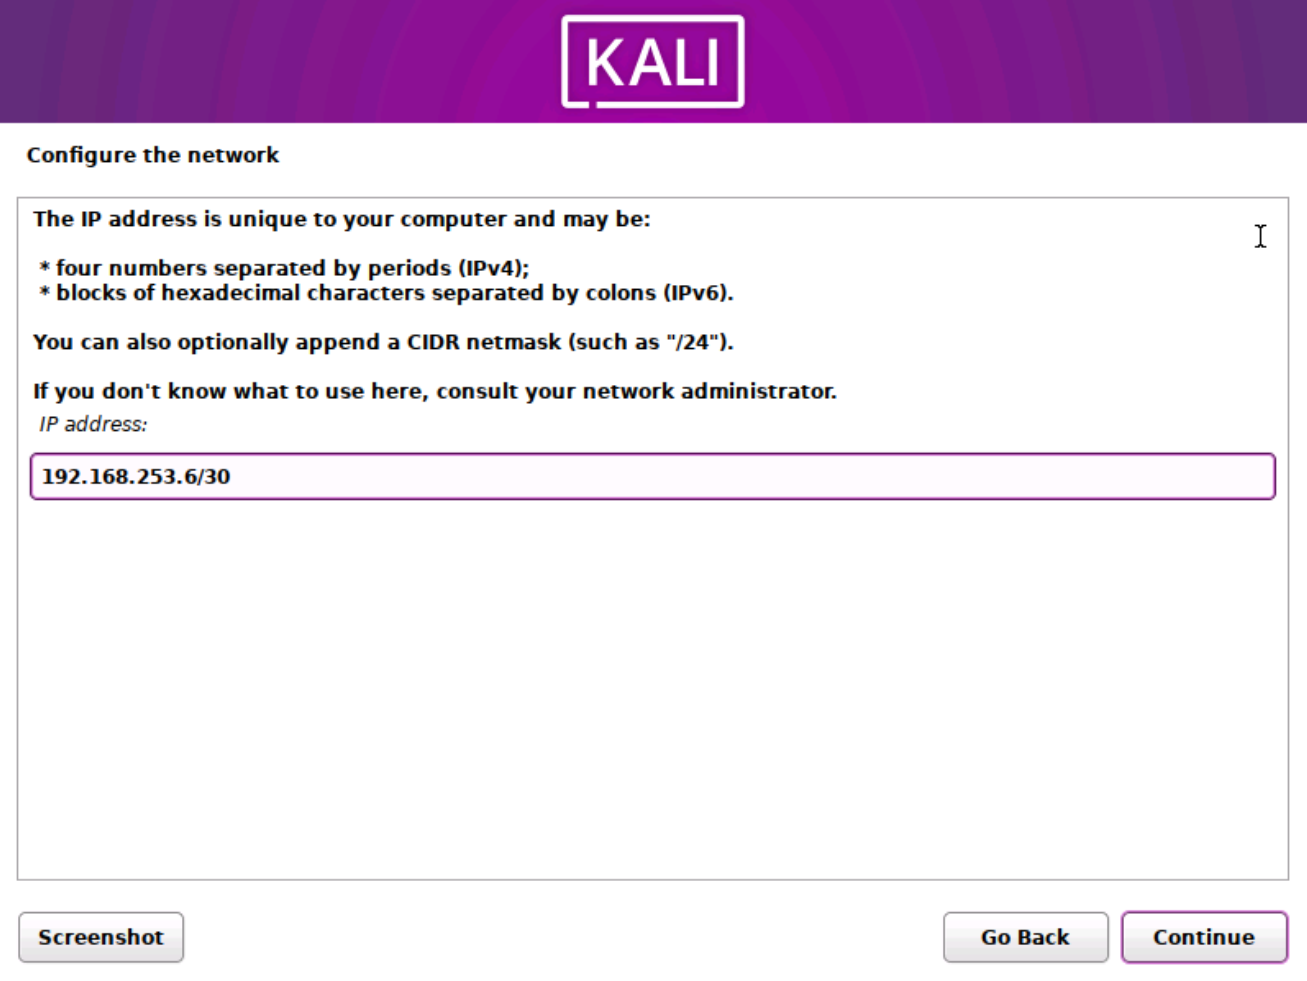
Type 192.168.253.6/30
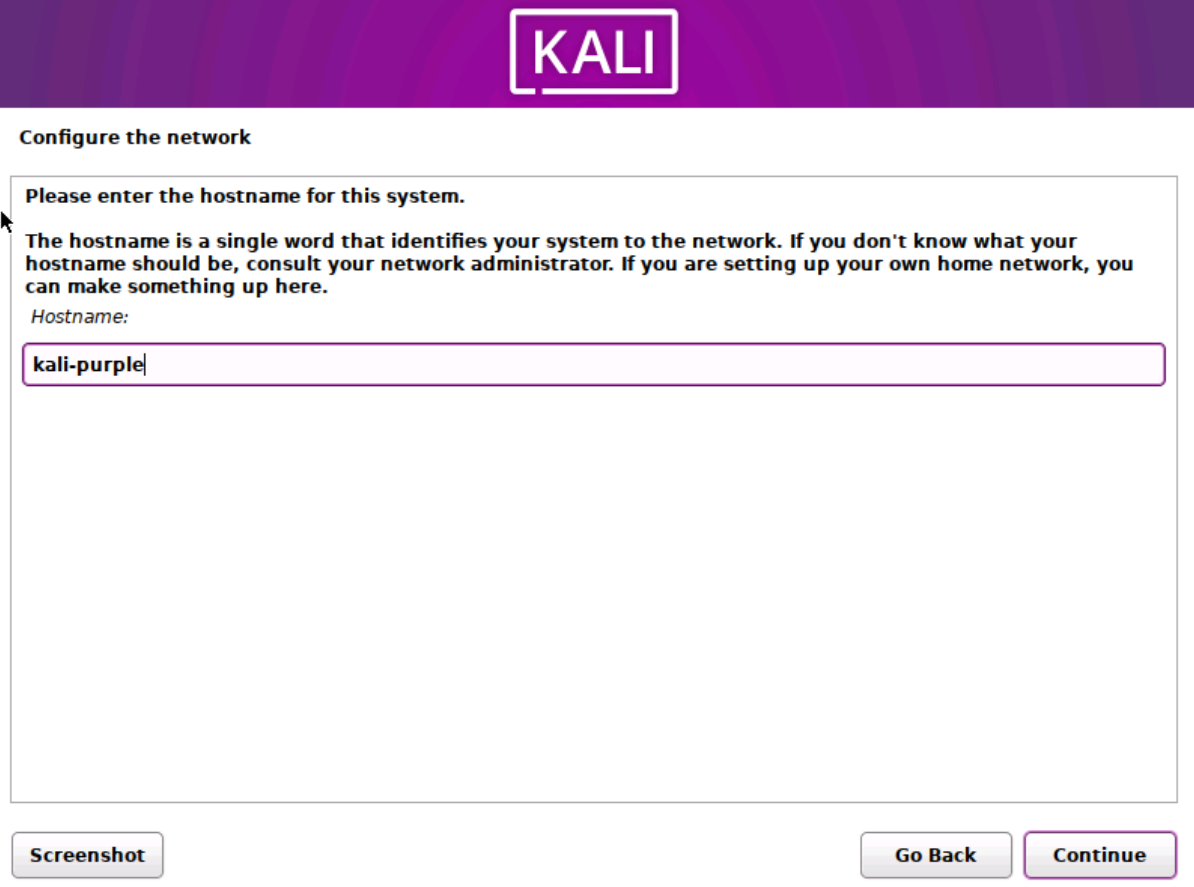
Type kali-purple
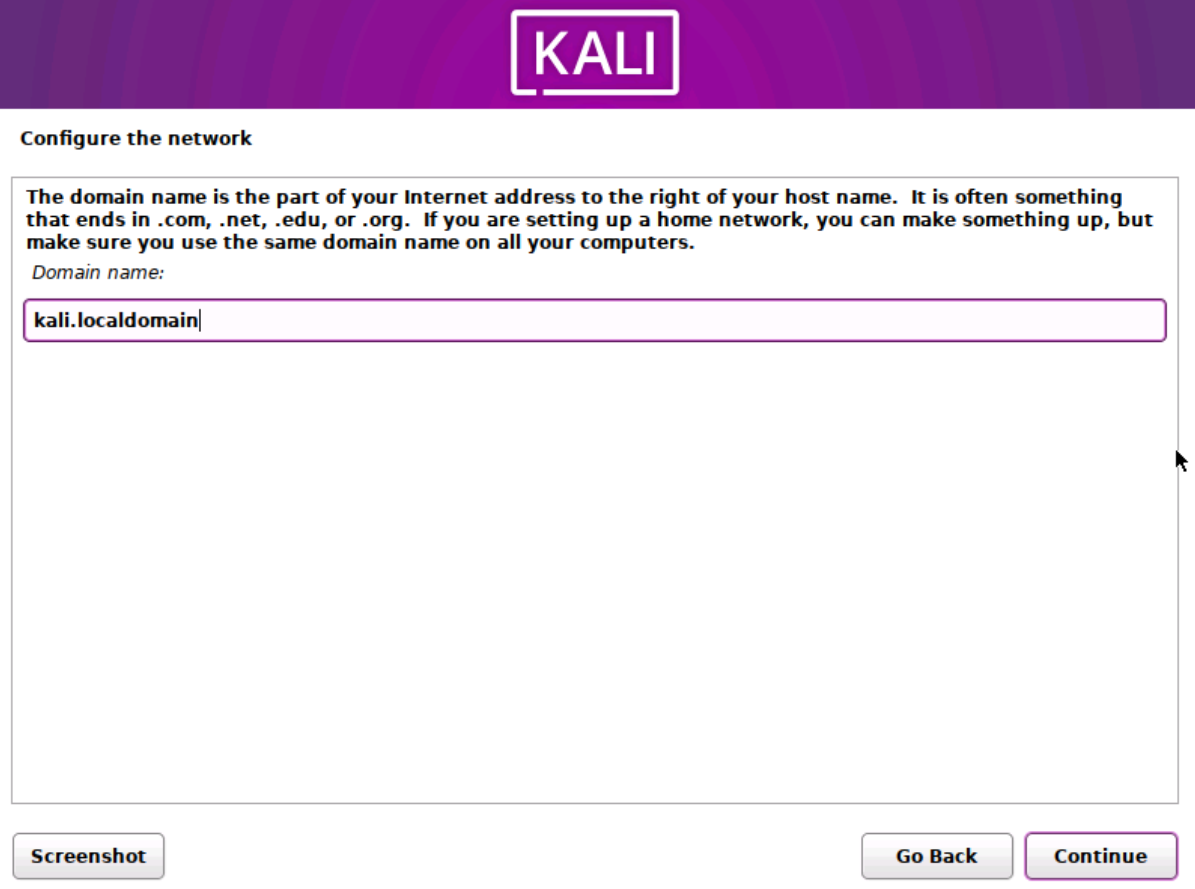
Optionally enter kali.localdomain
Skip name > Create username > Create password > Select time zone
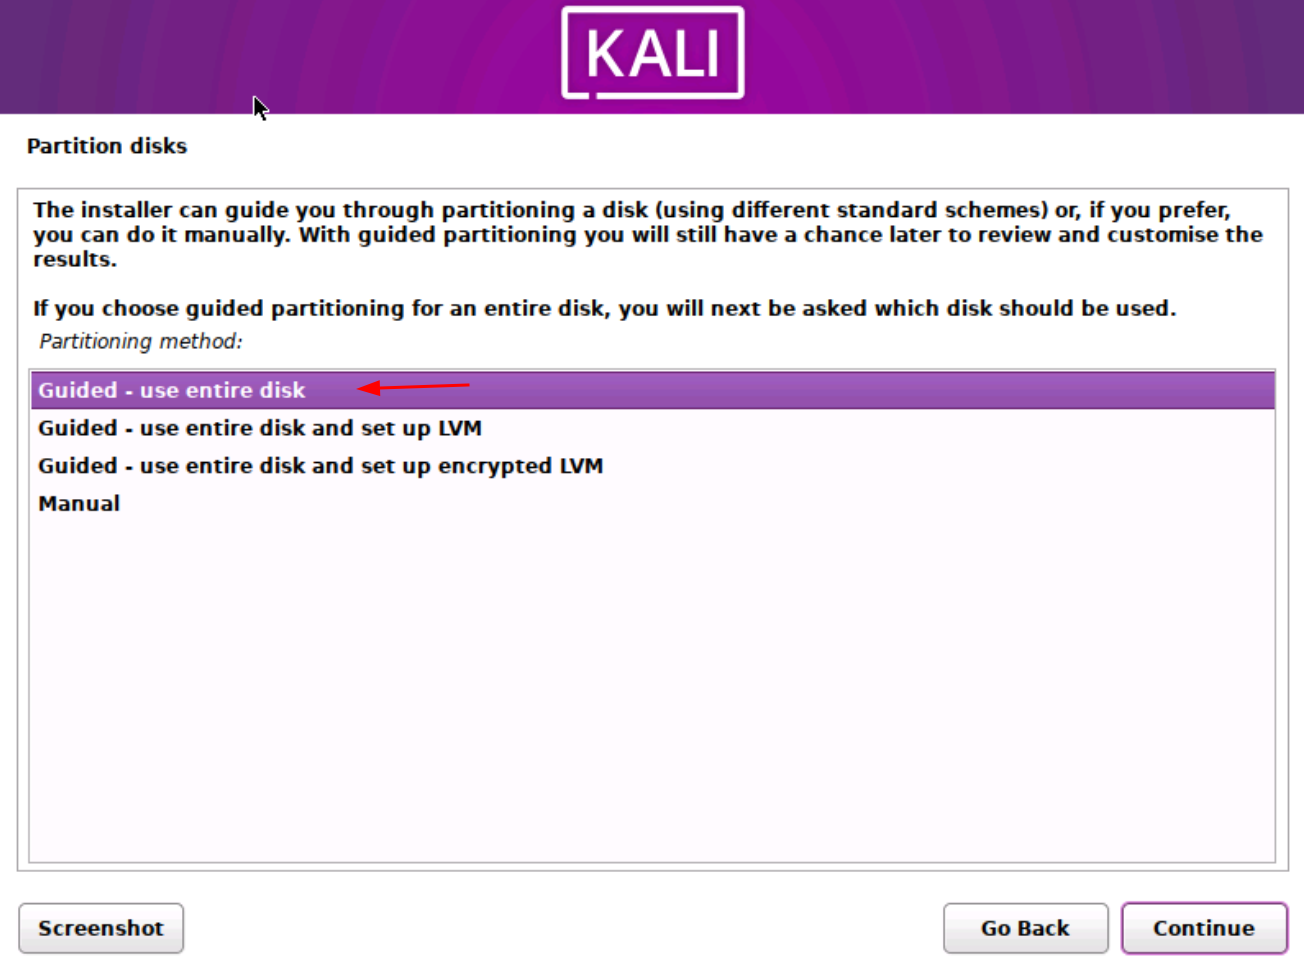
Choose use entire disk
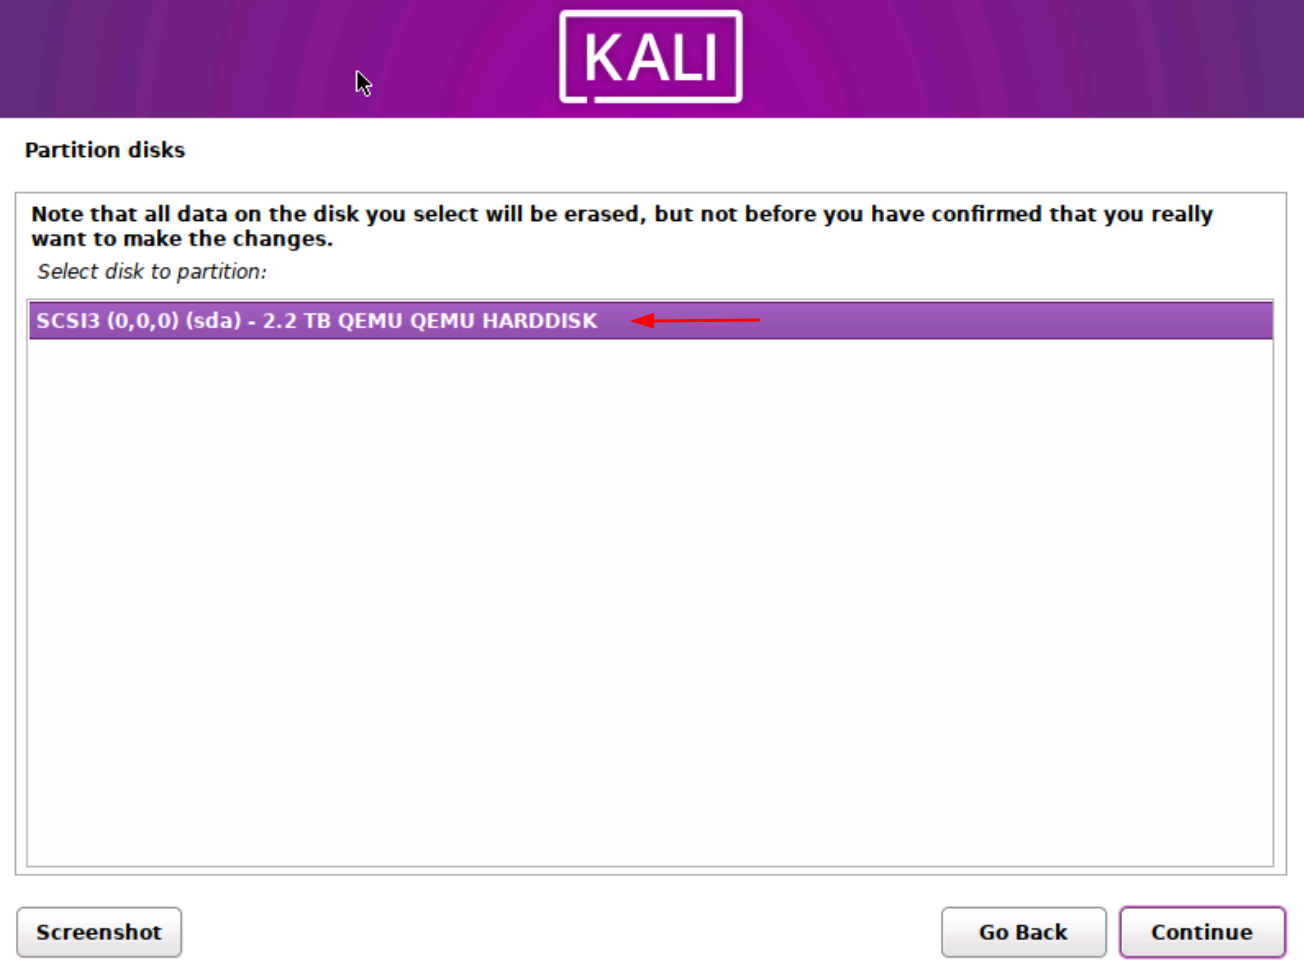
Choose your disk
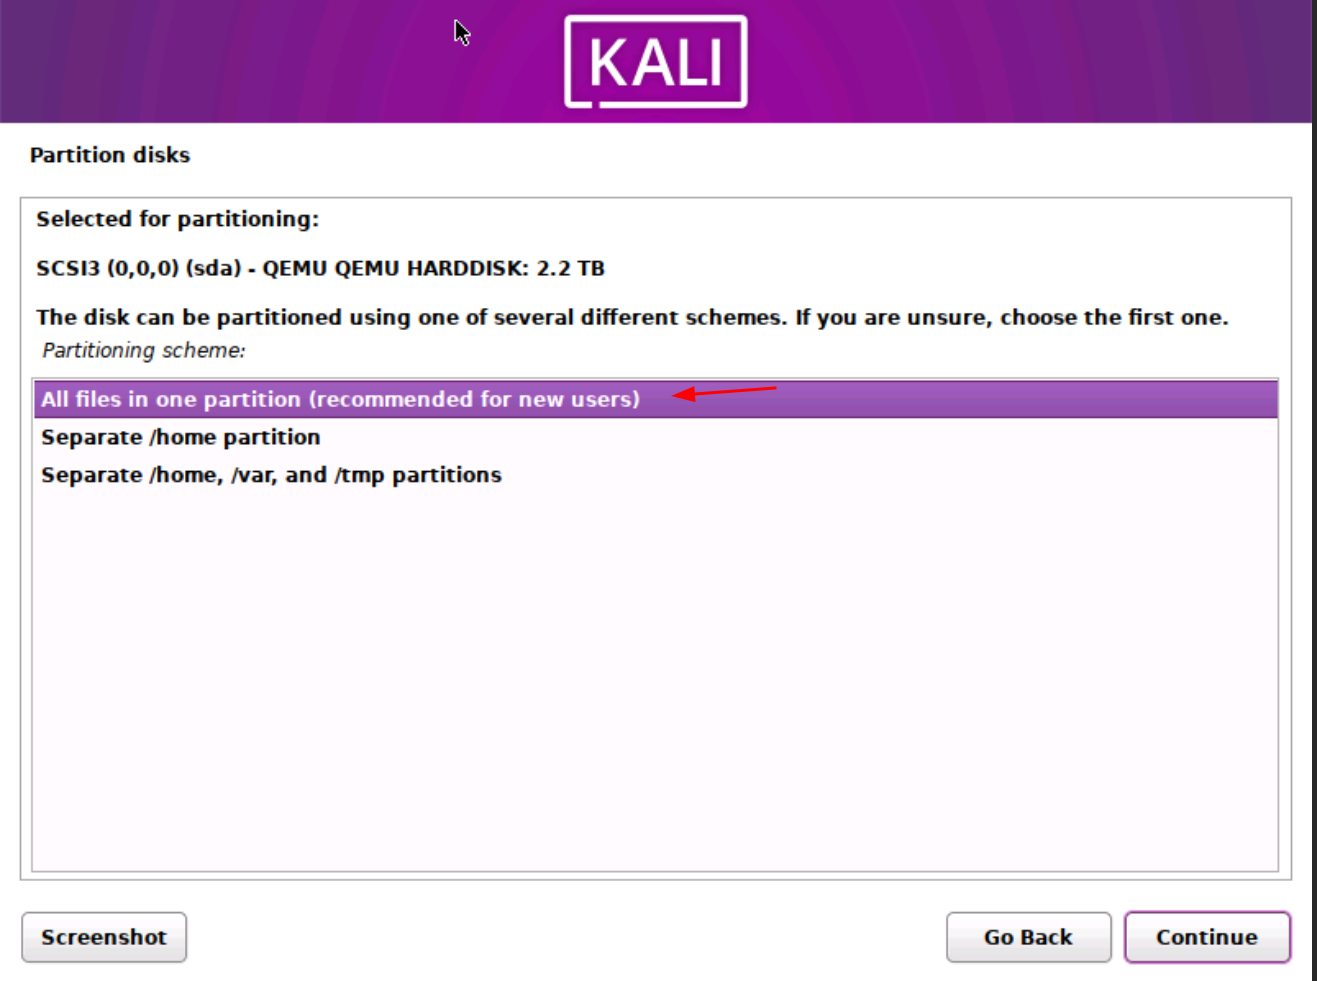
All files in one partition
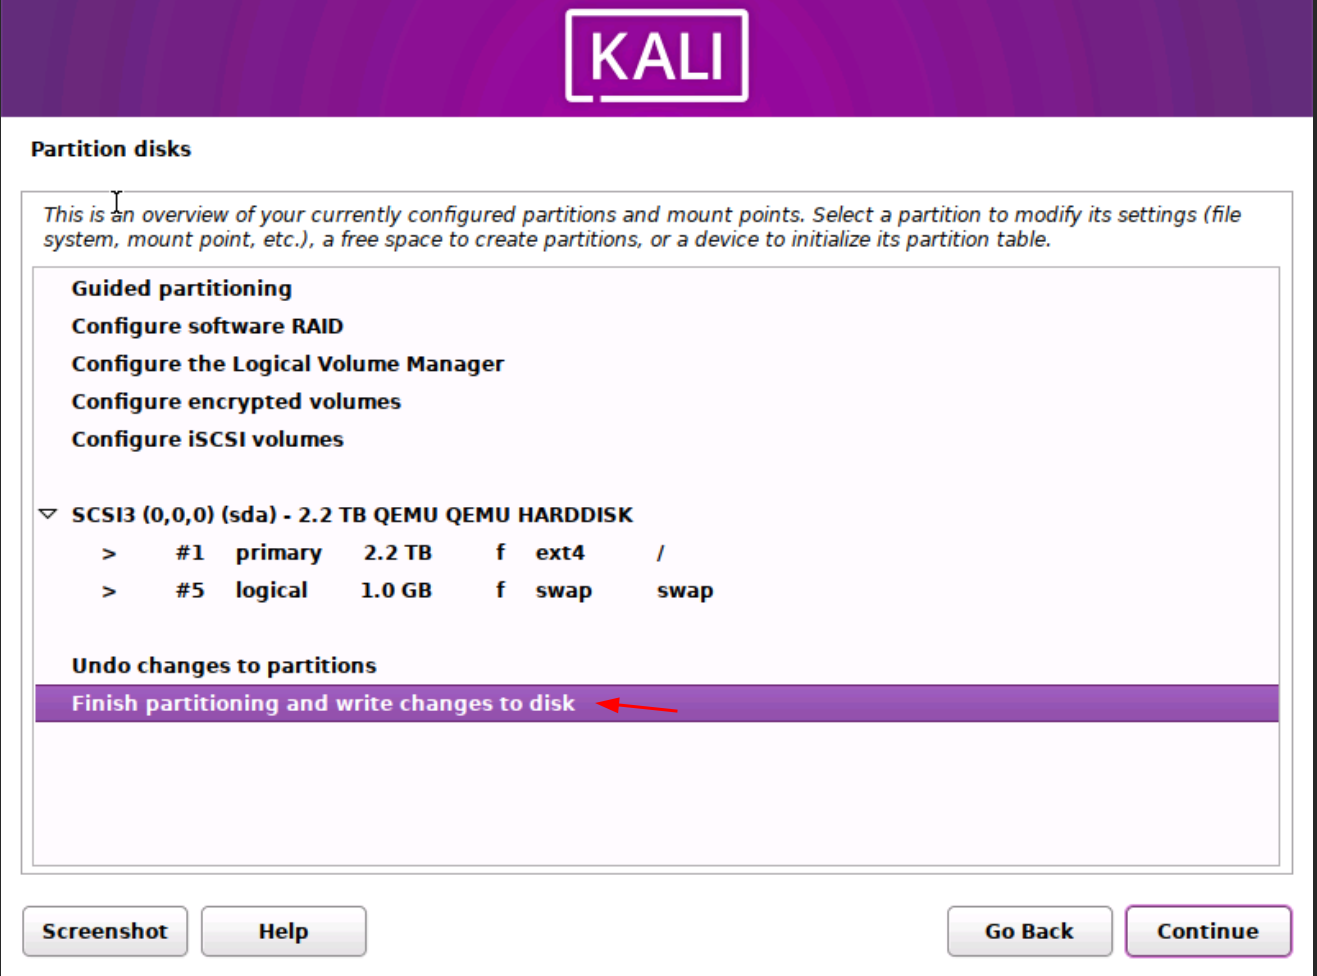
Finish
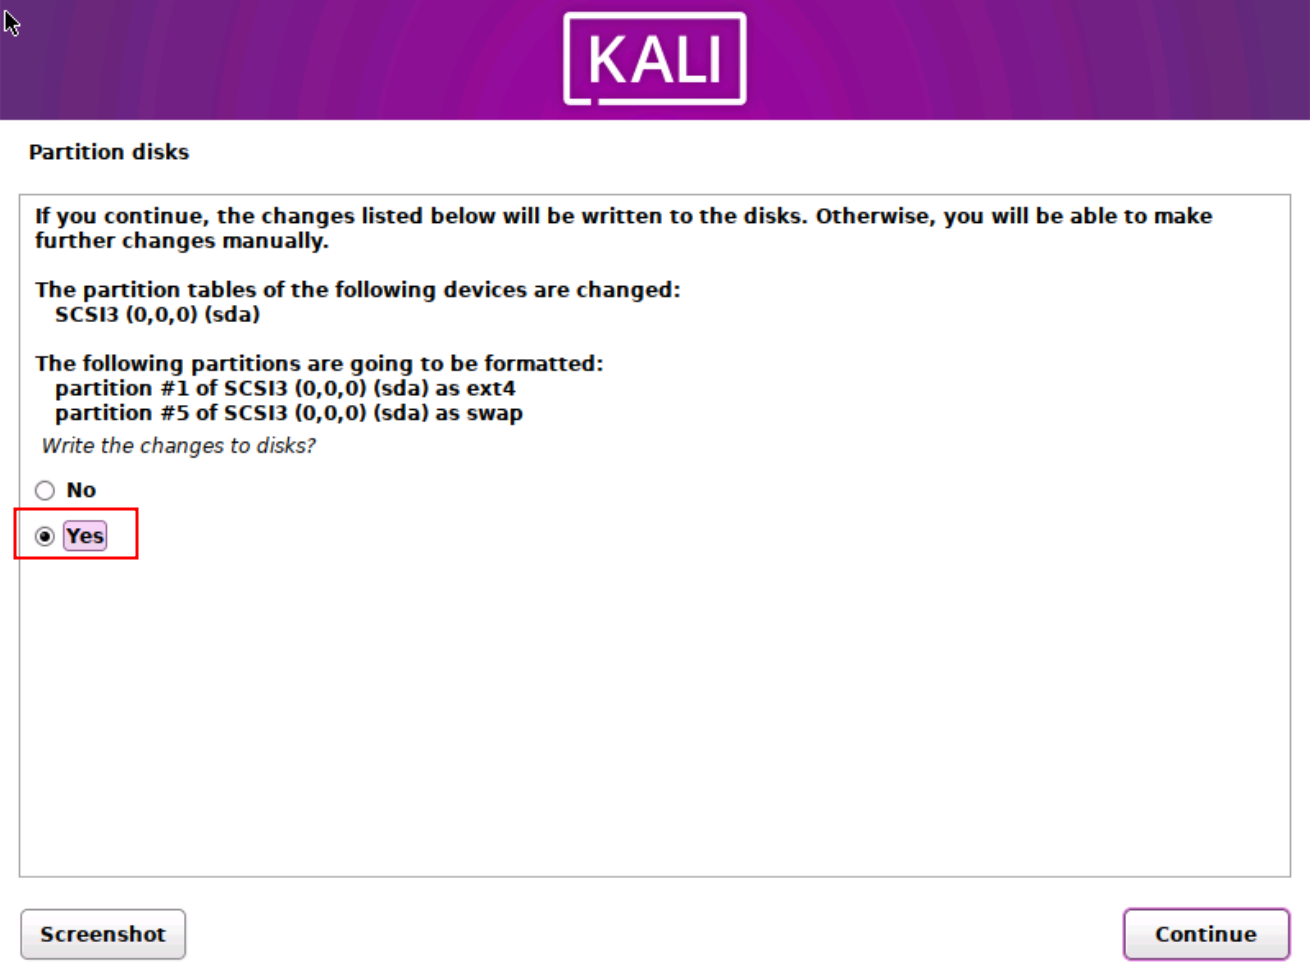
Select Yes
Select only the top two options

Choose Yes
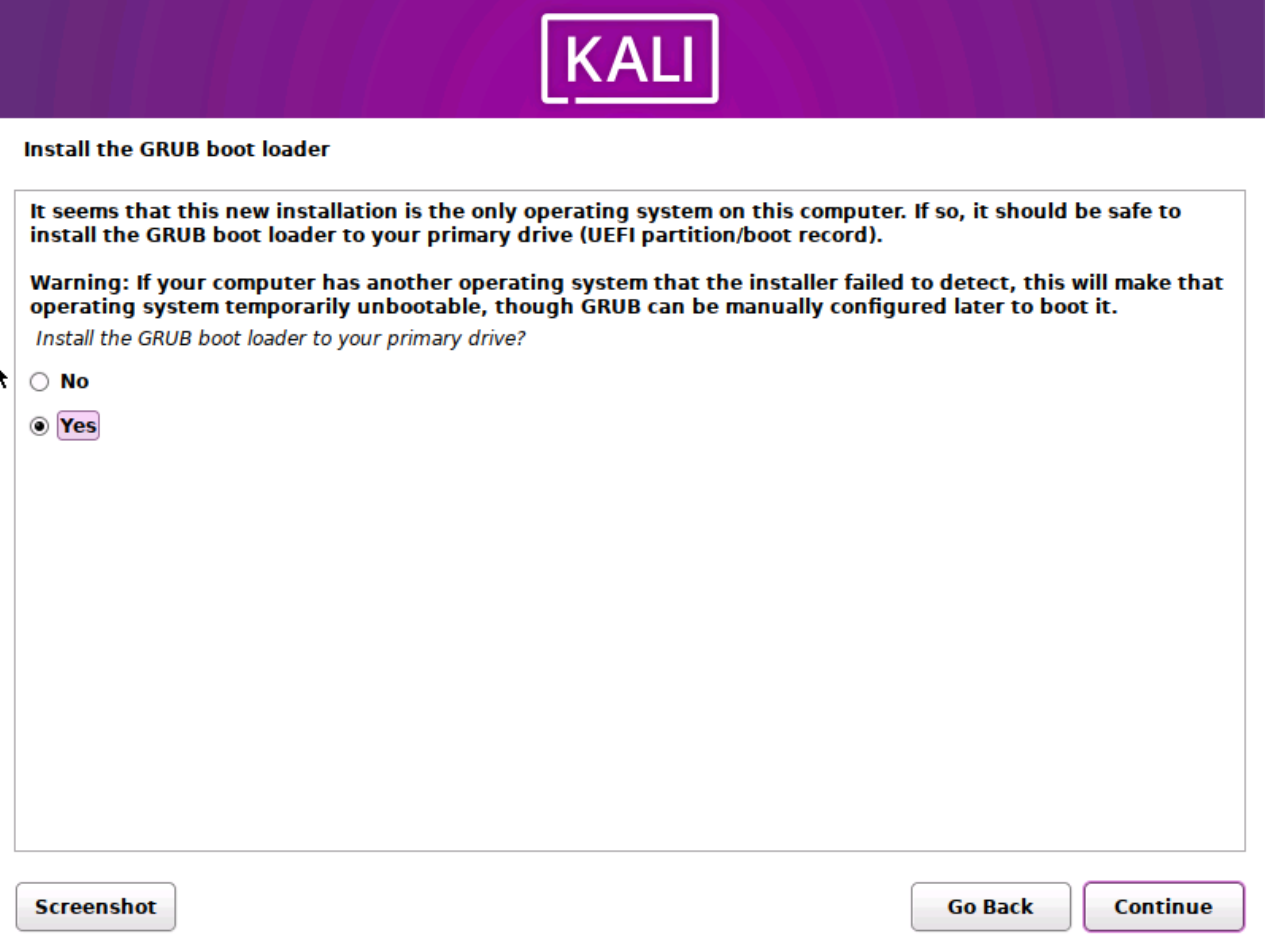
Select drive to install bootloader to > Reboot and login
Enable Serial Console
Edit using text editor:
sudo nano /etc/default/grub
Paste the following into the config file
## Kali Purple: Enable serial console
GRUB_CMDLINE_LINUX_DEFAULT="quiet console=ttyS0,115200n8 console=tty1"
GRUB_TERMINAL="serial console"
GRUB_SERIAL_COMMAND="serial --speed=115200 --unit=0 --word=8 --parity=no --stop=1"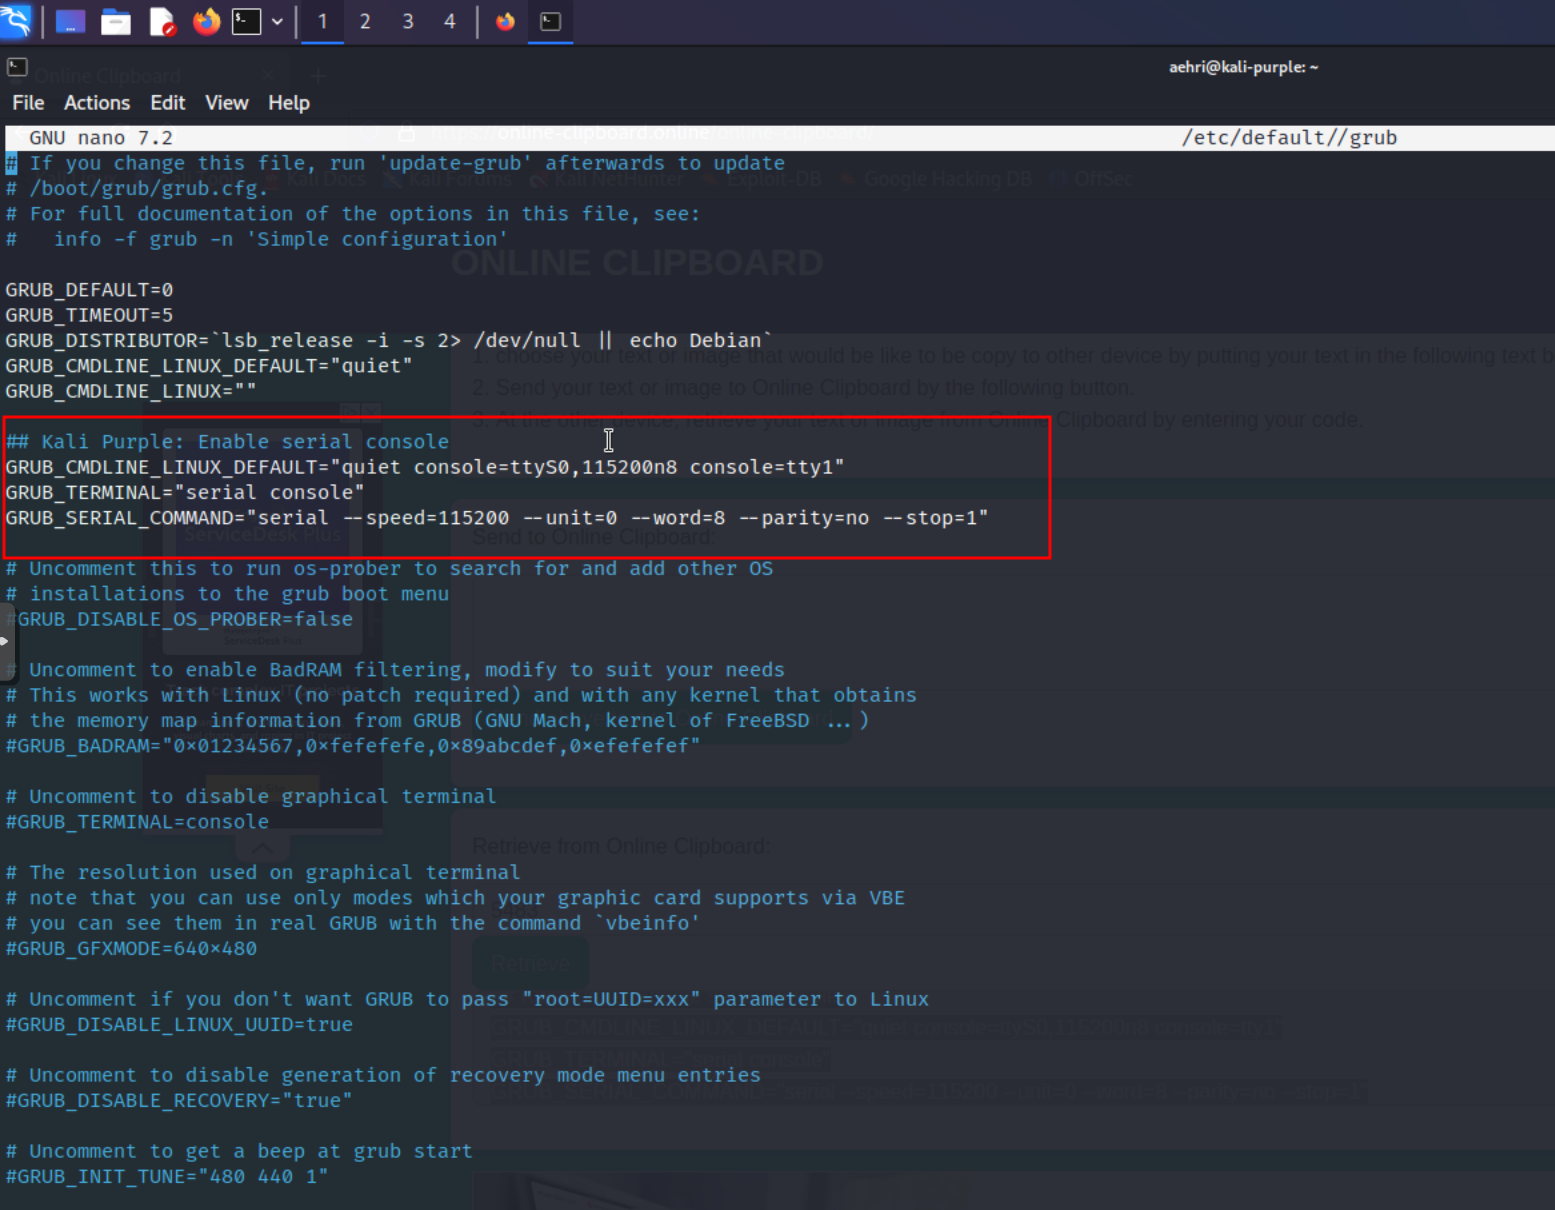
sudo update-grub
Enabling SSH and RDP
Install SSH
sudo apt-get update
sudo apt-get install ssh -y
sudo systemctl enable ssh.service --now
Install XRDP
sudo apt update && sudo apt full-upgrade -y
sudo apt install xrdp -y
sudo systemctl enable xrdp --now
Fix XRDP error message on login:
sudo wget -P /etc/polkit-1/localauthority/50-local.d https://gitlab.com/kalilinux/documentation/kali-purple/-/raw/main/301_kali-purple/overlays/etc/polkit-1/localauthority/50-local.d/45-allow-colord.pklaReboot