Kali Purple SOC: Part 3 – Installing and Configuring Elastic


Installing Elastic and Kibana
Install Elasticsearch Dependencies
sudo apt update && sudo apt upgrade -y
sudo apt-get install curl
curl -fsSL https://artifacts.elastic.co/GPG-KEY-elasticsearch | sudo gpg --dearmor -o /etc/apt/trusted.gpg.d/elastic-archive-keyring.gpgecho "deb https://artifacts.elastic.co/packages/8.x/apt stable main" | sudo tee -a /etc/apt/sources.list.d/elastic-8.x.list sudo bash -c "export HOSTNAME=192.168.253.6; apt-get install elasticsearch -y"
Convert to a Single Node Setup
sudo sed -e '/cluster.initial_master_nodes/ s/^#*/#/' -i /etc/elasticsearch/elasticsearch.ymlecho "discovery.type: single-node" | sudo tee -a /etc/elasticsearch/elasticsearch.ymlInstall Kibana
sudo apt install kibana -y
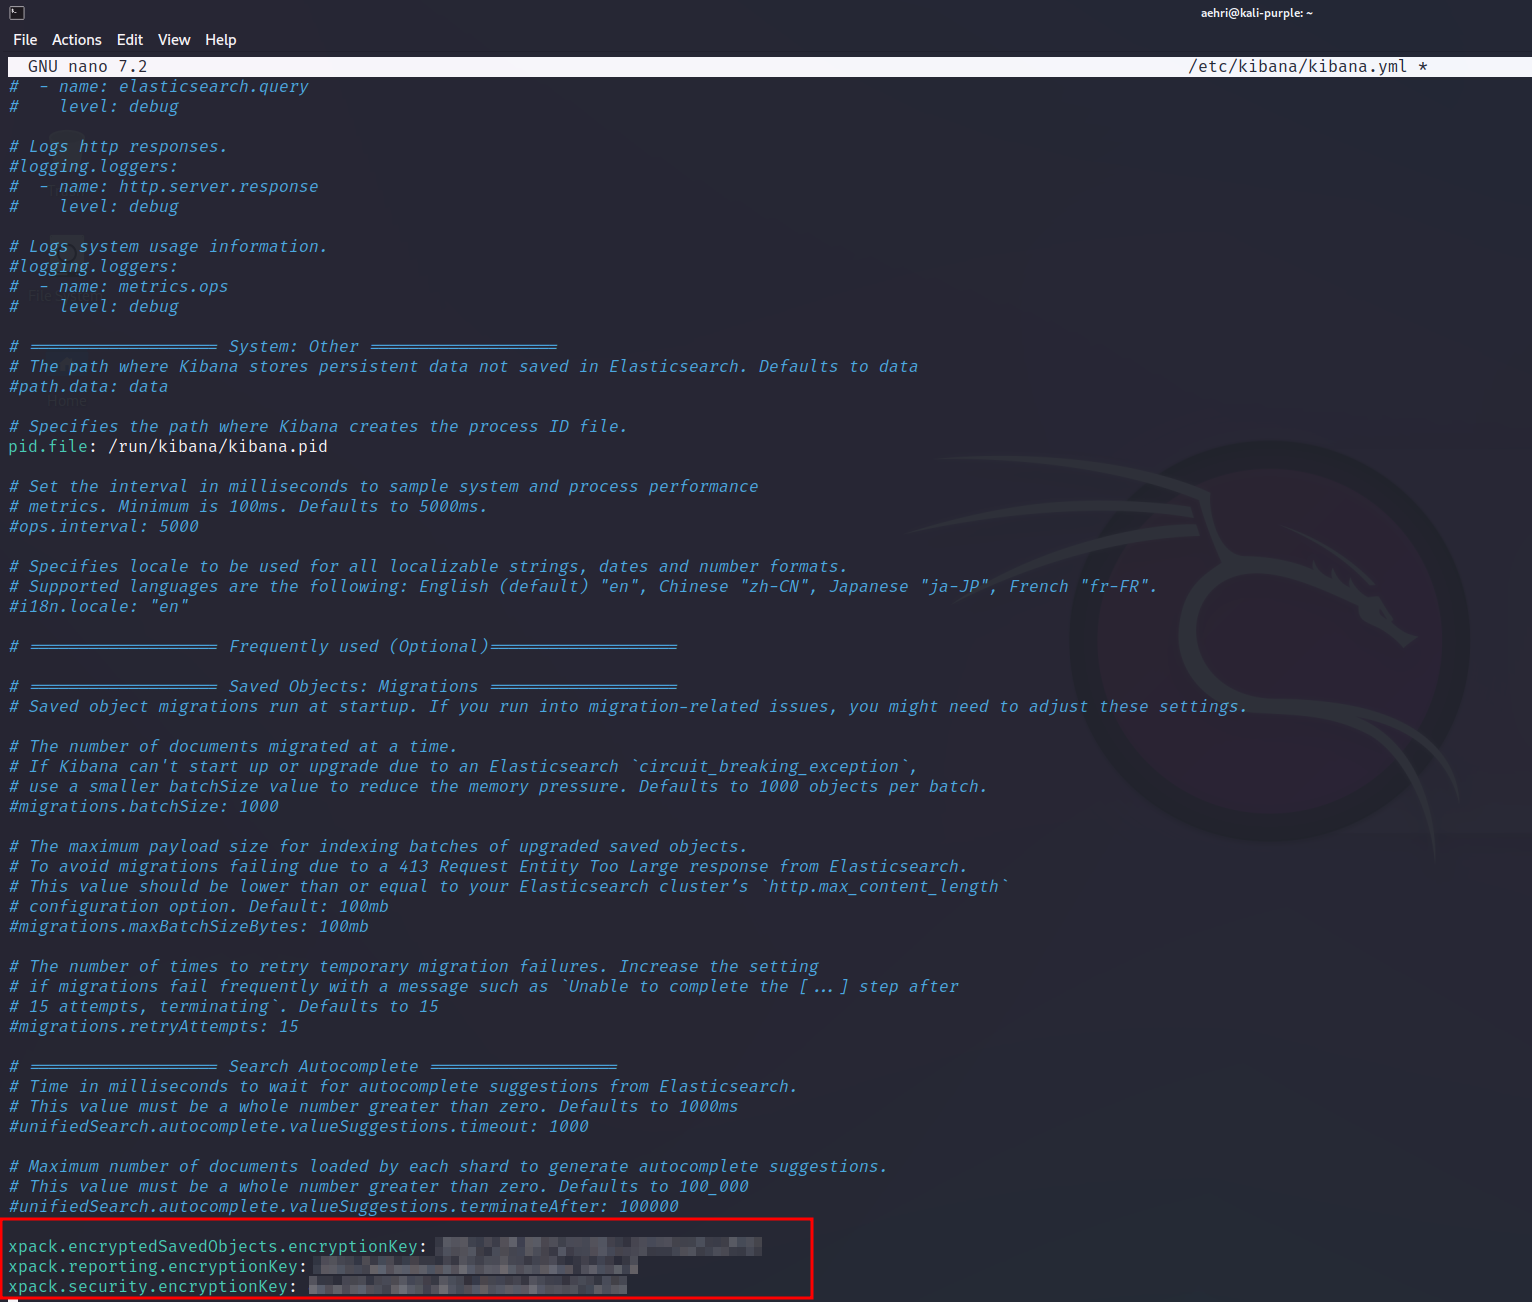
sudo /usr/share/kibana/bin/kibana-encryption-keys generate -q
xpack.encryptedSavedObjects.encryptionKey
xpack.reporting.encryptionKey
xpack.security.encryptionKey
Switch to root account and add keys to the kibana.yml file
sudo su -
nano /etc/kibana/kibana.yml
echo "server.host: \"192.168.253.6\"" | sudo tee -a /etc/kibana/kibana.yml
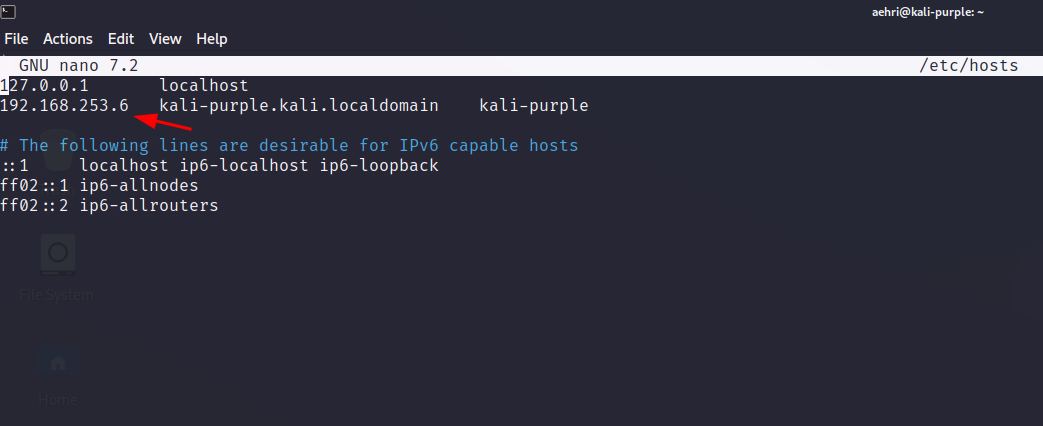
Edit /etc/hosts
nano /etc/hosts
Change this IP from 192.168.253.5 to 192.168.253.6 (if it's not already set to that)
sudo systemctl enable elasticsearch kibana --now
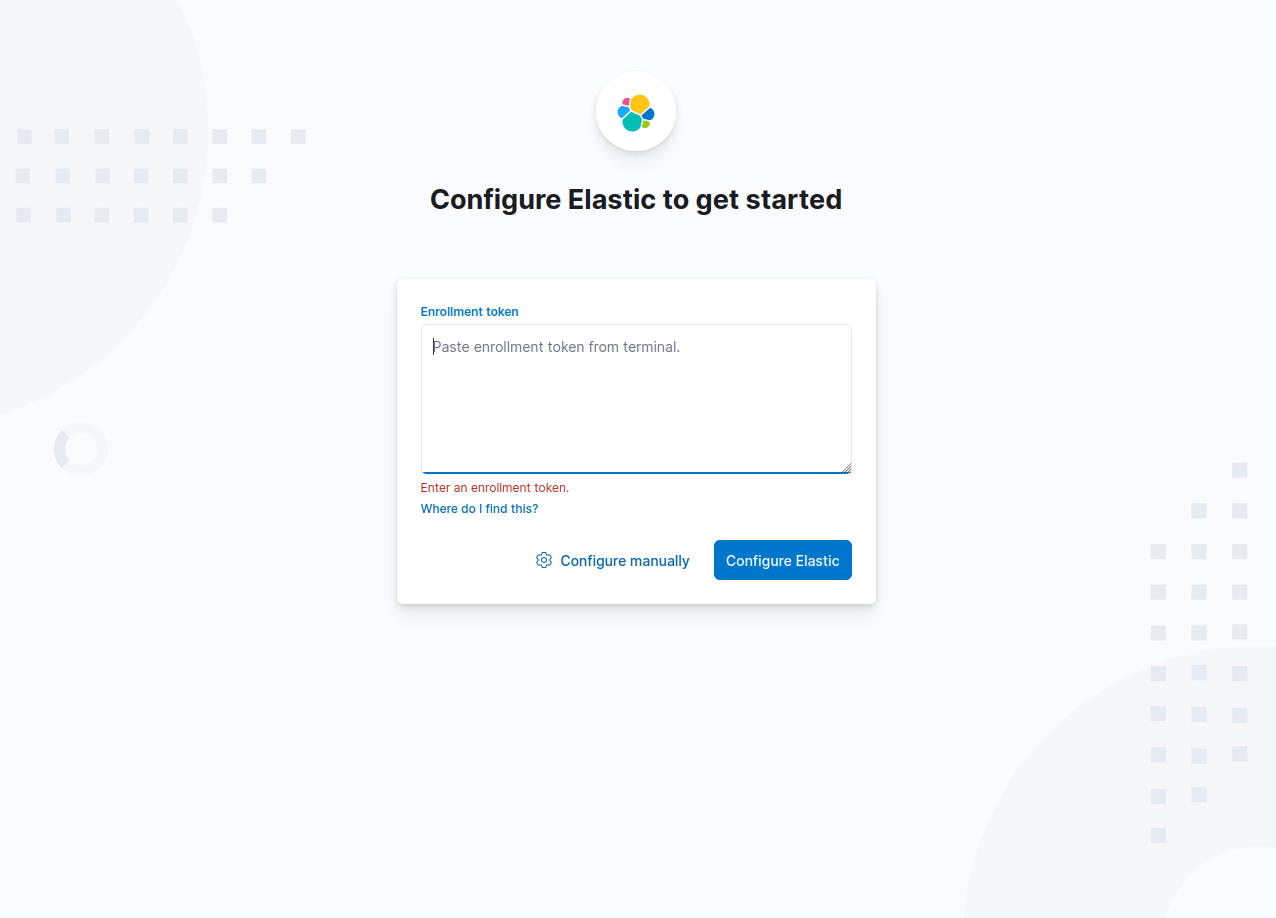
Generate an enrollment token
sudo /usr/share/elasticsearch/bin/elasticsearch-create-enrollment-token -s kibana
Open a web browser and go to http://192.168.253.6:5601
Paste the enrollment token.
Enter this into a Kali Purple VM terminal window:
sudo /usr/share/kibana/bin/kibana-verification-code
Enter the verification code into browser.
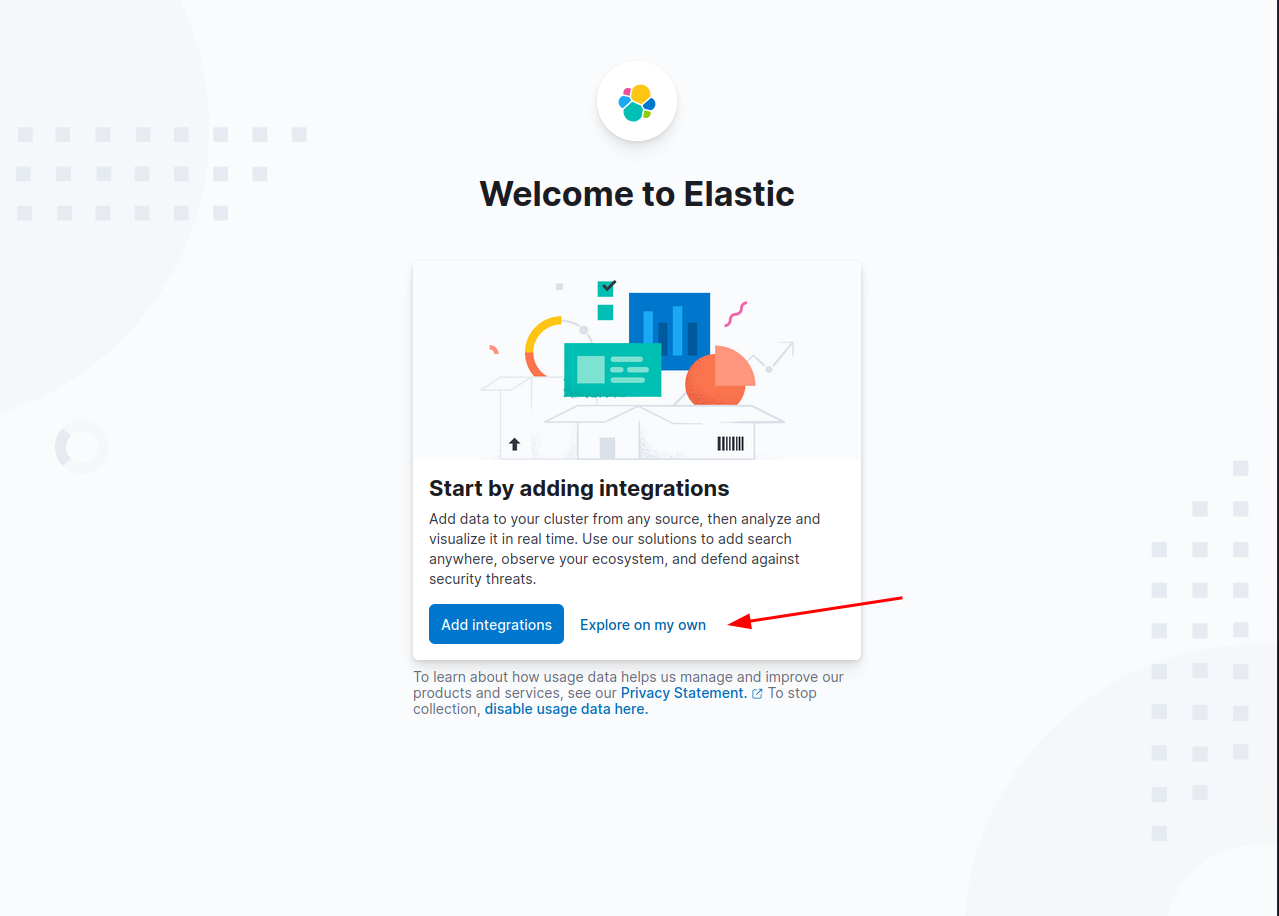
For the username and password, enter elastic as username and the Elastic password we noted earlier.
Enable HTTPS for Kibana
sudo /usr/share/elasticsearch/bin/elasticsearch-certutil ca
Enter a password.
sudo /usr/share/elasticsearch/bin/elasticsearch-certutil cert --ca elastic-stack-ca.p12 --dns 192.168.253.6,elastic.kali.localdomain,kali-purple --out kibana-server.p12sudo openssl pkcs12 -in /usr/share/elasticsearch/elastic-stack-ca.p12 -clcerts -nokeys -out /etc/kibana/kibana-server_ca.crtsudo openssl pkcs12 -in /usr/share/elasticsearch/kibana-server.p12 -out /etc/kibana/kibana-server.crt -clcerts -nokeyssudo openssl pkcs12 -in /usr/share/elasticsearch/kibana-server.p12 -out /etc/kibana/kibana-server.key -nocerts -nodessudo chown root:kibana /etc/kibana/kibana-server_ca.crt
sudo chown root:kibana /etc/kibana/kibana-server.key
sudo chown root:kibana /etc/kibana/kibana-server.crt
sudo chmod 660 /etc/kibana/kibana-server_ca.crt
sudo chmod 660 /etc/kibana/kibana-server.key
sudo chmod 660 /etc/kibana/kibana-server.crt
echo "server.ssl.enabled: true" | sudo tee -a /etc/kibana/kibana.yml
echo "server.ssl.certificate: /etc/kibana/kibana-server.crt" | sudo tee -a /etc/kibana/kibana.ymlecho "server.ssl.key: /etc/kibana/kibana-server.key" | sudo tee -a /etc/kibana/kibana.ymlecho "server.publicBaseUrl: \"https://192.168.253.6:5601\"" | sudo tee -a /etc/kibana/kibana.ymlsudo systemctl restart kibana
Login
Login at https://192.156.253.6:5601
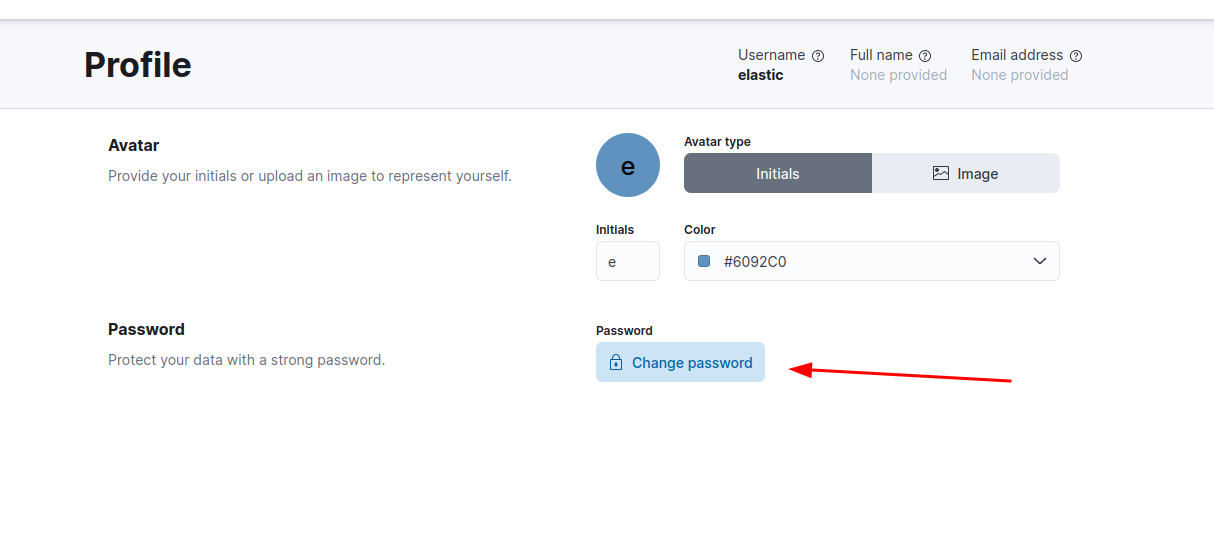
Click the user icon in the top right hand corner.

Edit profile > change password