Kali Purple SOC: Part 8 – Installing Kali Violet VM and Elastic Agent


Installing Kali Violet VM
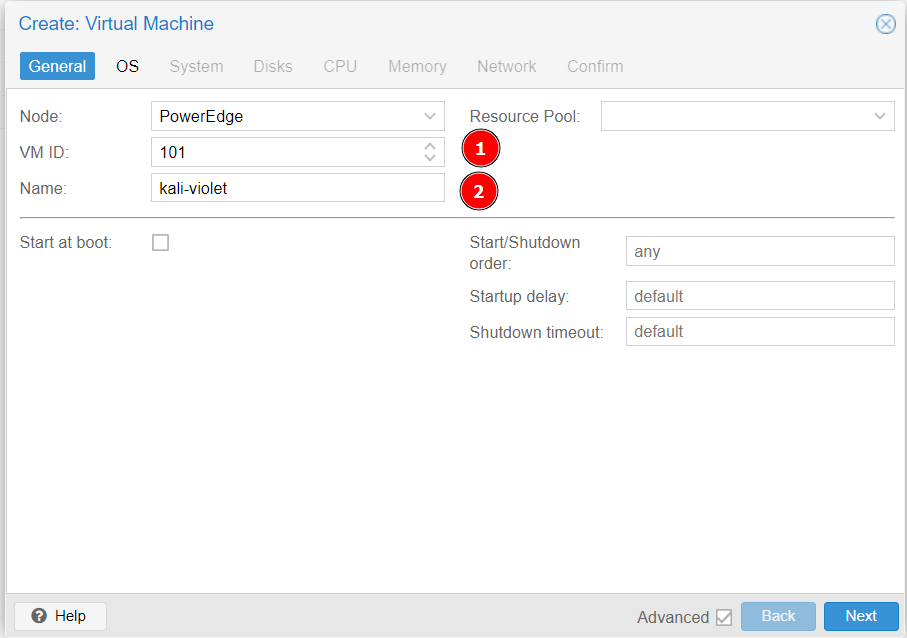
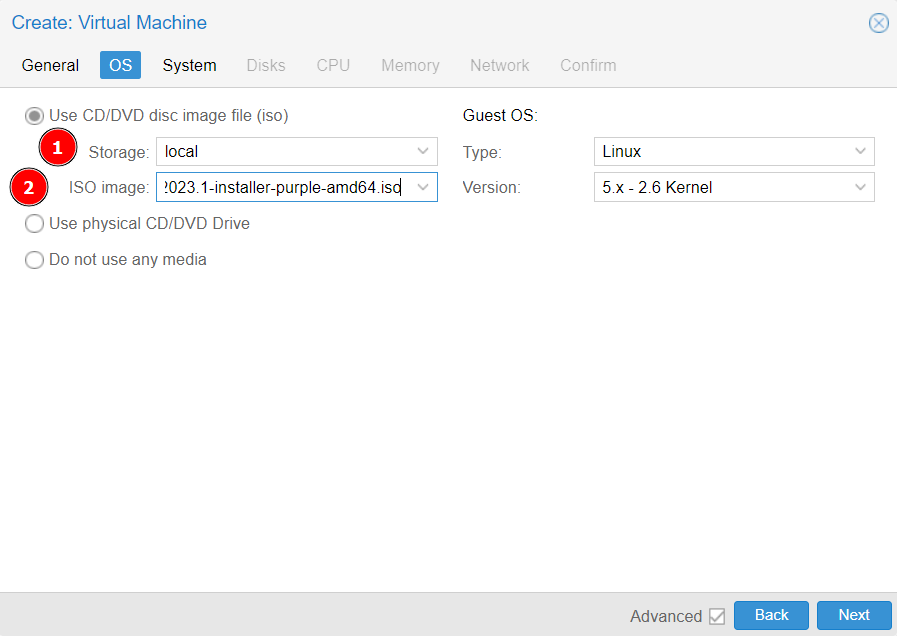
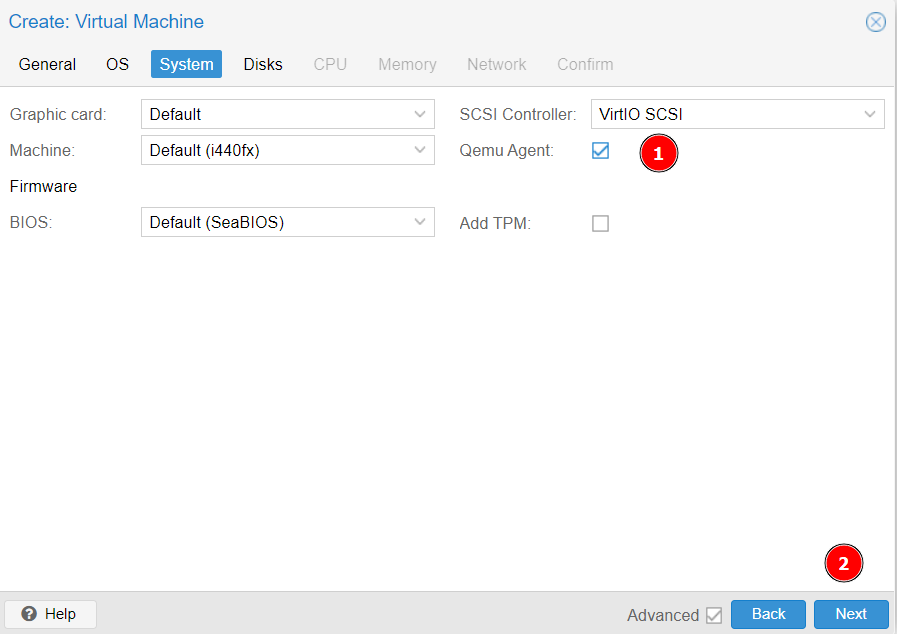
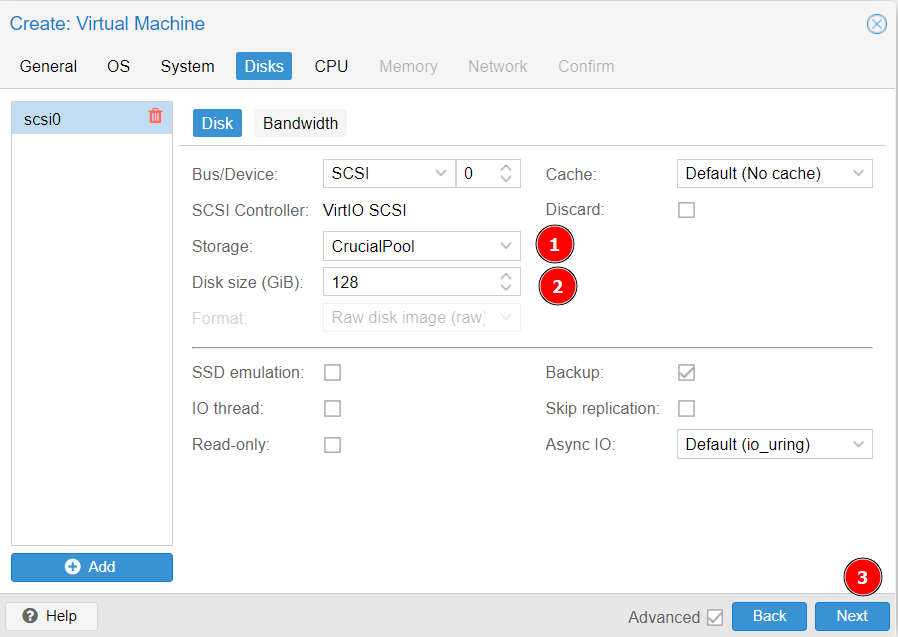
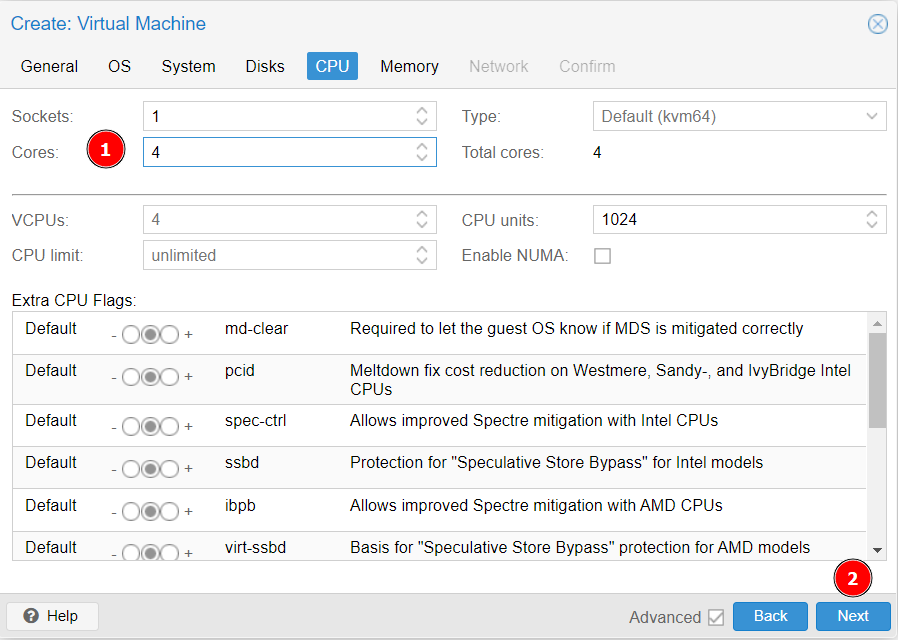
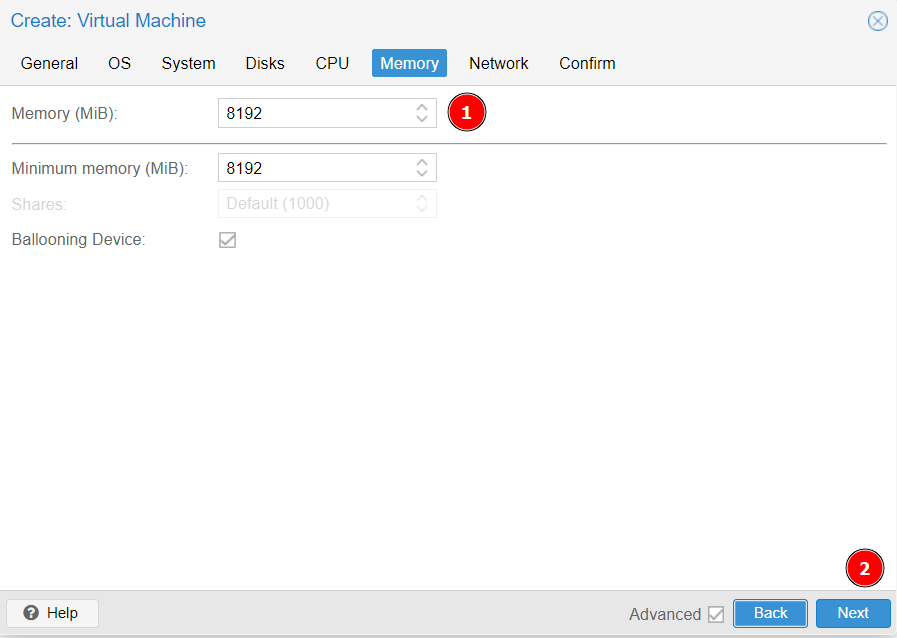
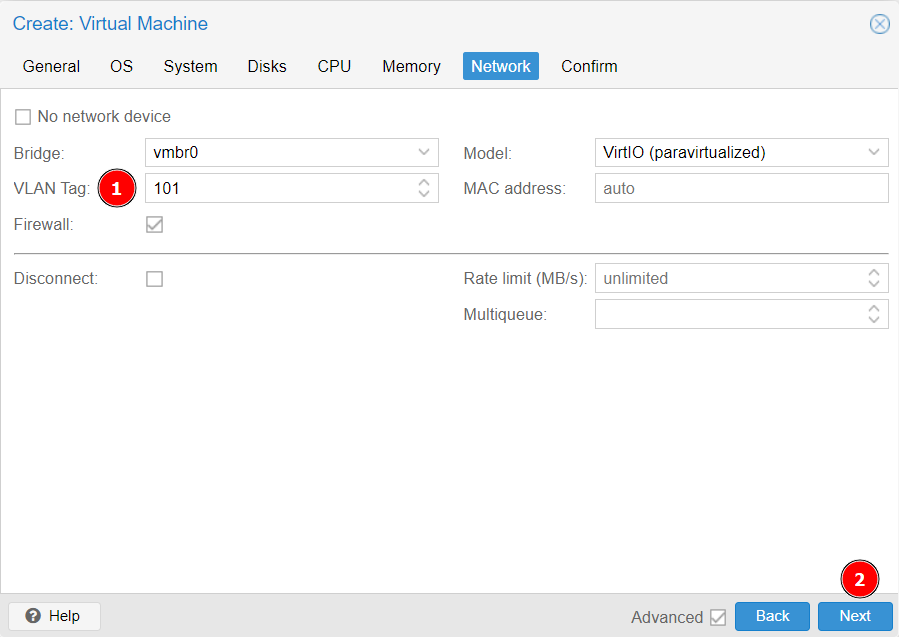
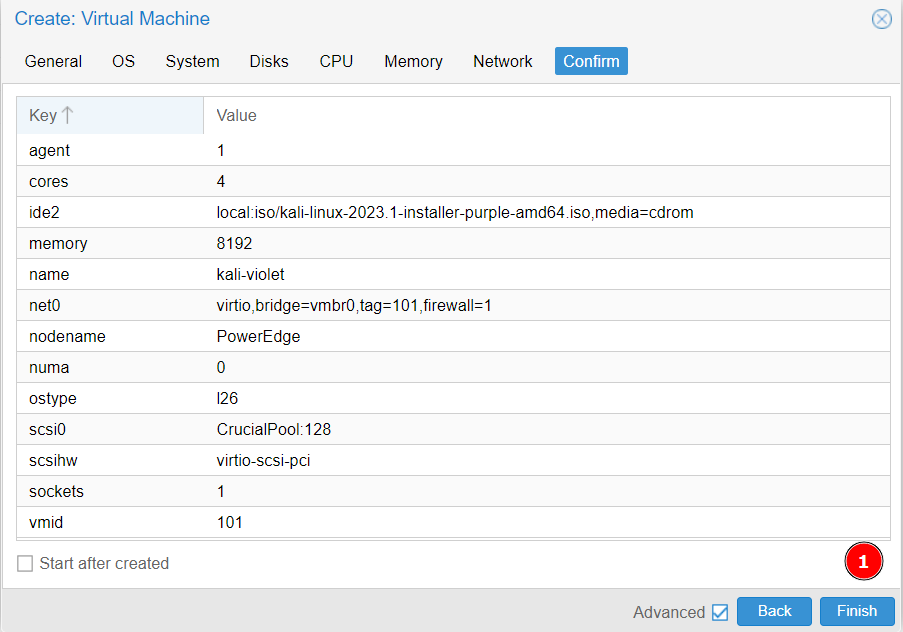
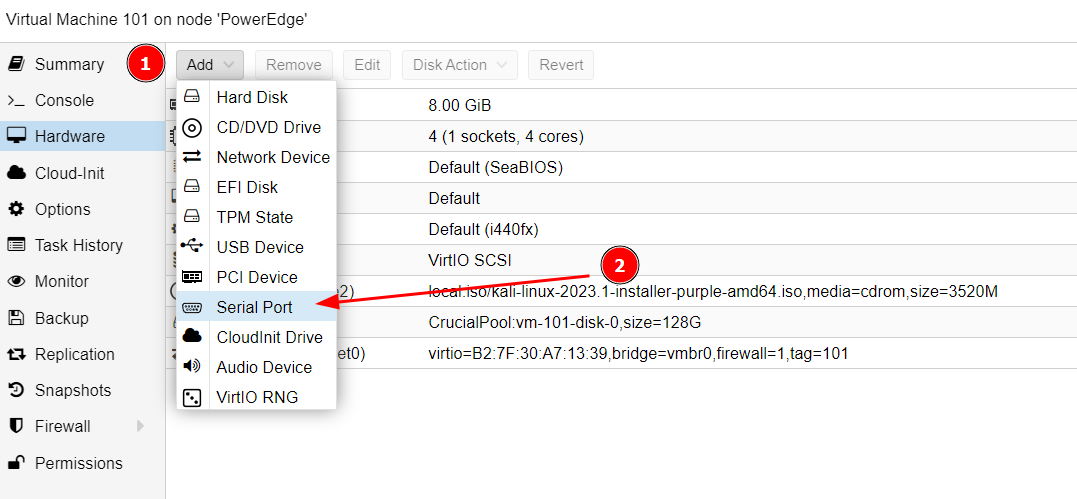
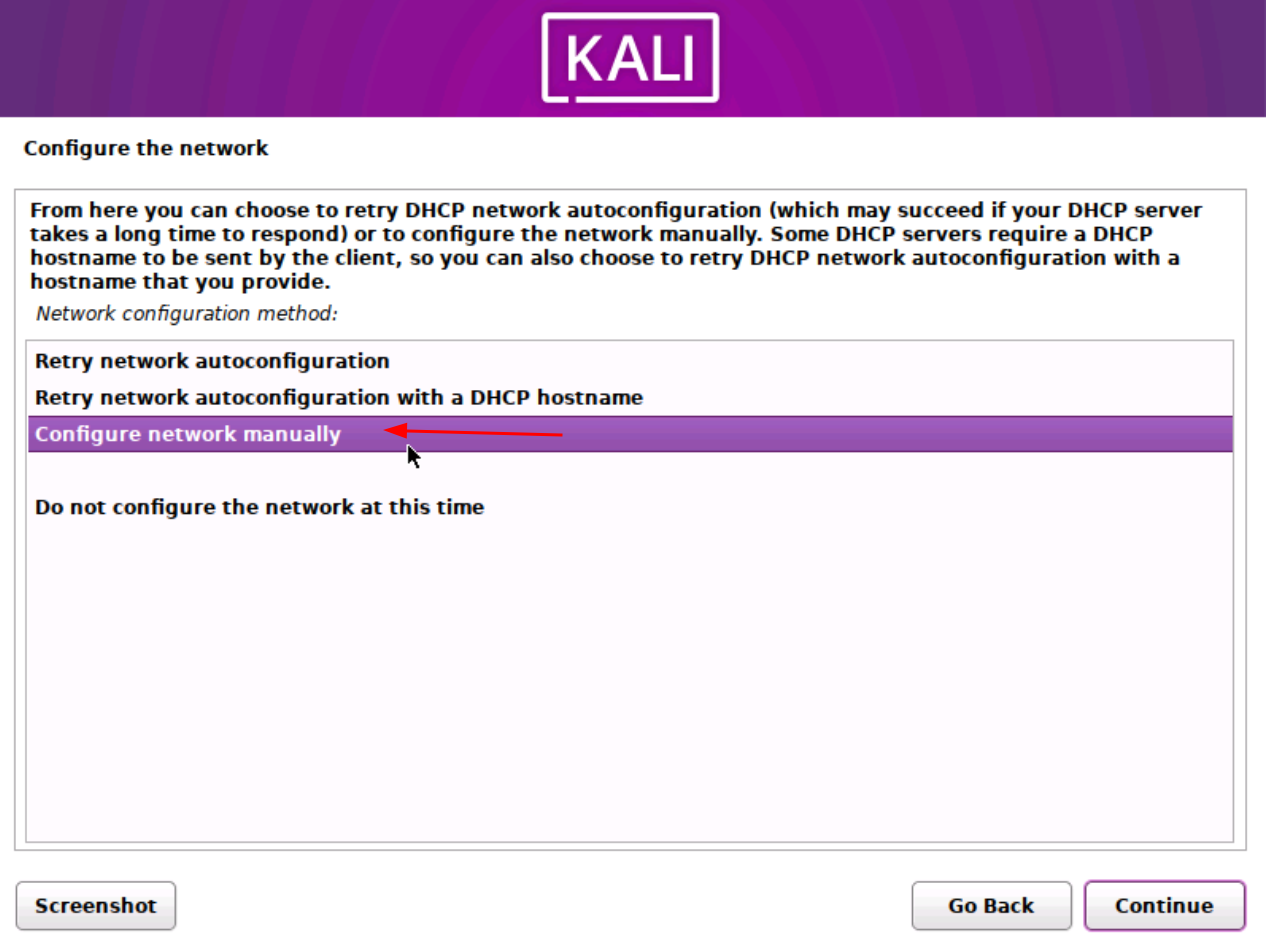
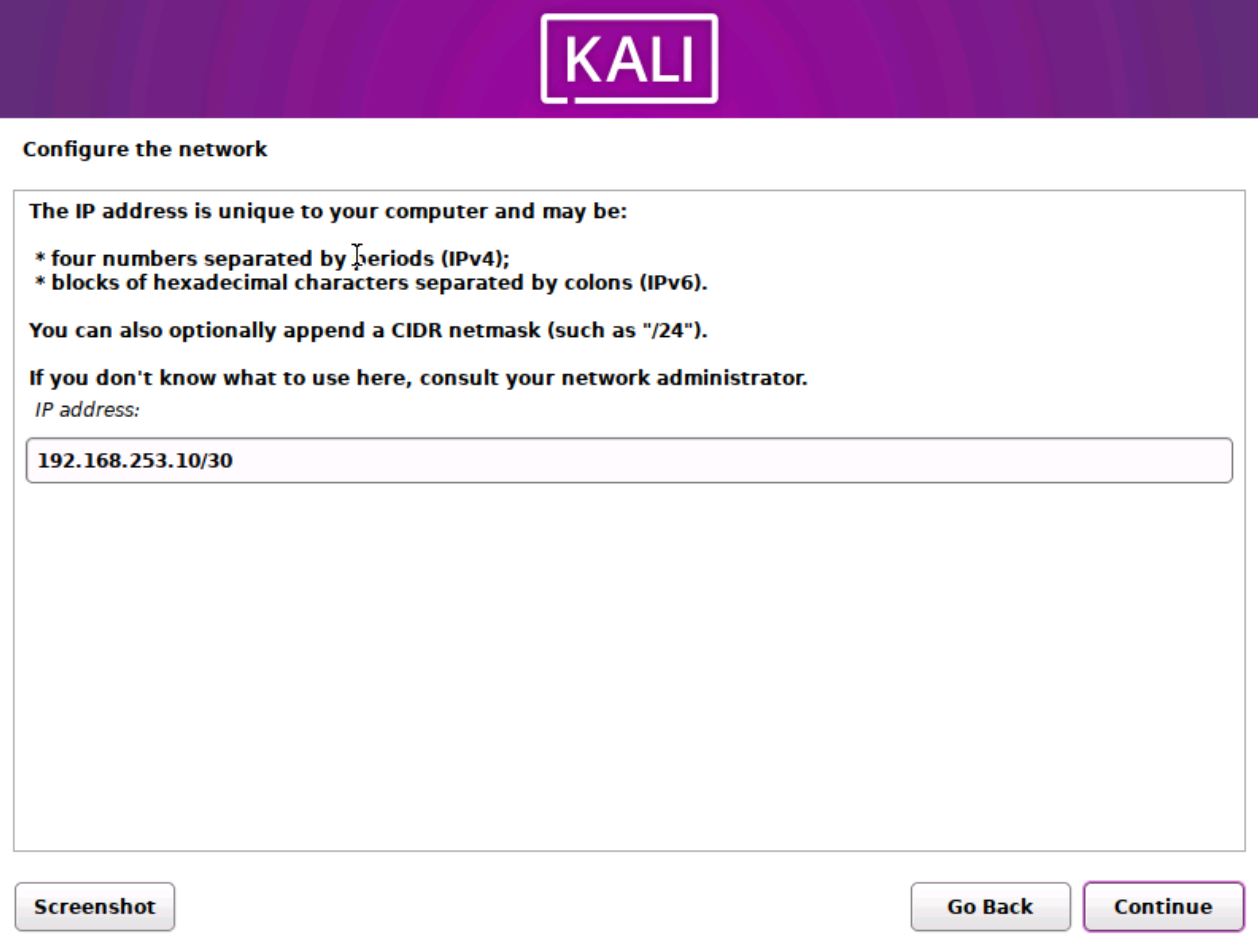
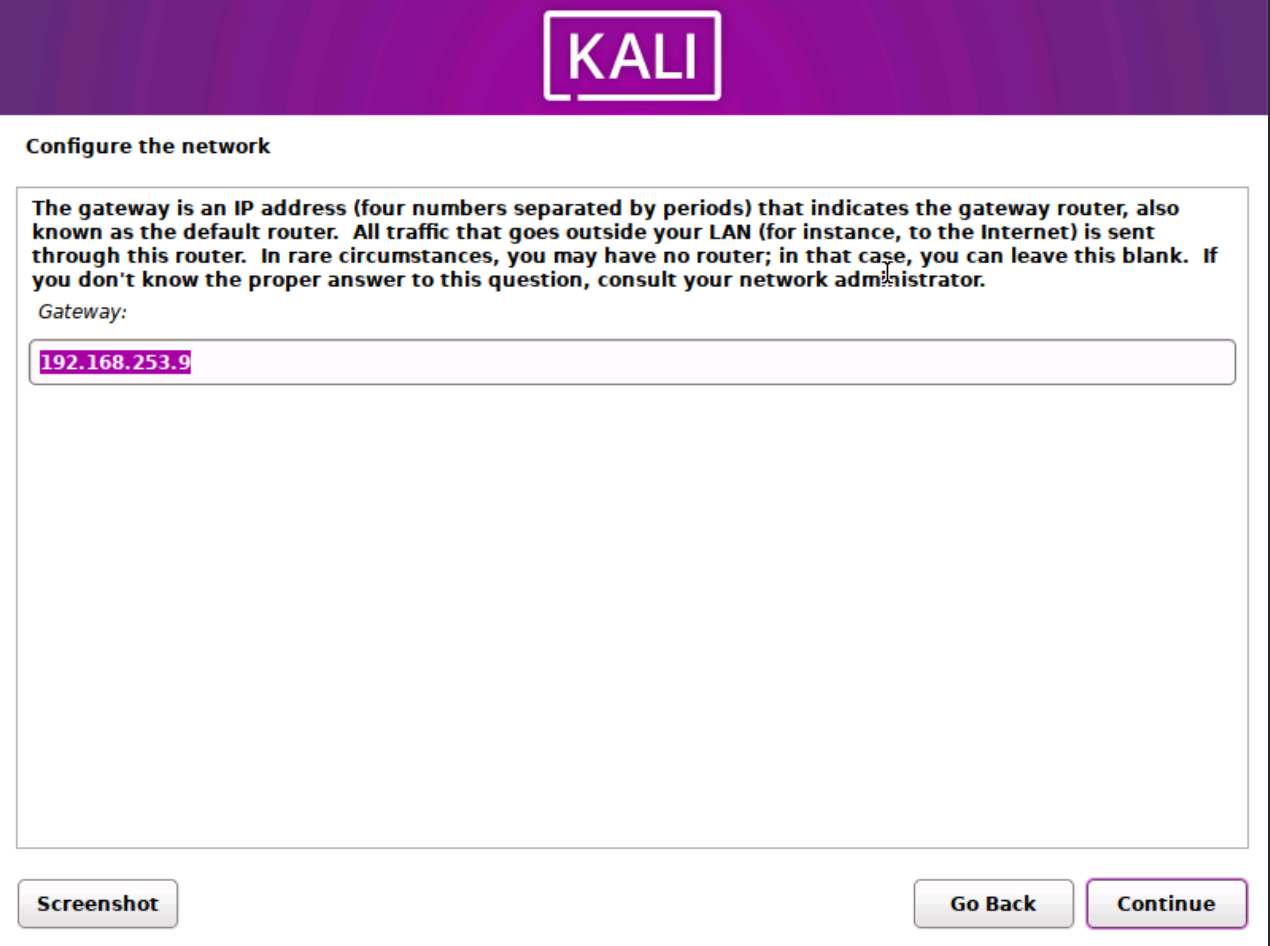
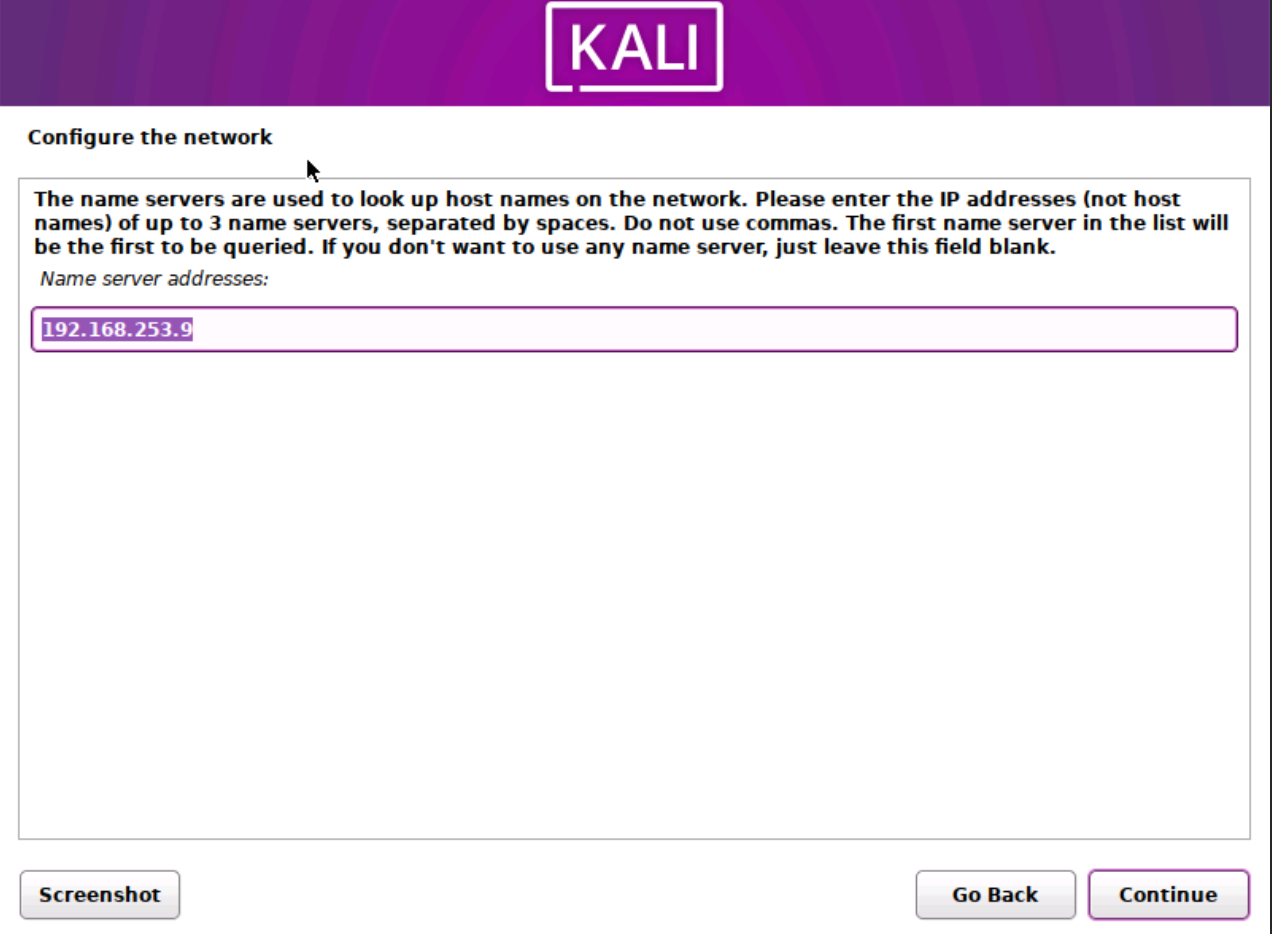
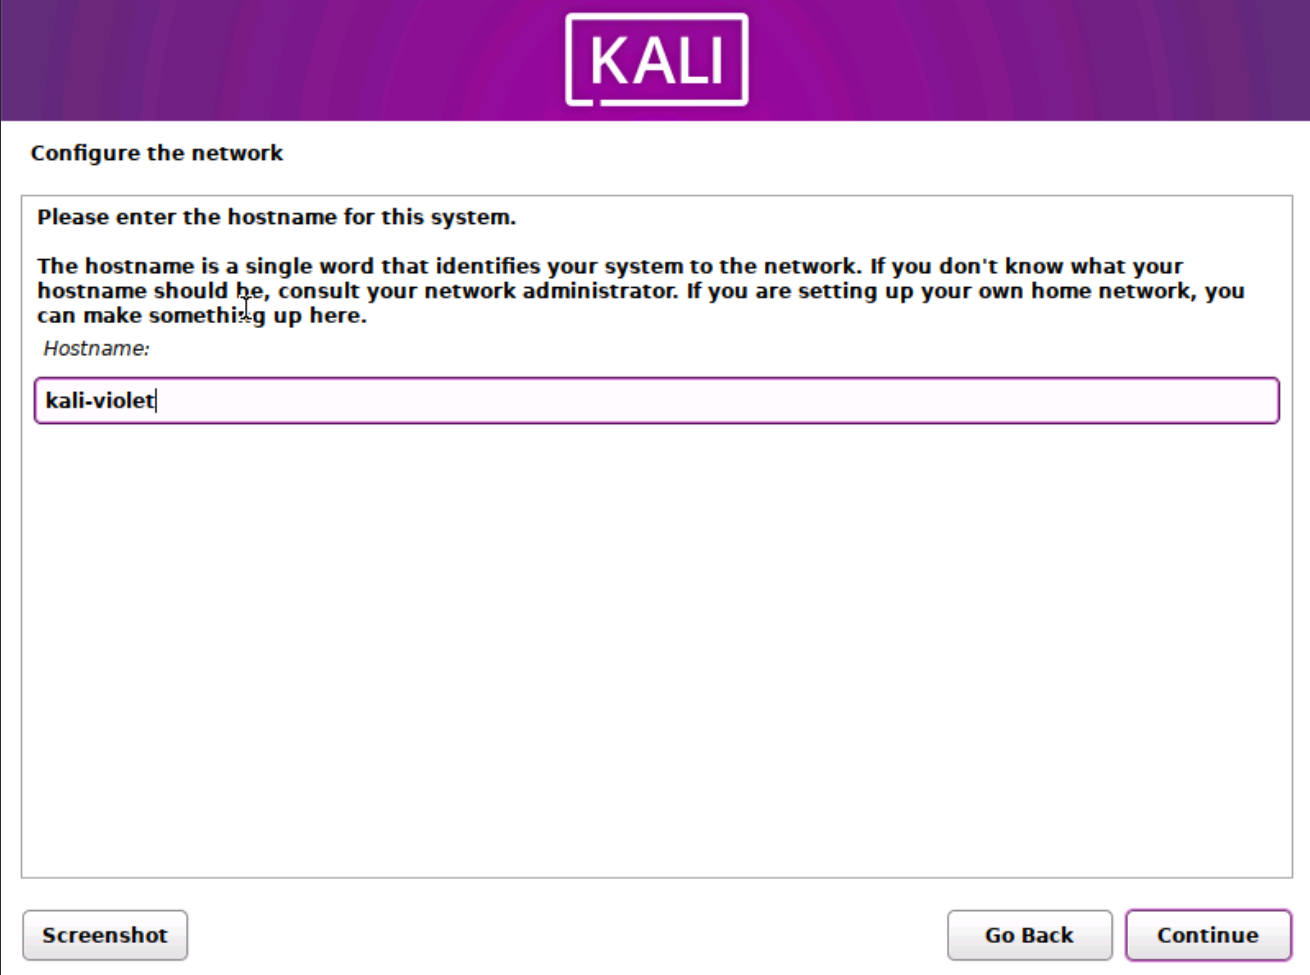
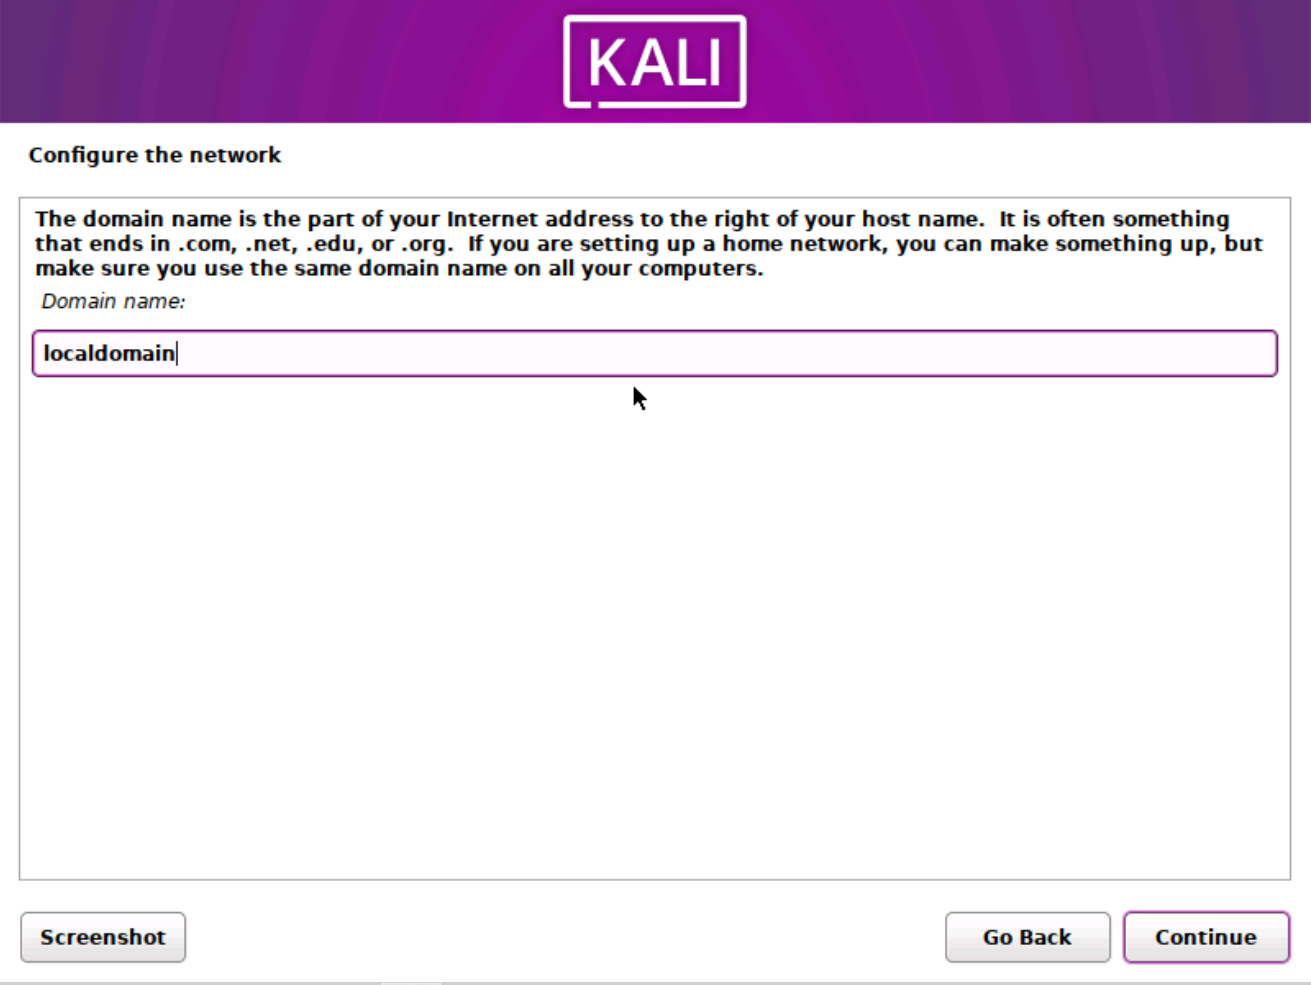
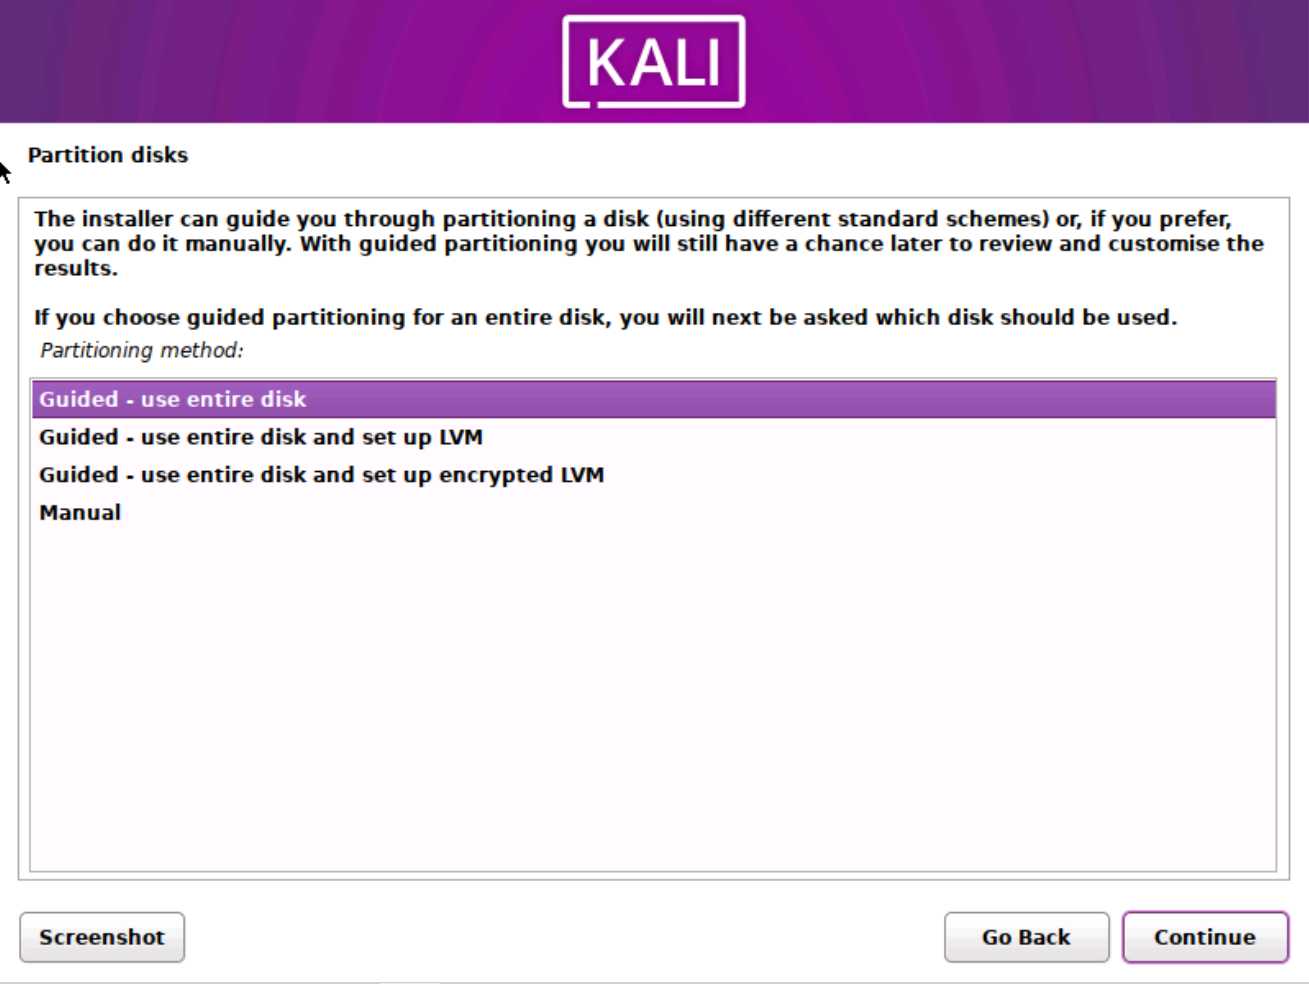
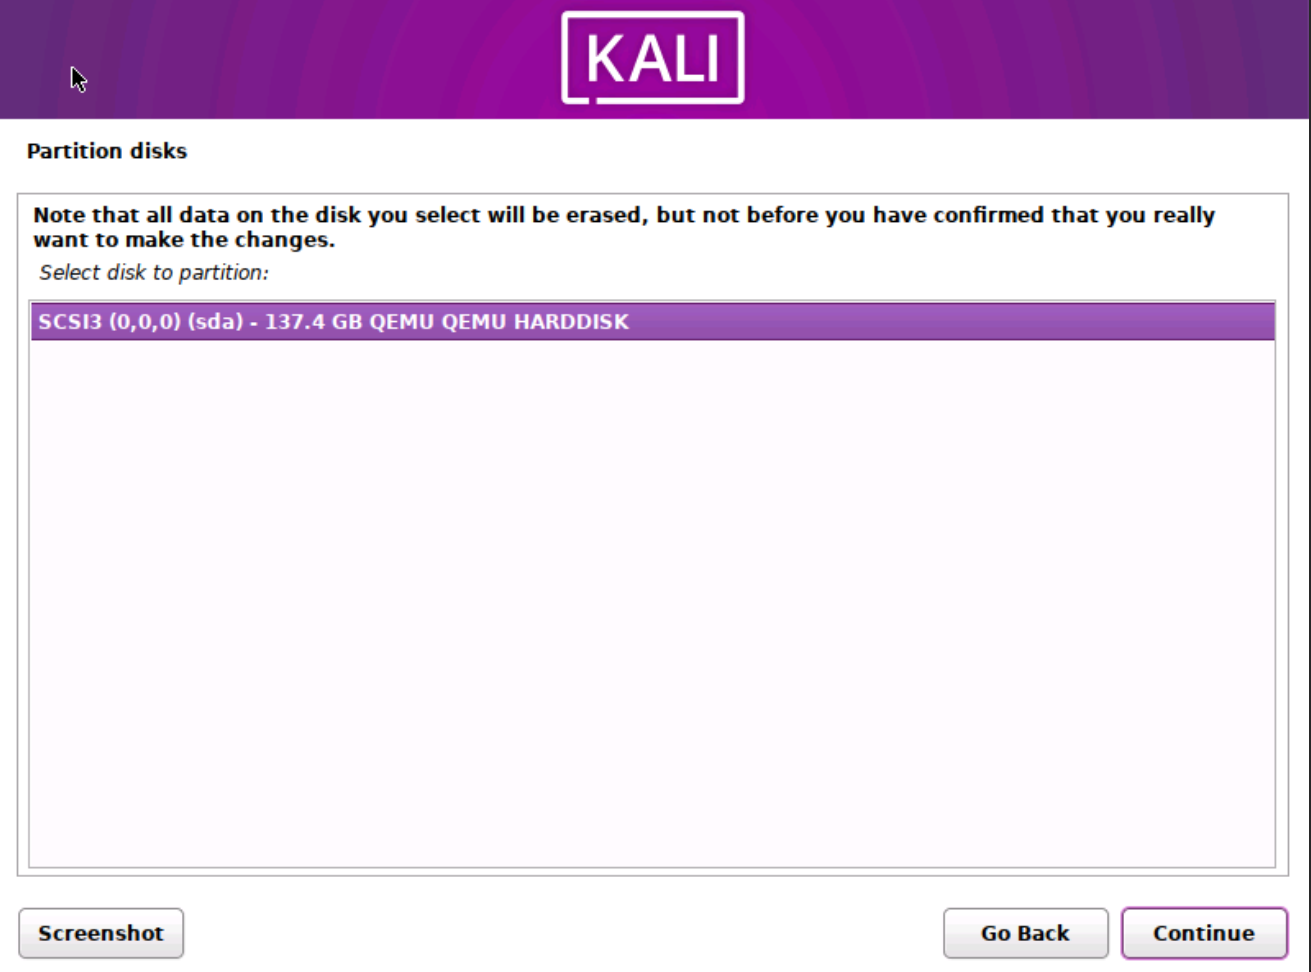
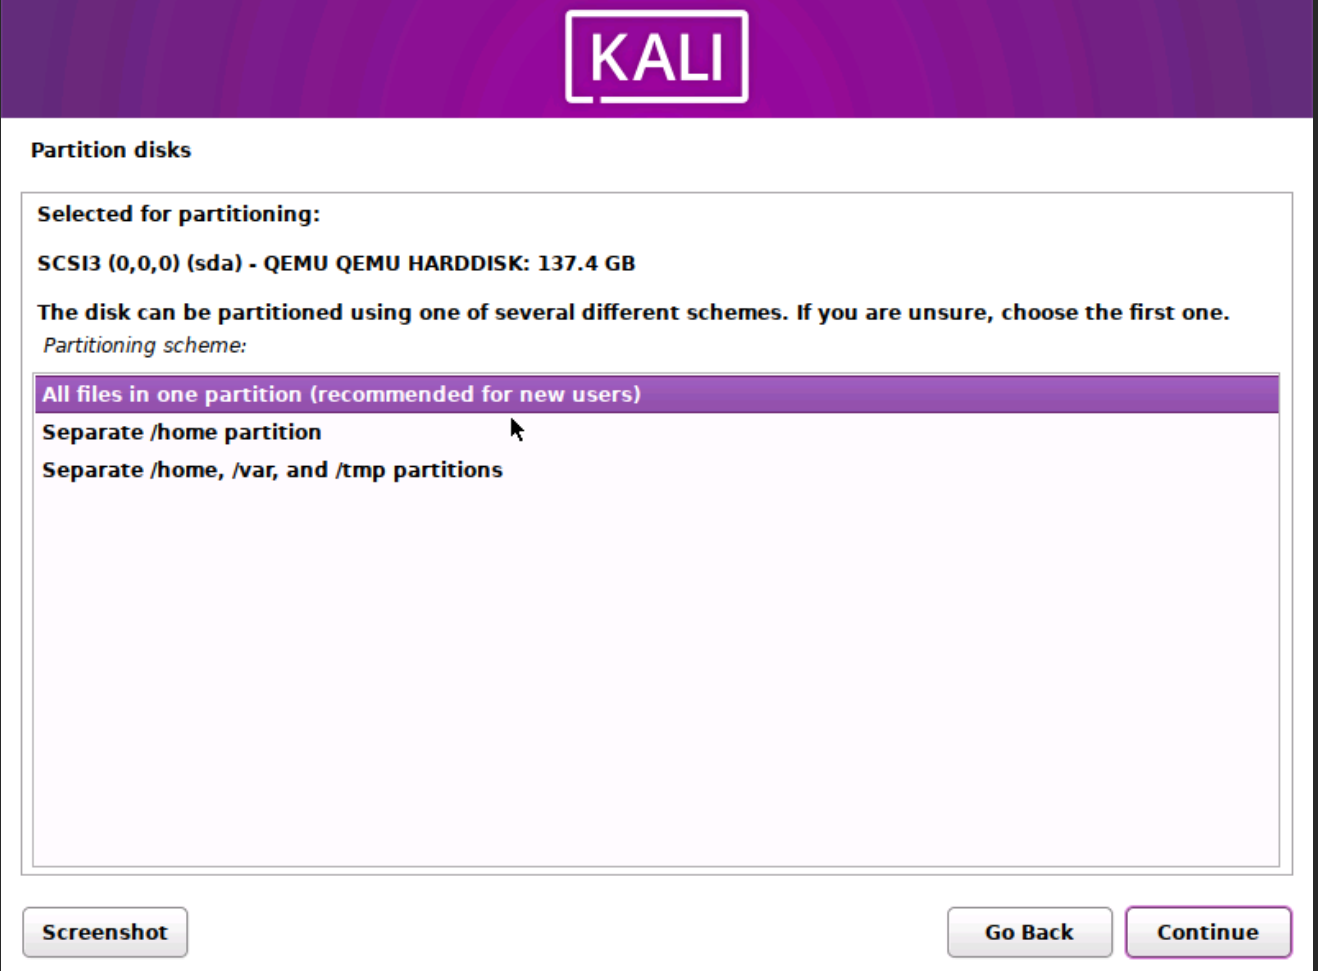
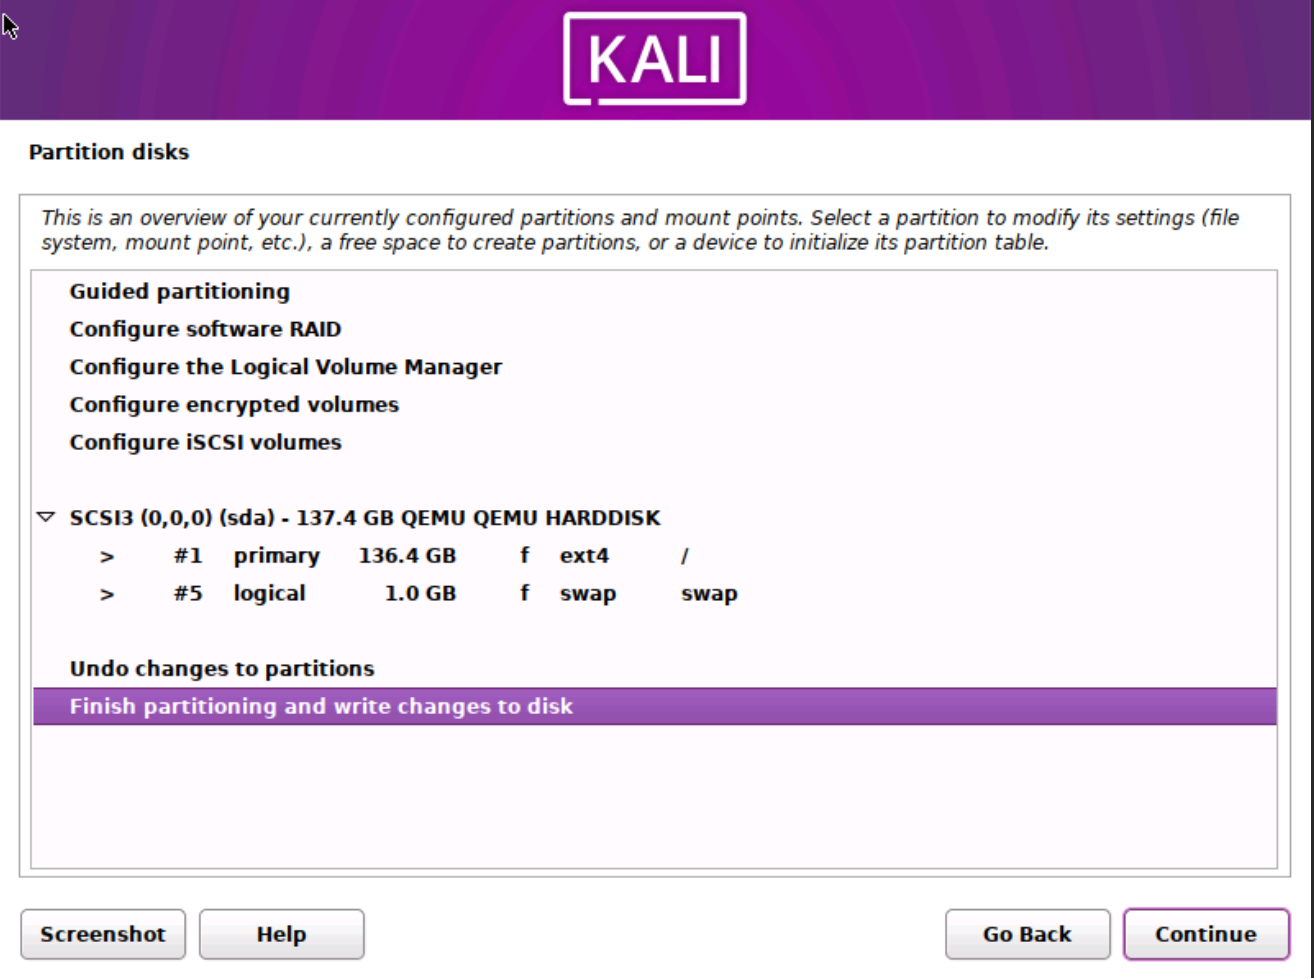
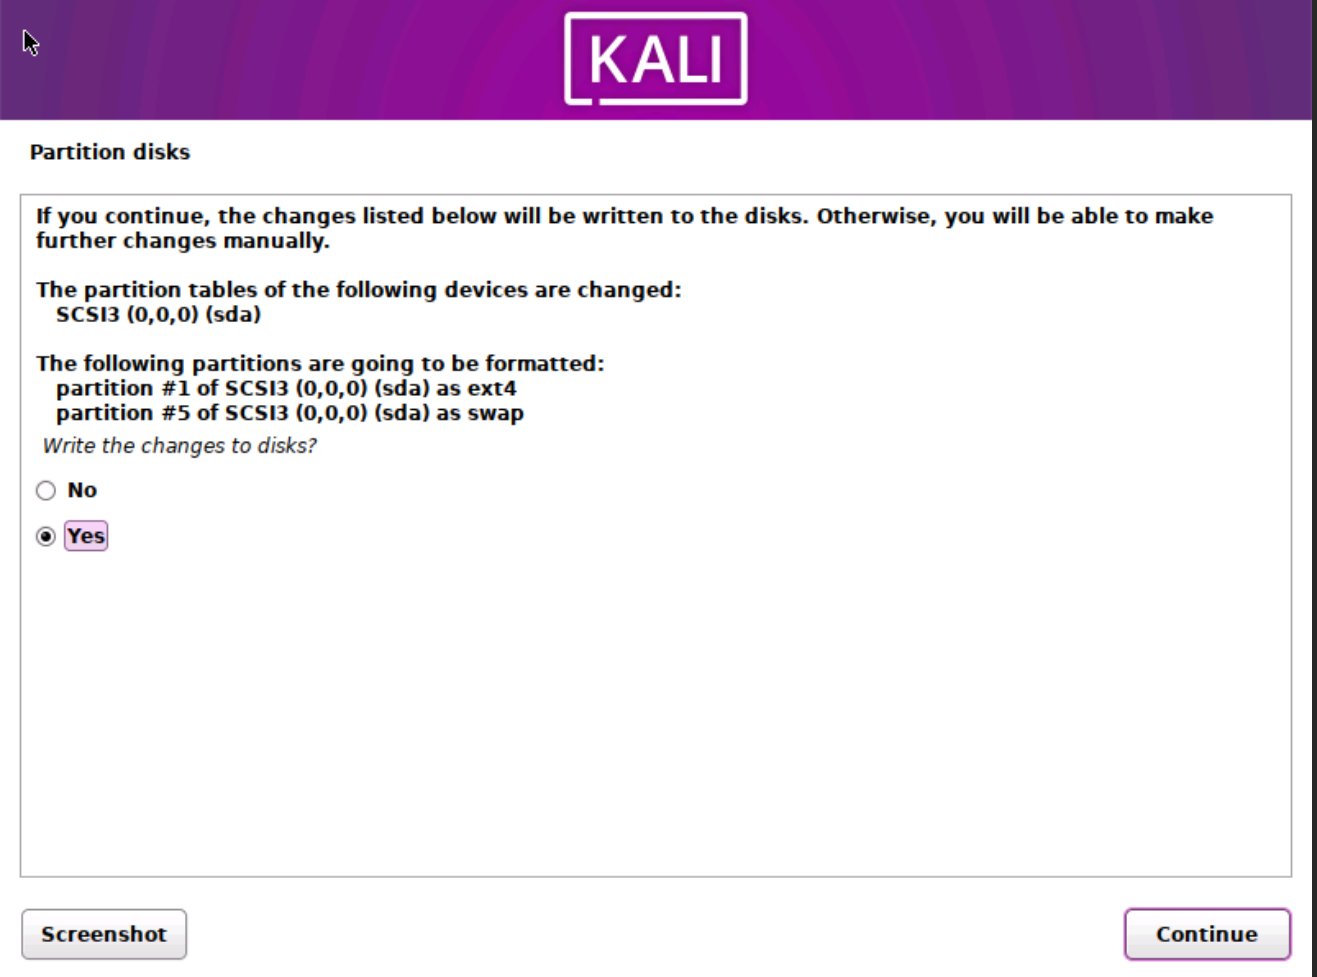
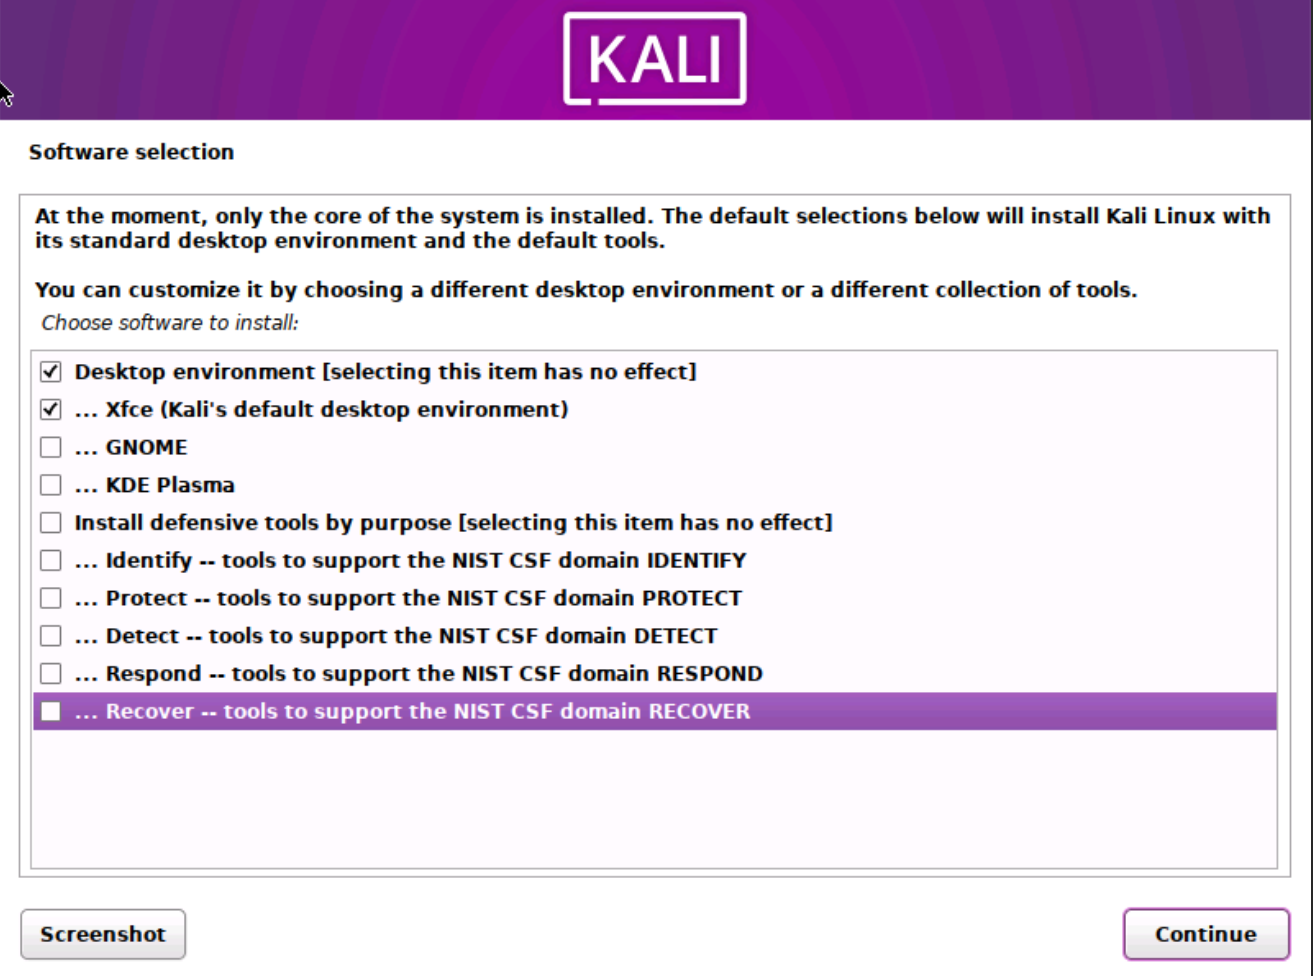
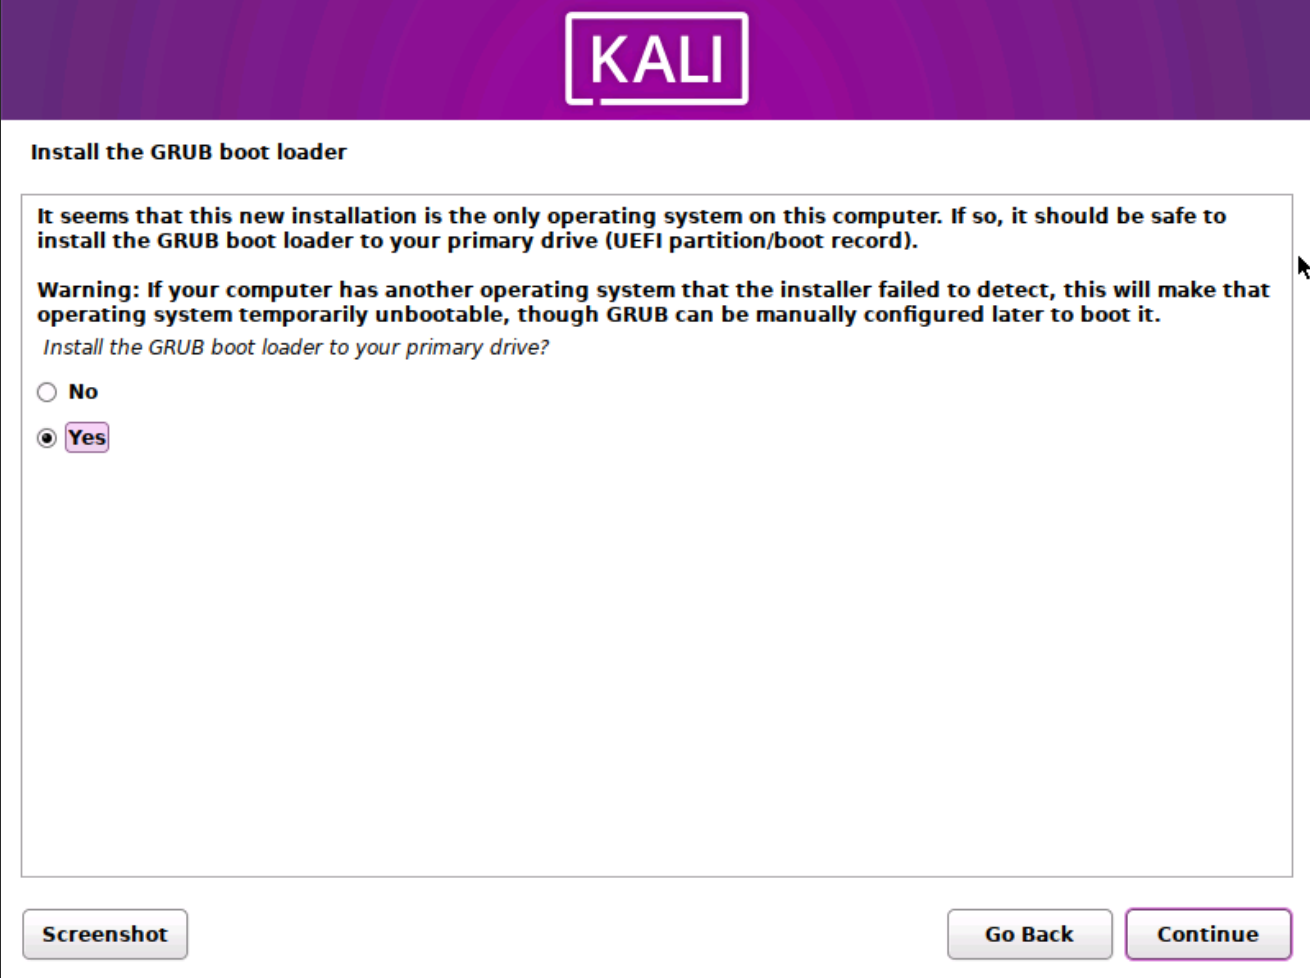
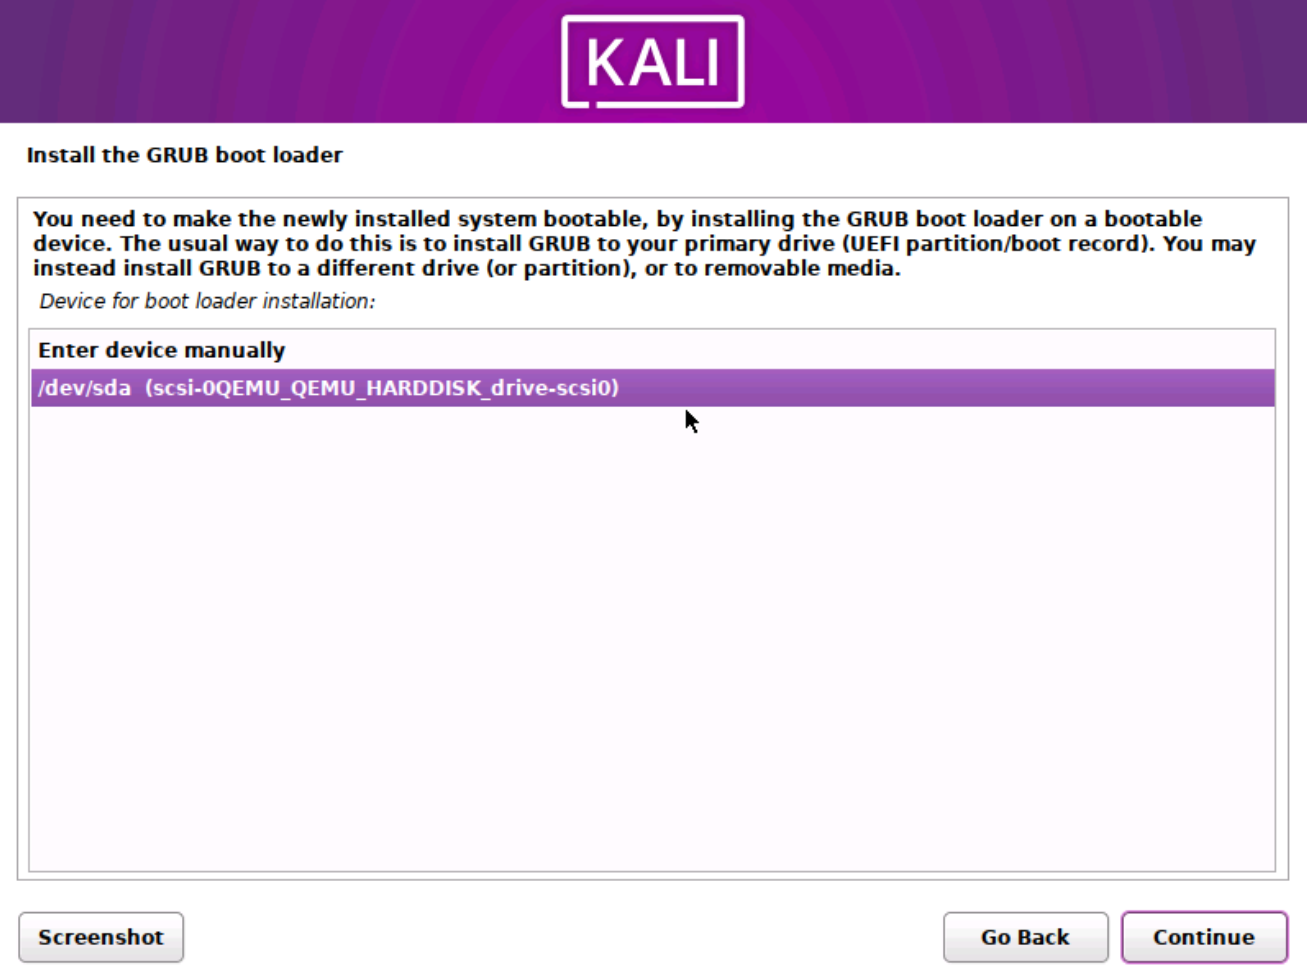
Follow the below screenshots in Proxmox


Create a username and password.
Select time zone.
Reboot.
From a terminal window, enable SSH
sudo apt-get install ssh -y
sudo systemctl enable ssh --now
Install XRDP
sudo apt update && sudo apt install xrdp -y
sudo systemctl enable xrdp --now
Fix xrdp error message on login
sudo wget -P /etc/polkit-1/localauthority/50-local.d https://gitlab.com/kalilinux/documentation/kali-purple/-/raw/main/101_kali-violet/overlays/etc/polkit-1/localauthority/50-local.d/45-allow-colord.pklaEnable serial console
sudo nano /etc/default/grub
Paste the following into the grub file:
## Kali Purple: Enable serial console
GRUB_CMDLINE_LINUX_DEFAULT="quiet console=ttyS0,115200n8 console=tty1"
GRUB_TERMINAL="serial console"
GRUB_SERIAL_COMMAND="serial --speed=115200 --unit=0 --word=8 --parity=no --stop=1"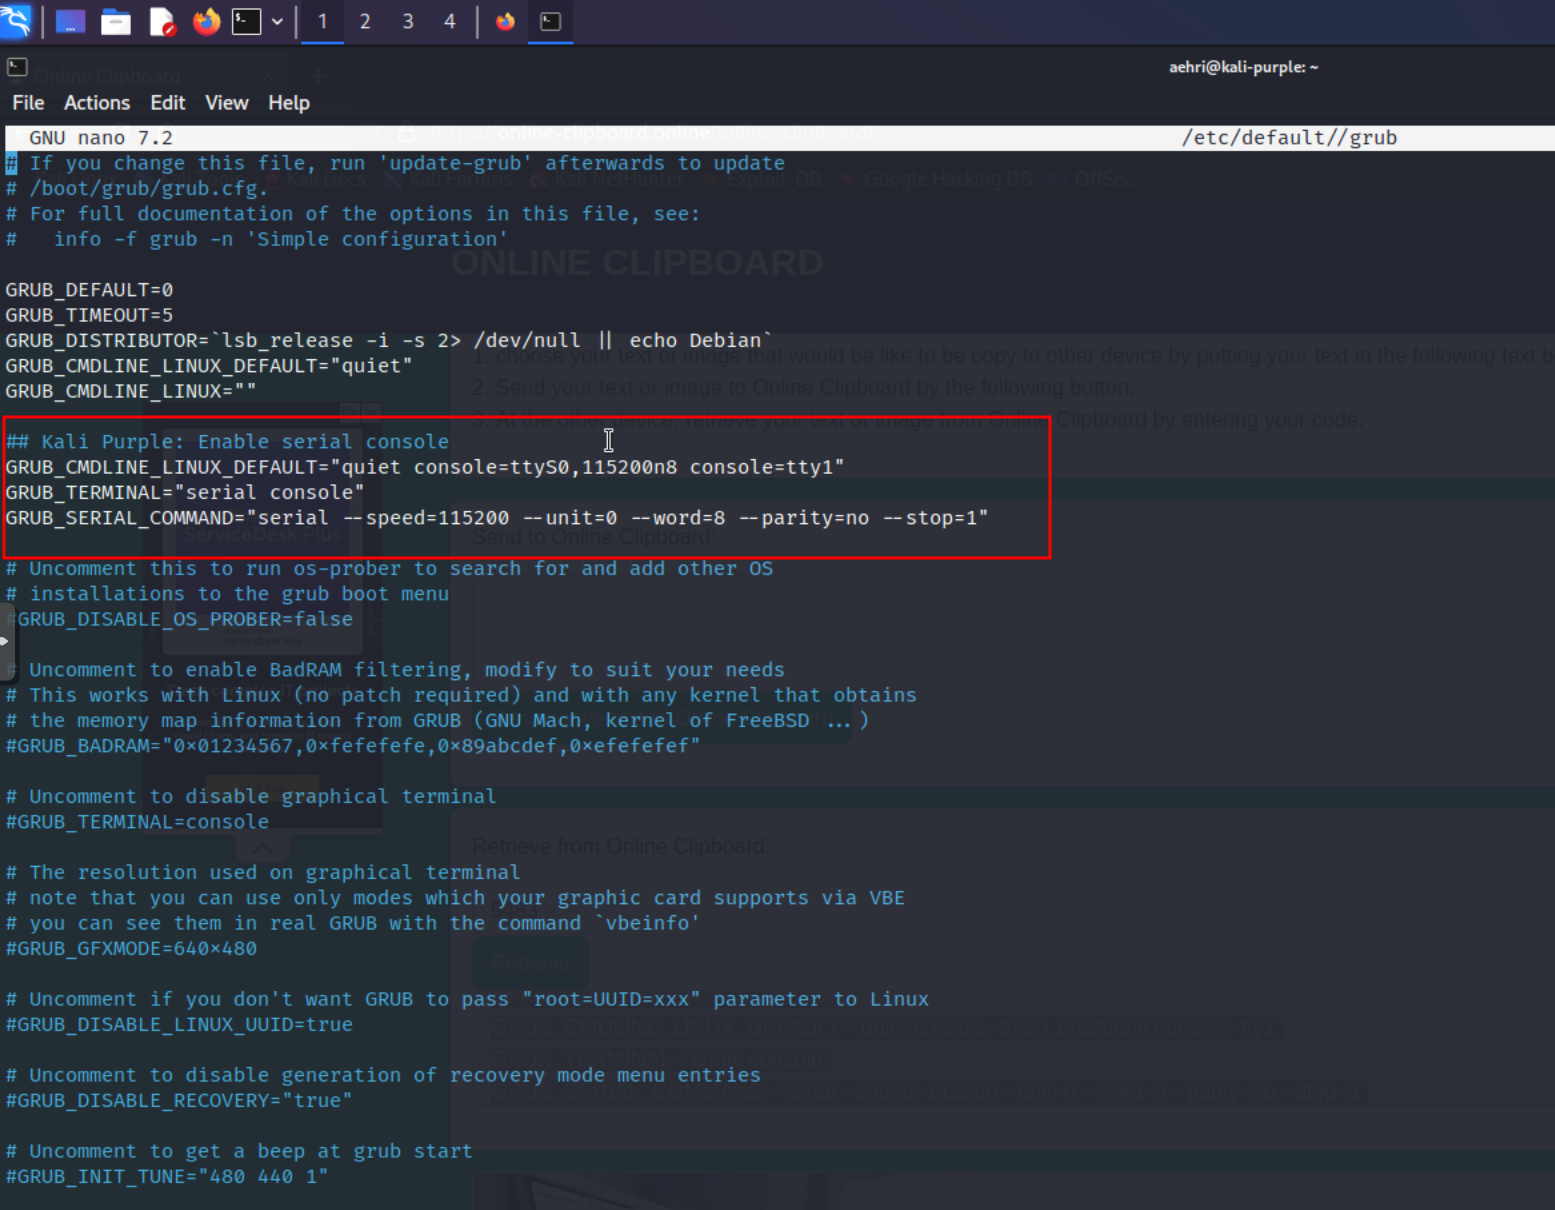
sudo update-grub
Reboot.
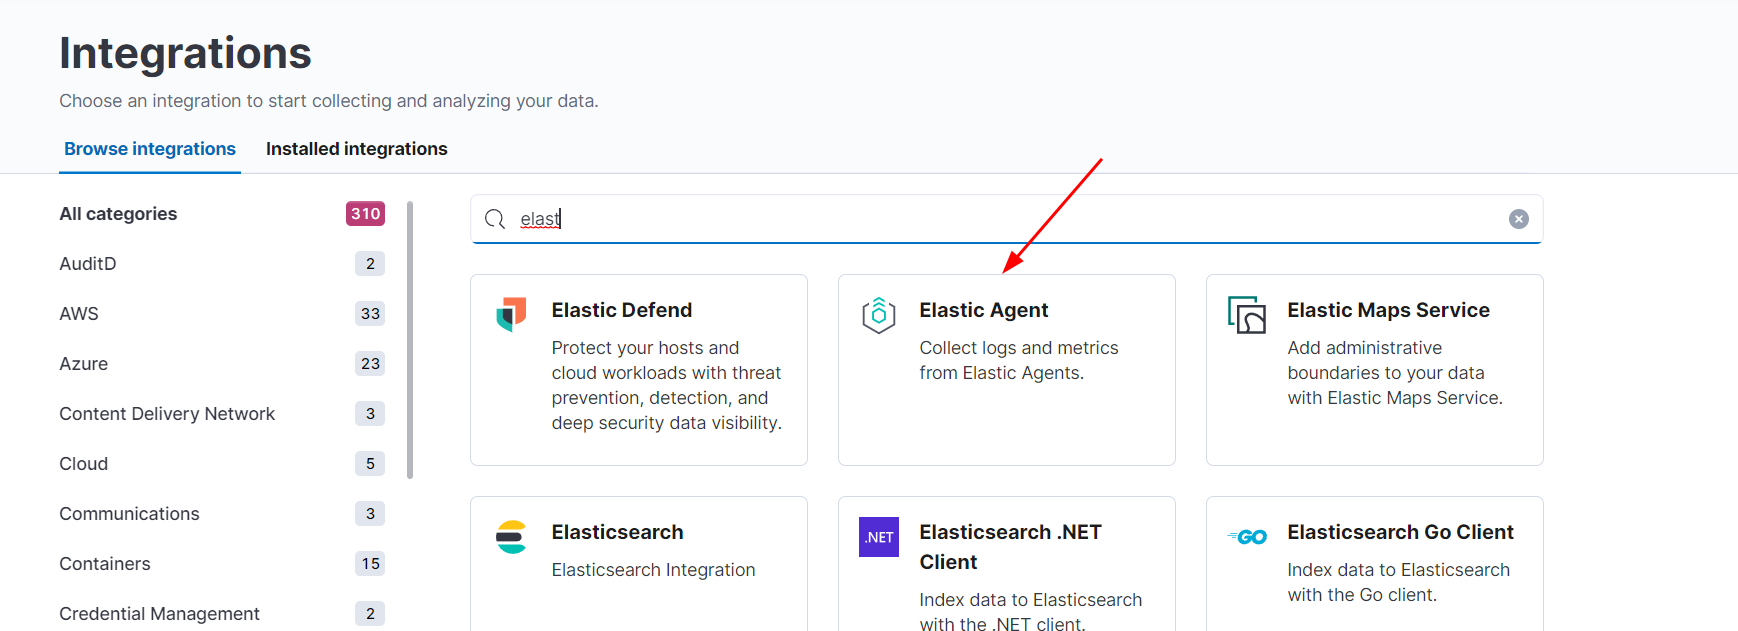
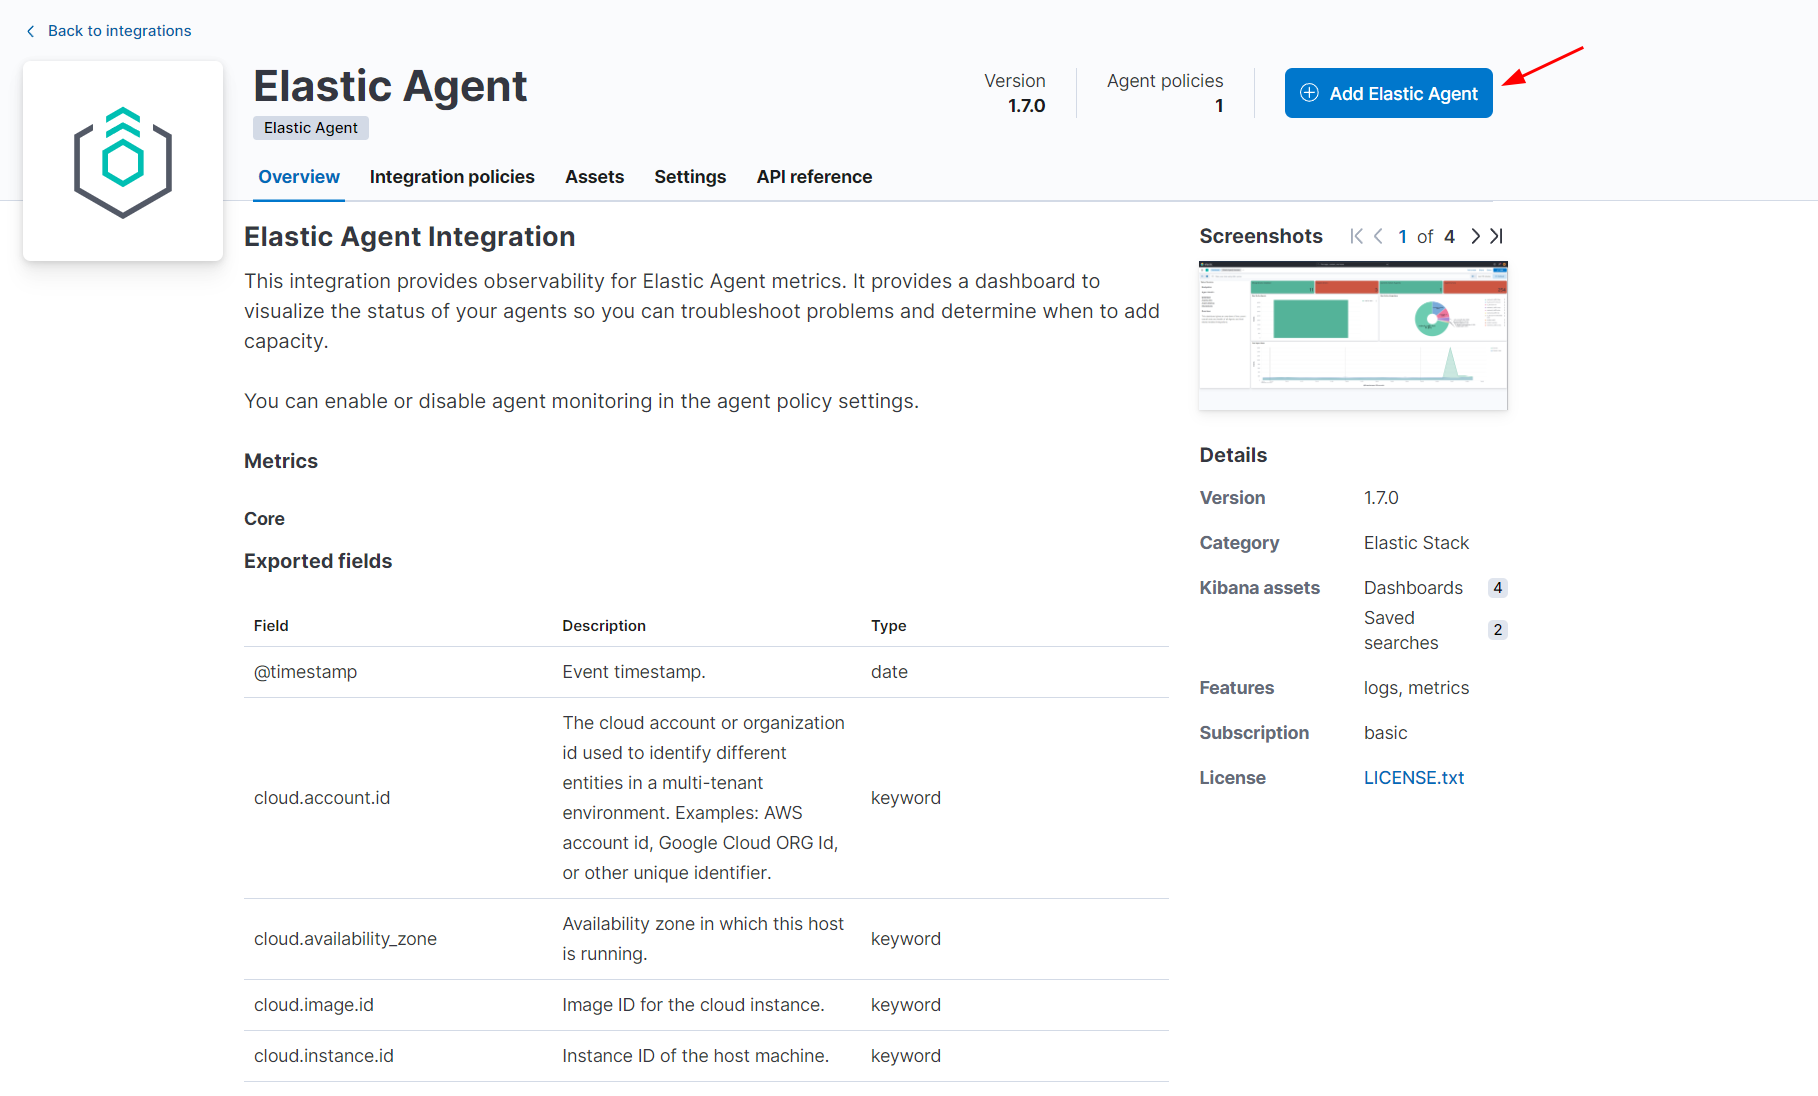
Installing Elastic Agent
sudo apt install -y rsyslog
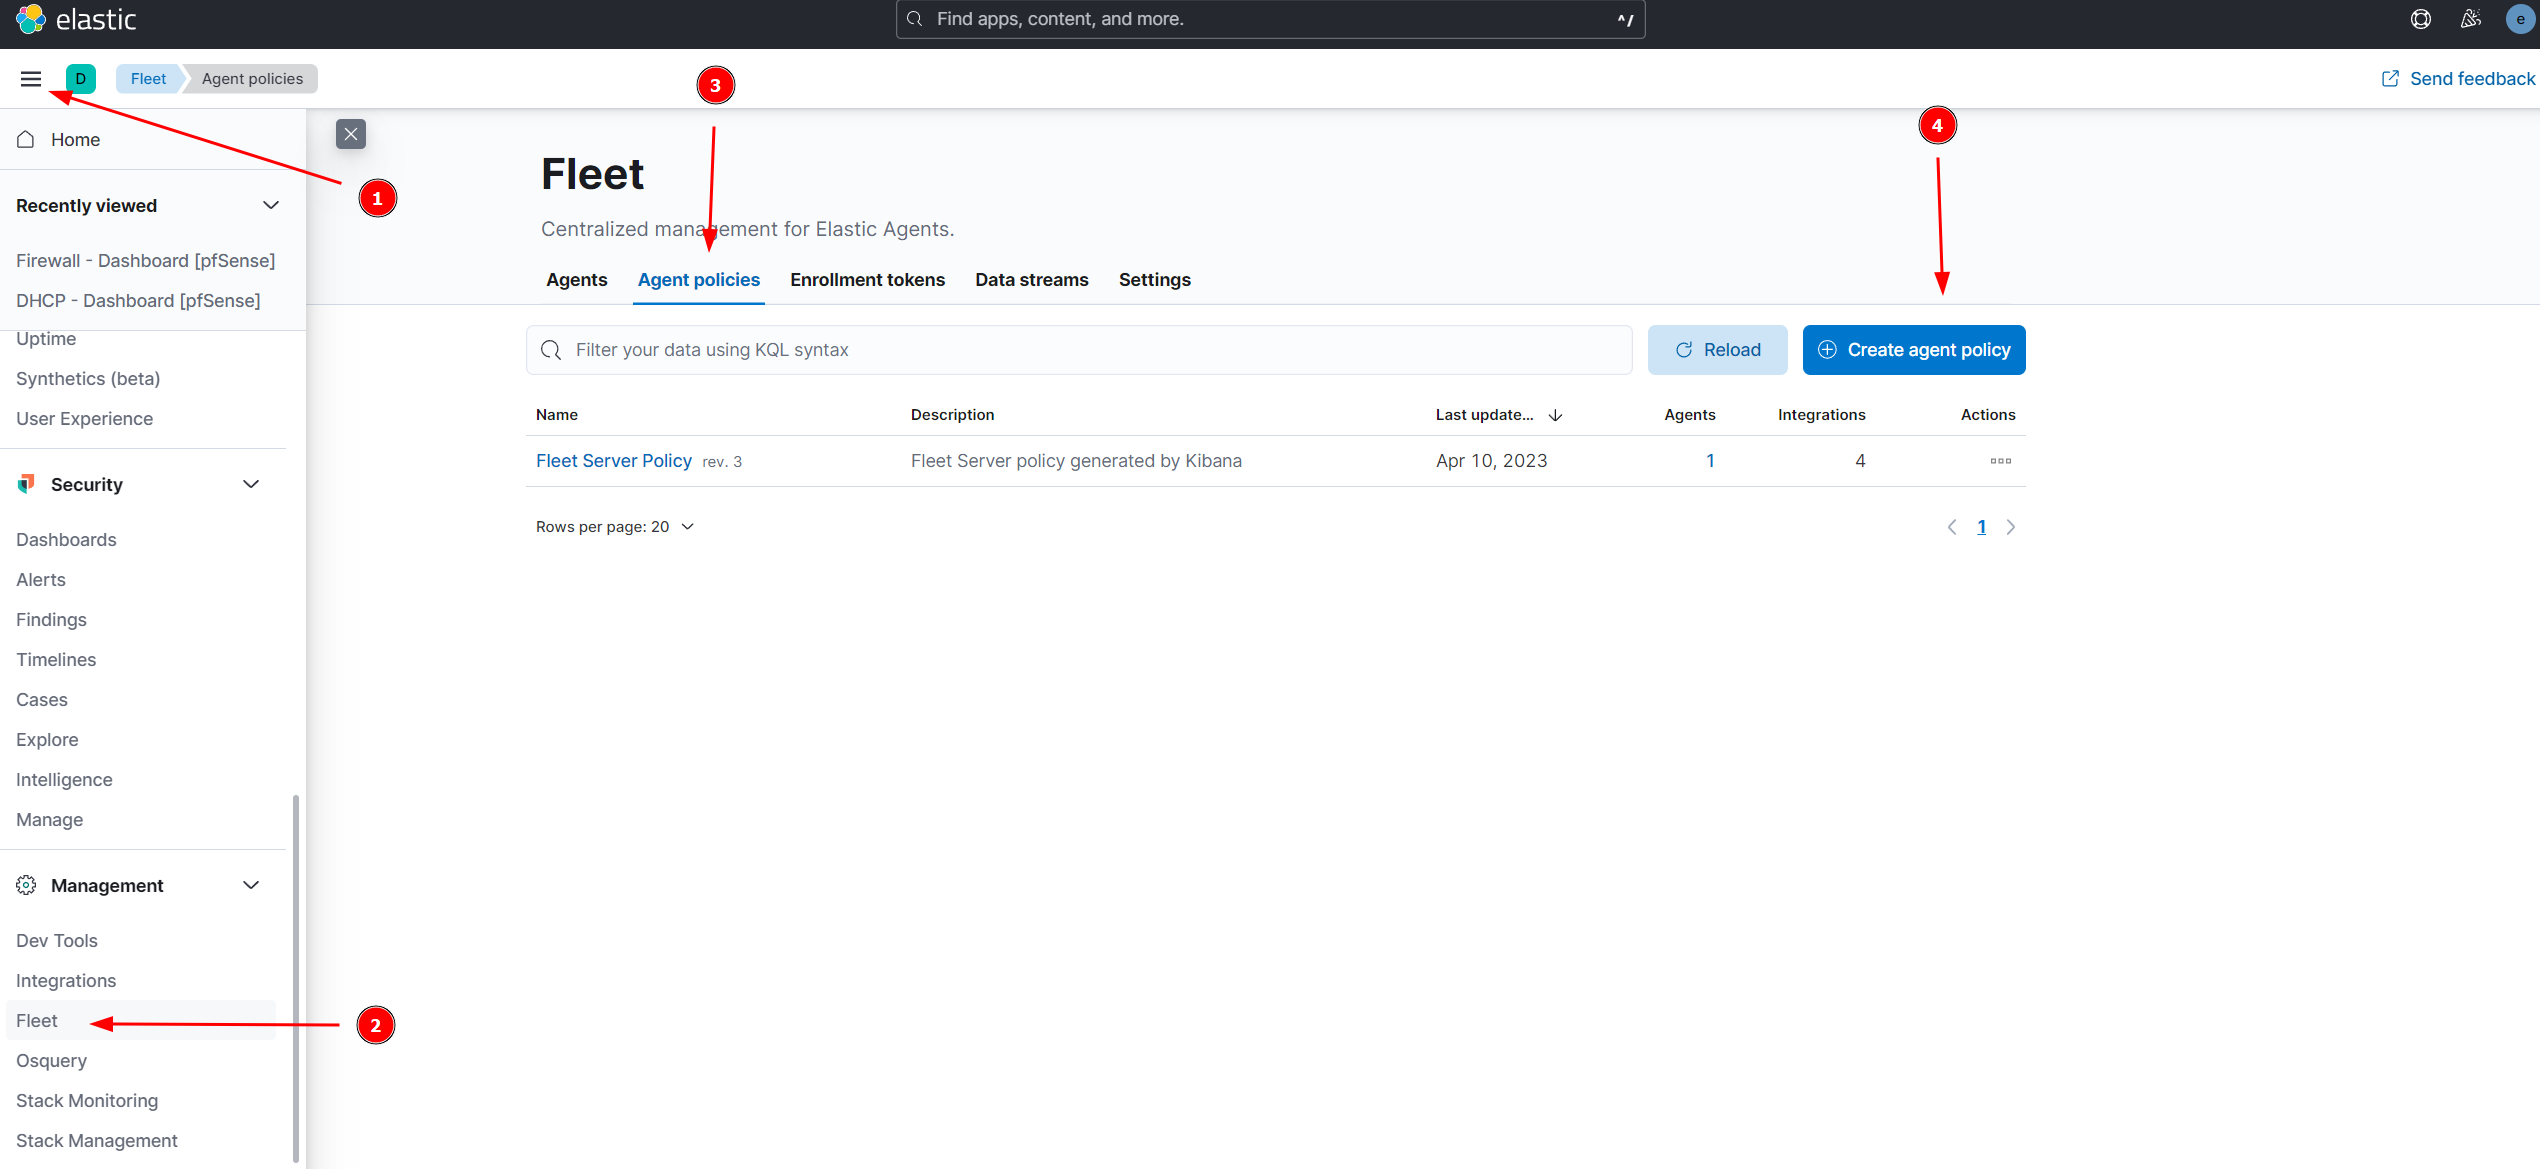
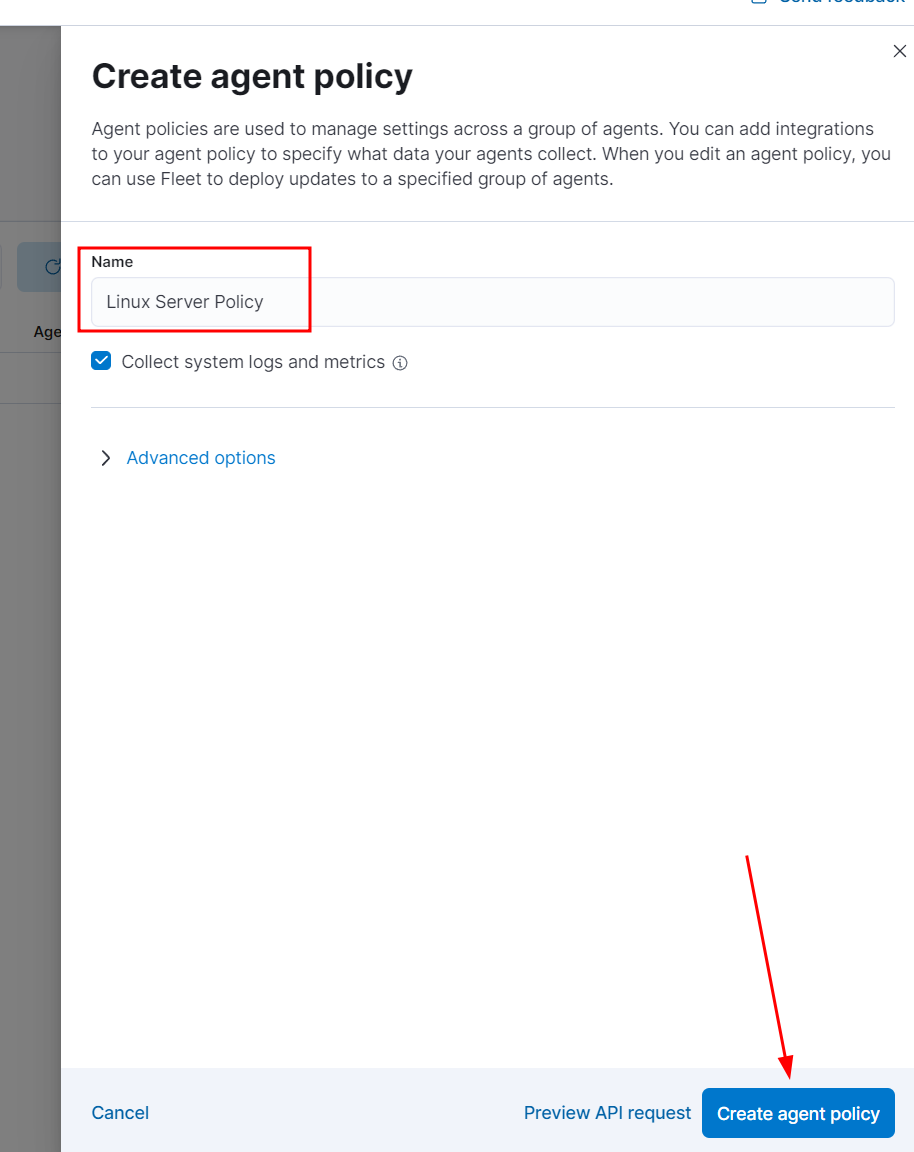
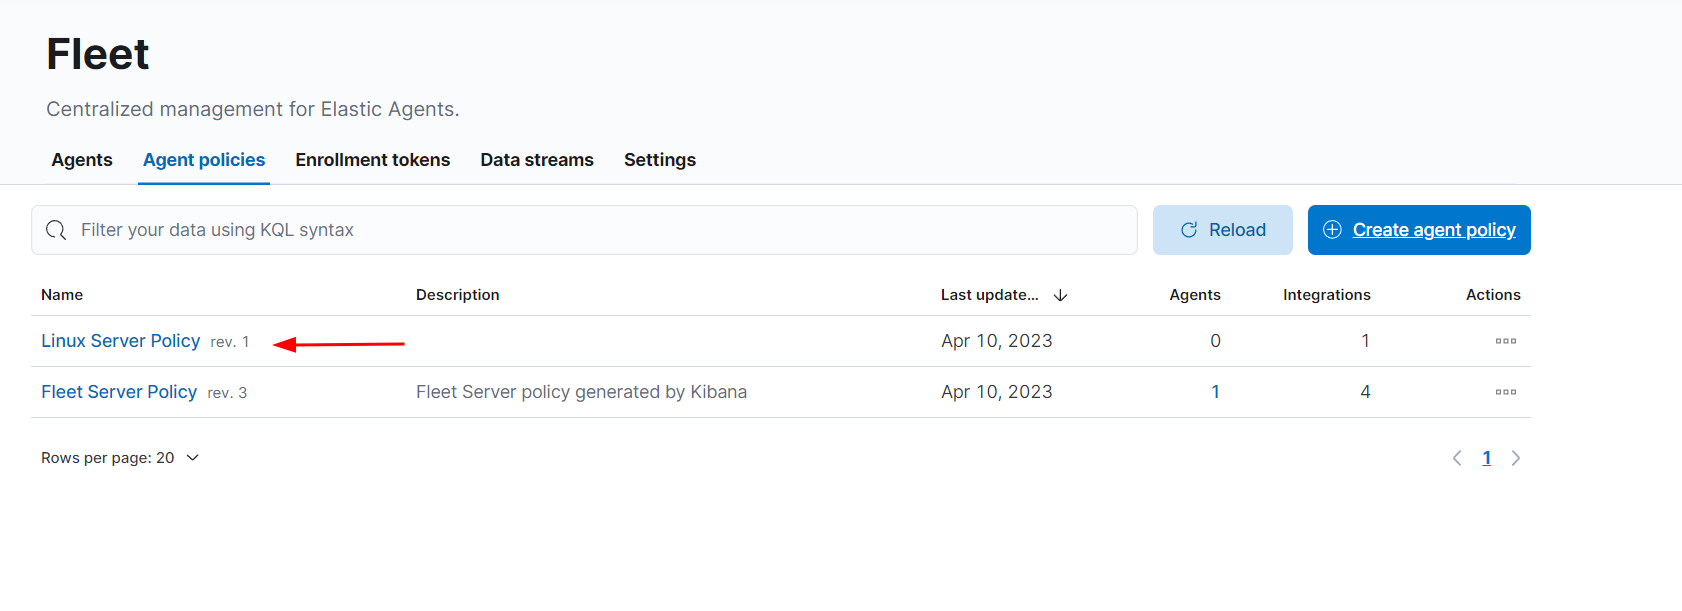
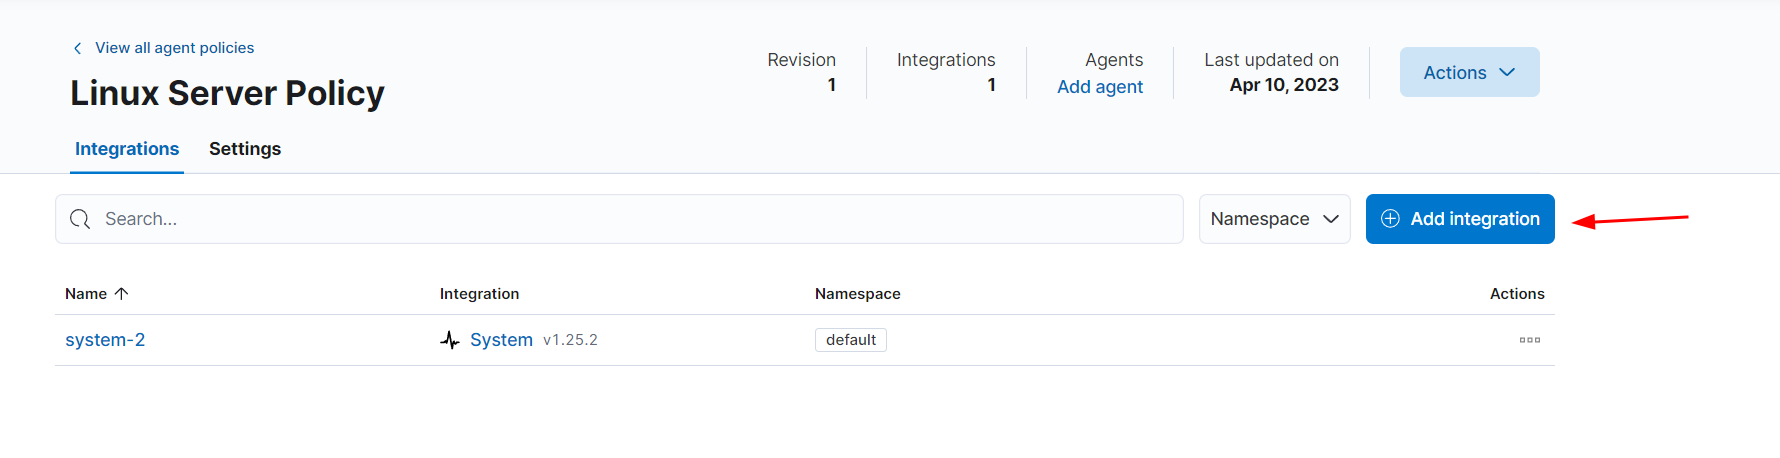
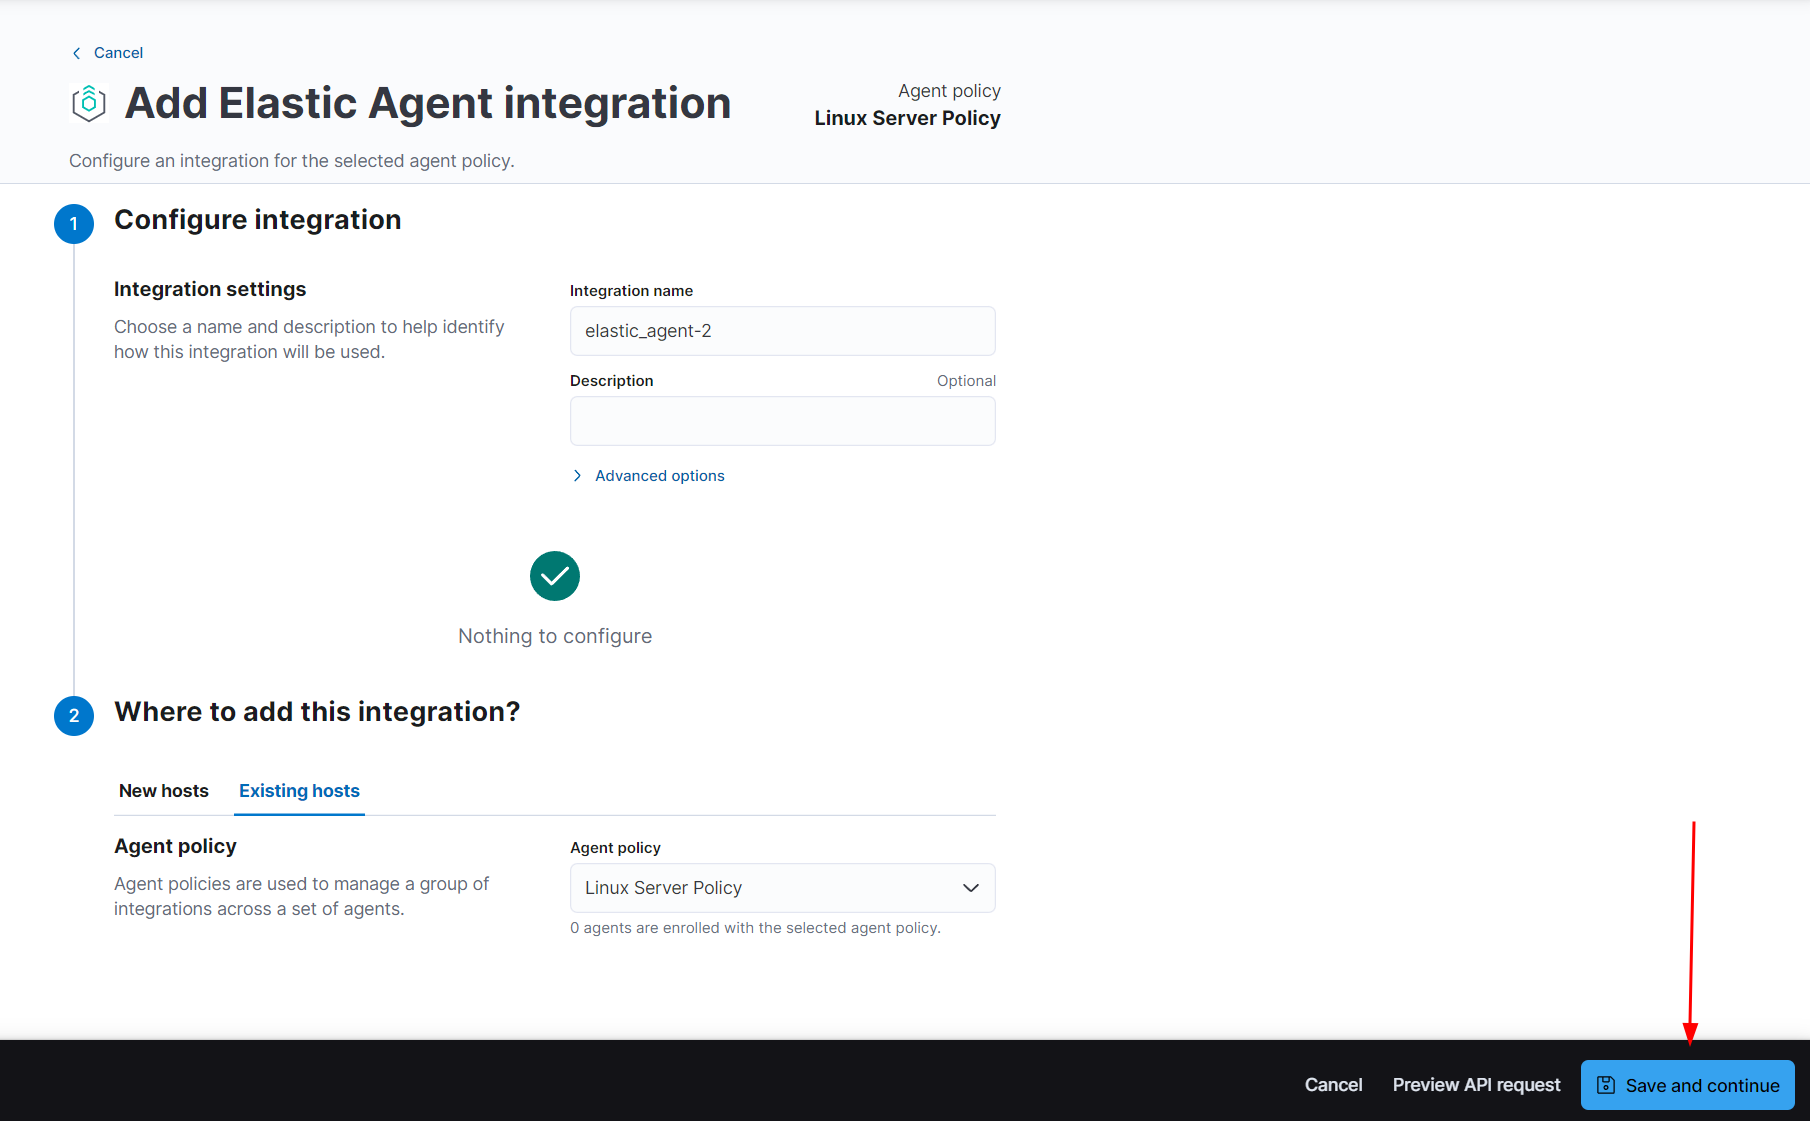
Create a fleet policy for Linux servers, as seen below.
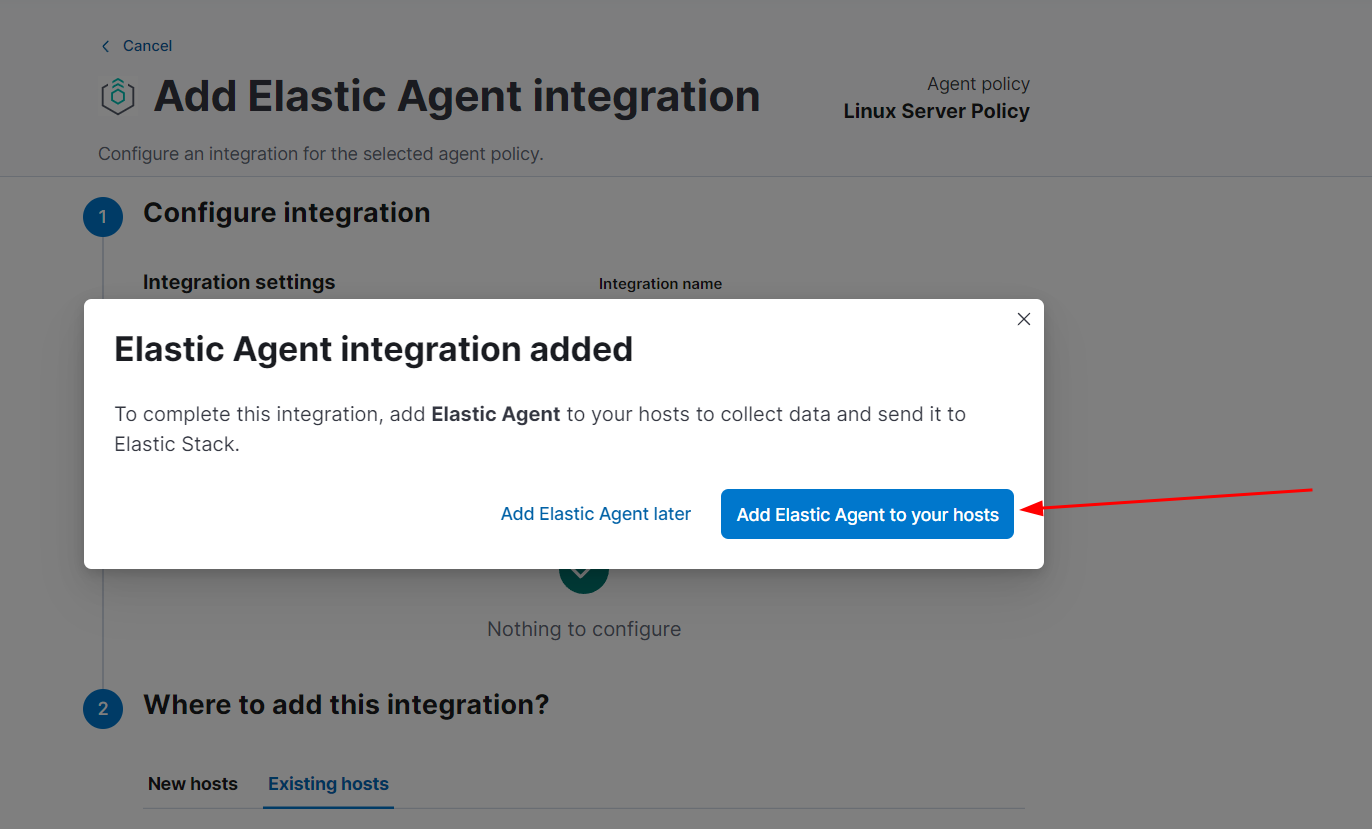
Paste the Linux Tar code block into a Kali Violet terminal window.
⚠️
You must include --insecure at the end of the command before executing it in the terminal.
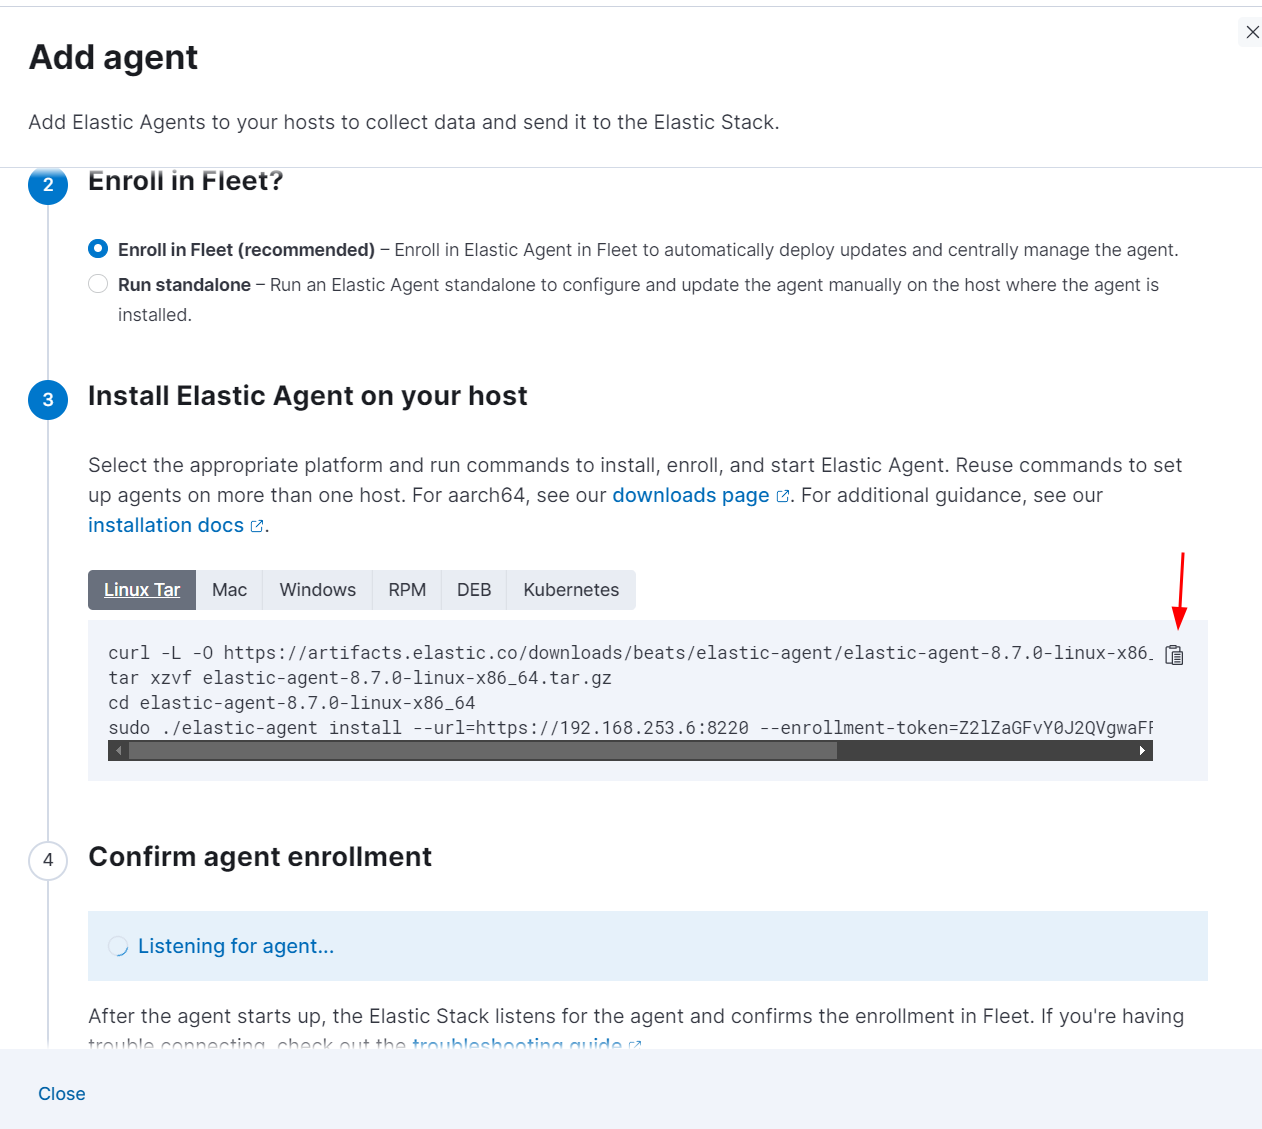
Enter Y when prompted.
A confirmation message will appear in Kibana.
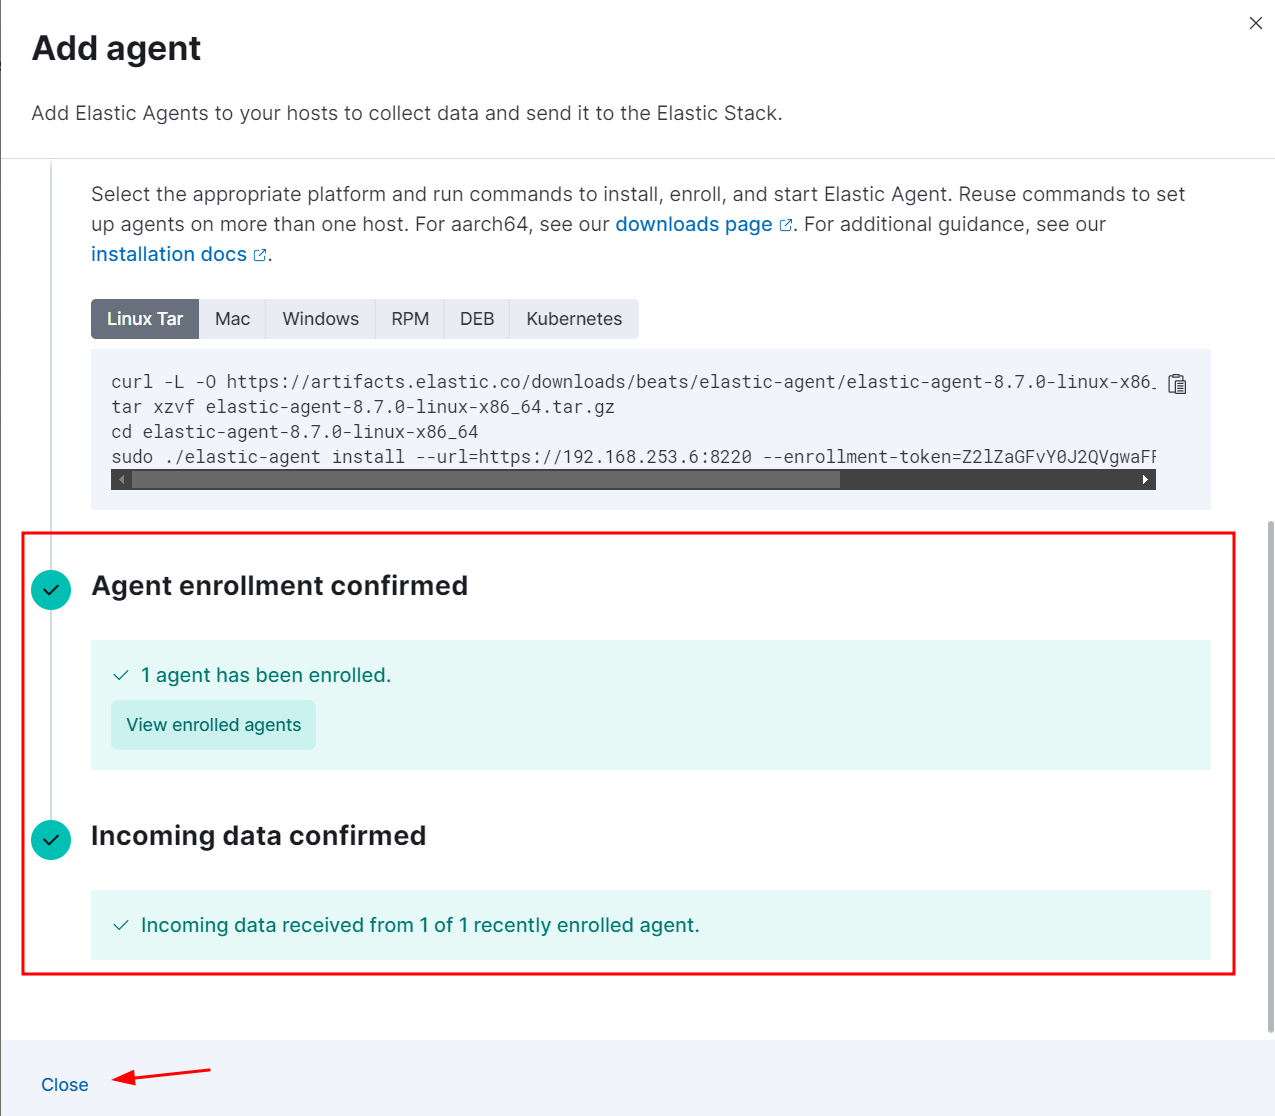
Close this window.
Follow the below screenshots:
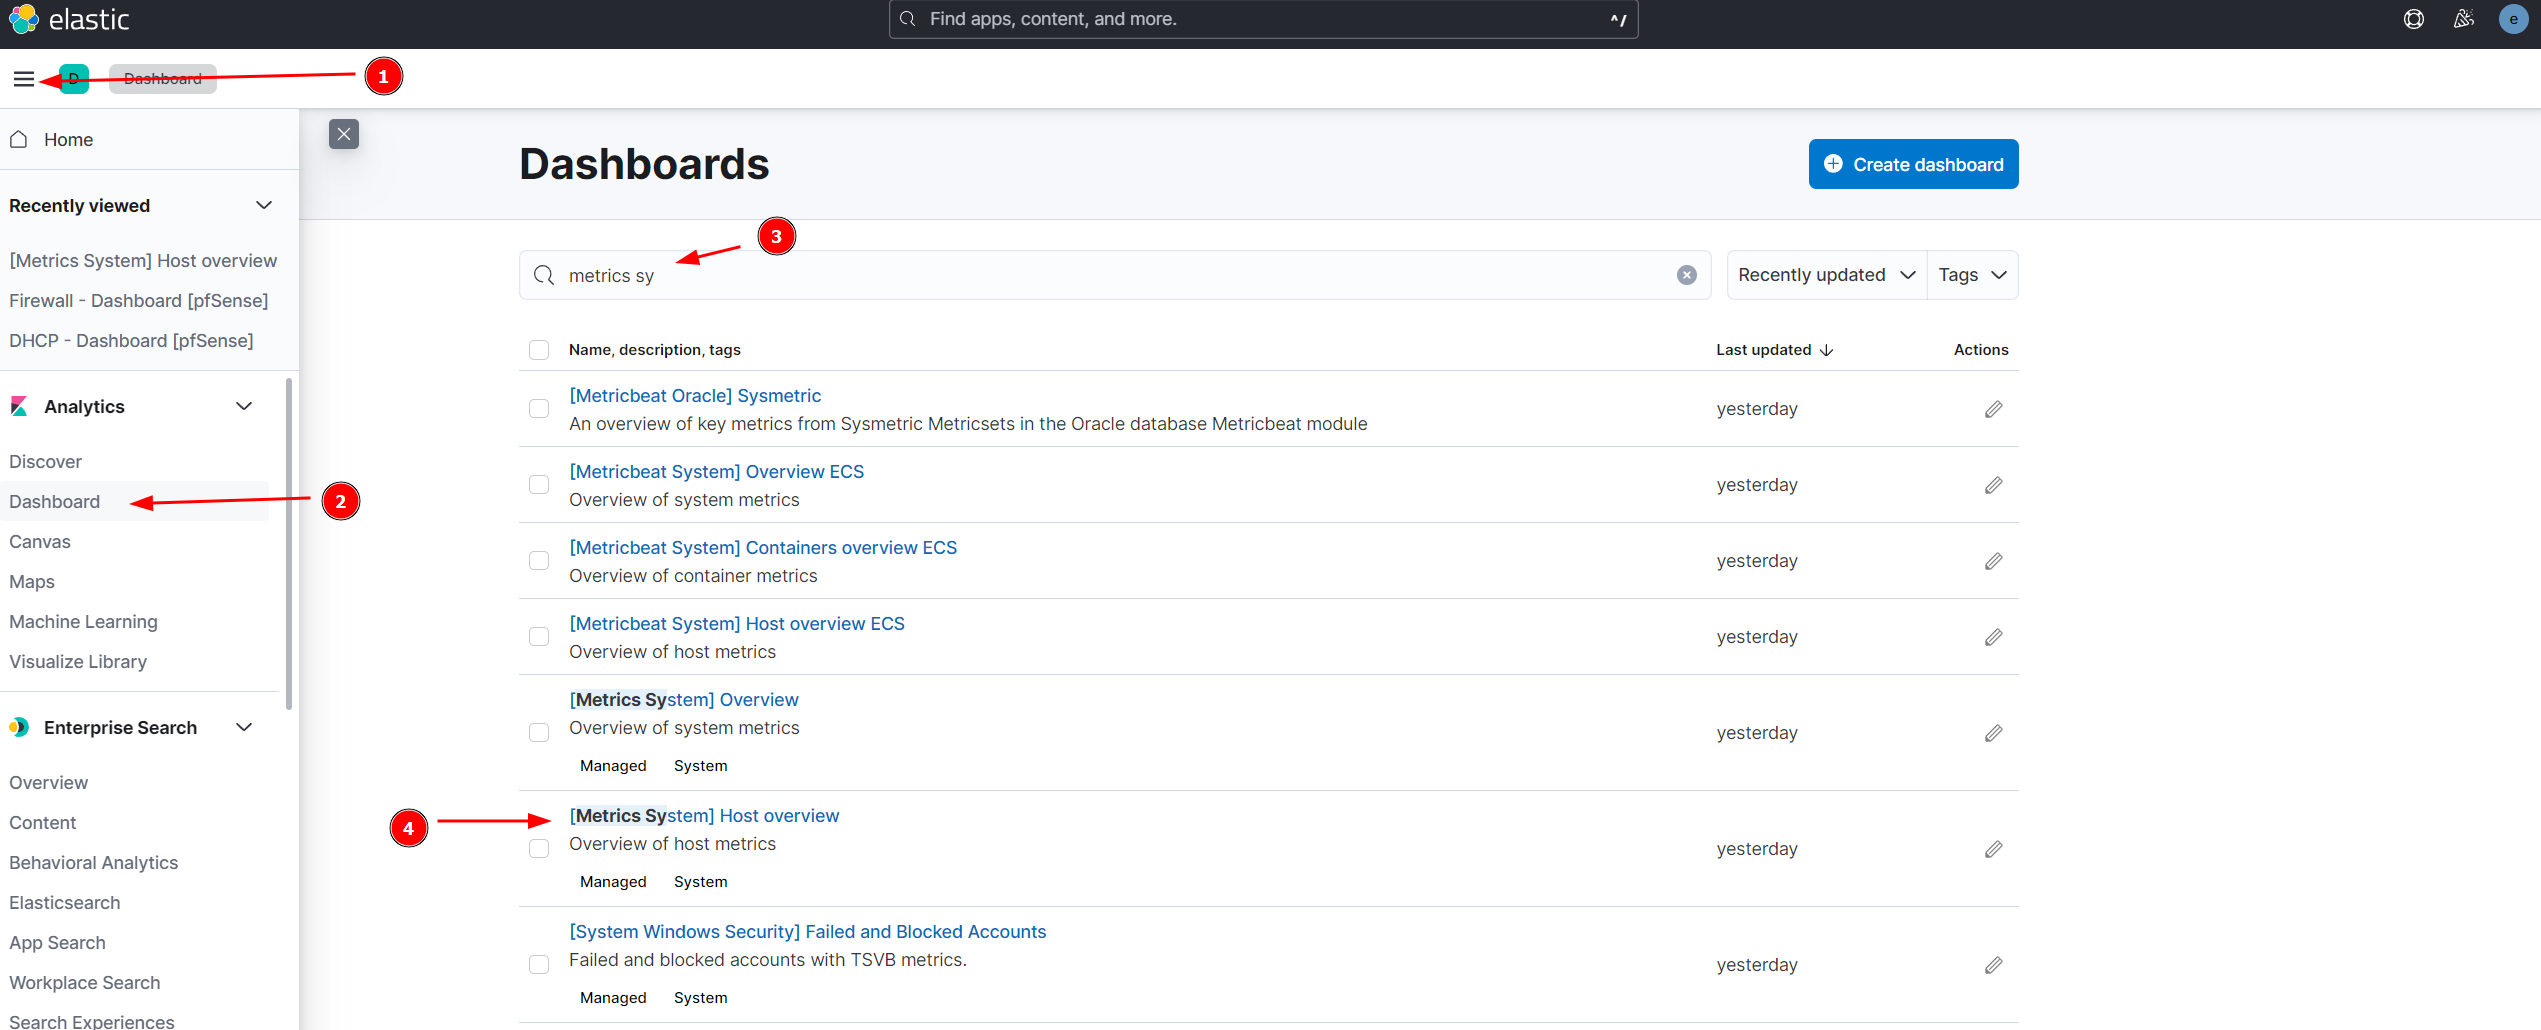
You should be able to see info if you filter hostname: "kali-violet"